Setup
If you don’t already have an Apple Developer account with an app set up, begin at Step 1. If you already have an account and an App ID, skip ahead to Step 5.- Create an Apple Developer account if you have not already done so. You will need an Apple ID with two-factor authentication turned on.
- Log in to your App Store Connect account with your Apple ID.
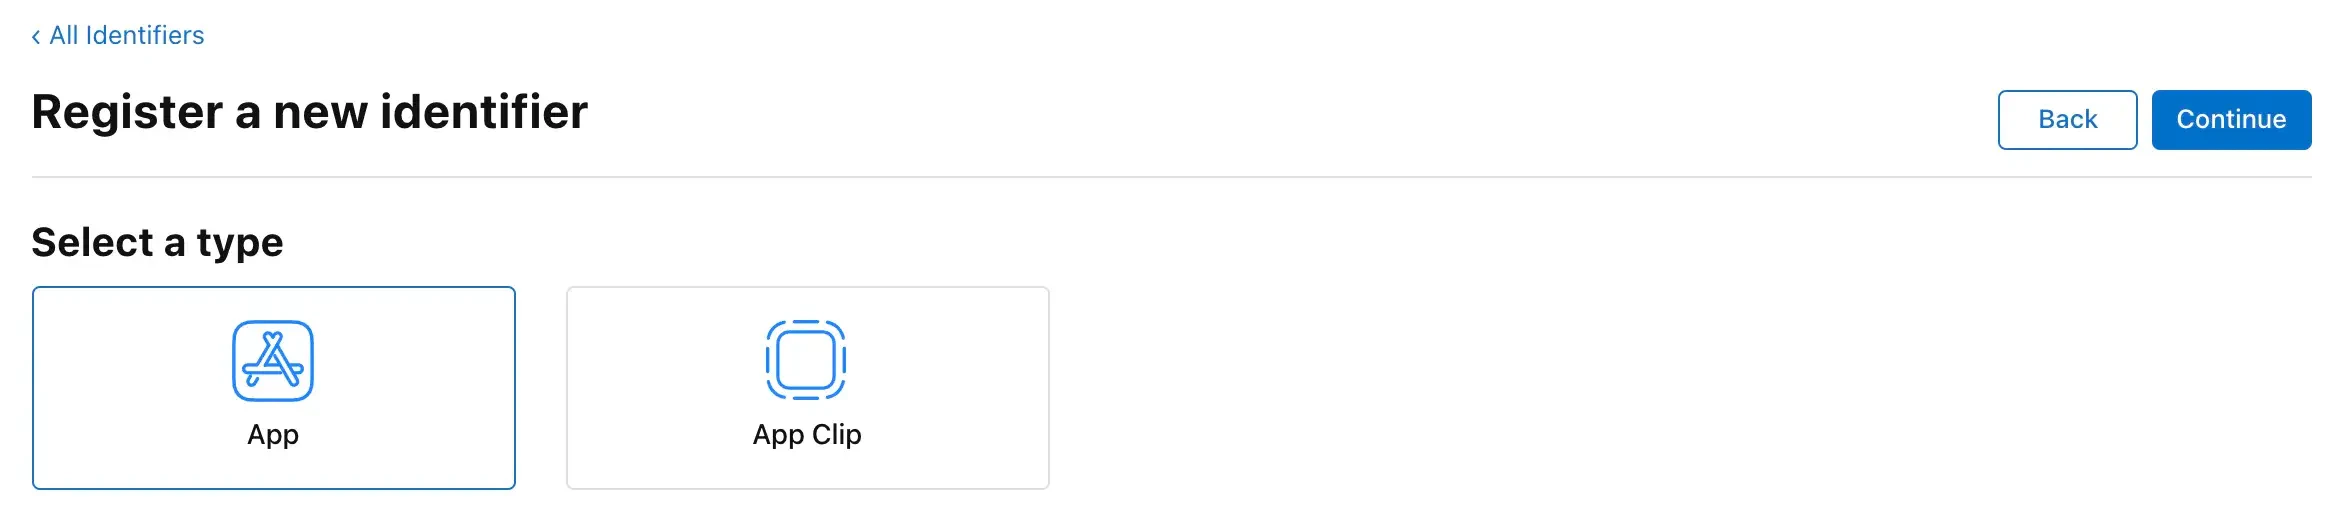
- In the developer portal, go to your Identifiers page. Click the blue plus sign next to the “Identifiers” header to create a new identifier. Register this identifier as an App ID and click Continue. Then, select the type App and click Continue.
- Create a description for this App ID that allows you to identify it easily, and a bundle ID that’s a reverse-domain style string. For example, if your domain is yourcompany.com, and your app is called your app, your reverse-domain bundle ID should be com.yourcompany.yourapp. Under the Capabilities section, check the box for “Sign in with Apple” and make sure that “Enable as a primary App ID” is selected. Click Continue and then Register to create your App ID.

- Navigate to the Identifiers page and click the blue plus sign next to the “Identifiers” header. Register this identifier as a Service ID and click Continue.
- Create a description for this Service ID that allows you to identify it easily, and an Identifier that’s a reverse-domain style string (e.g. com.yourcompany.yourservice). The identifier must be different from any identifier you’ve used for a Service ID or App ID in the past. Click Continue, and if everything looks good on the next screen, click Register.
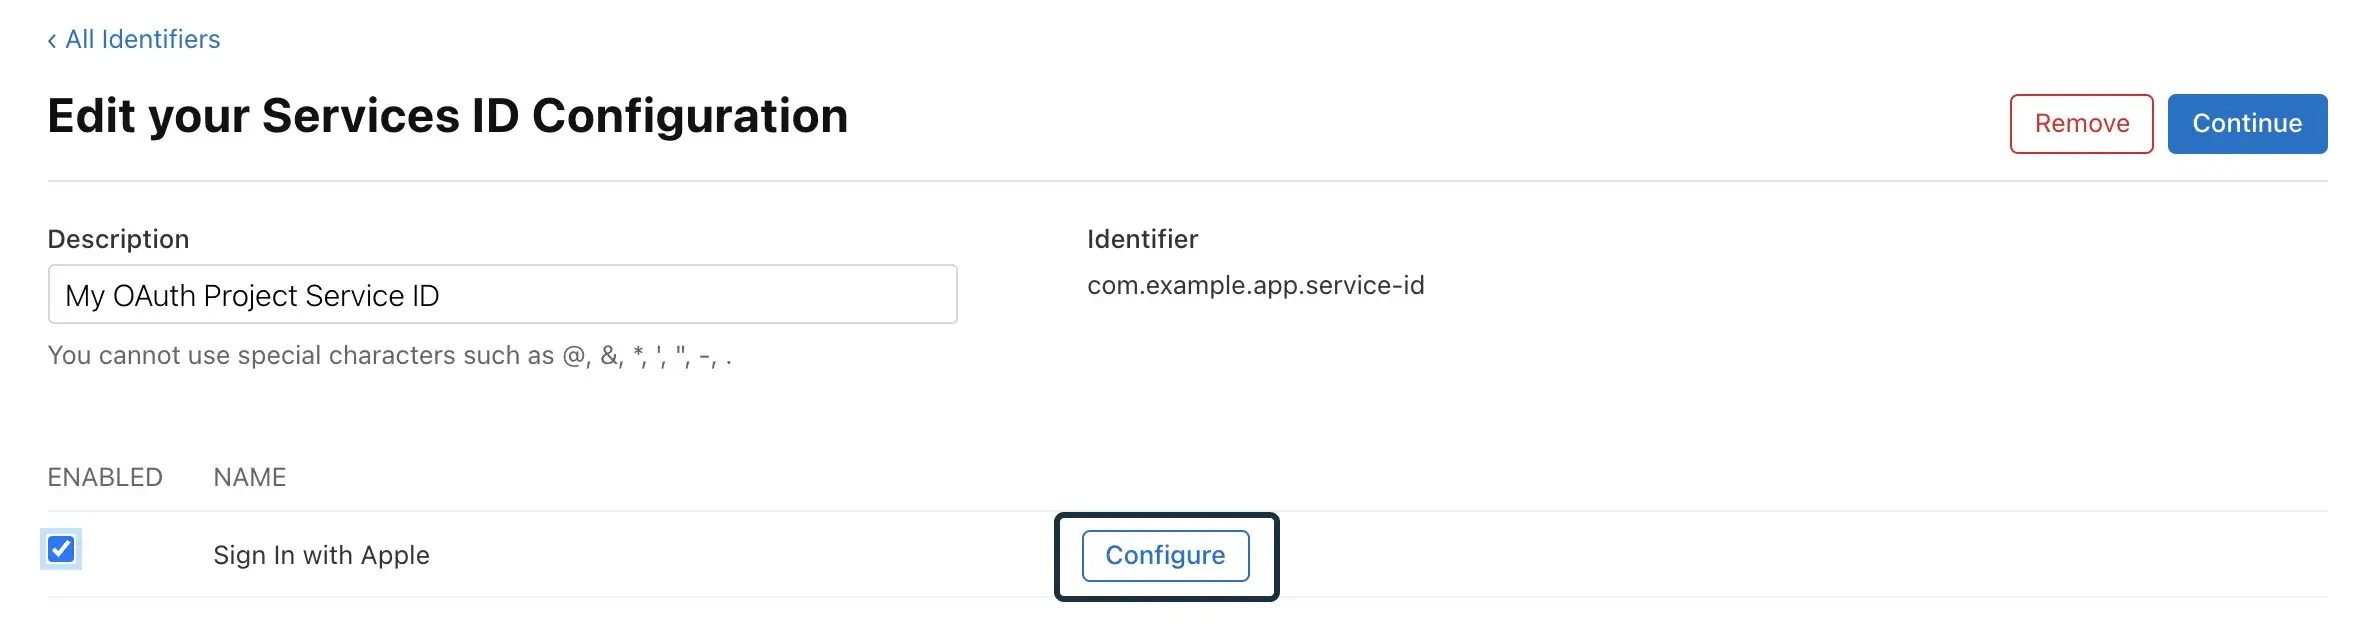
- Upon registering your new Service ID, you will be taken back to your developer portal’s Service IDs list. Click on the Service ID that you just created. Enable “Sign in with Apple” and click Configure.
- Select the relevant App ID for the Primary App ID field. Enter a list of domains and subdomains for your app in the “Website URLs > Domains and Subdomains” section. These should contain just the domain, not the “https://” in front of it (e.g. just “example.com”). Enter all domains that your app will redirect to here.
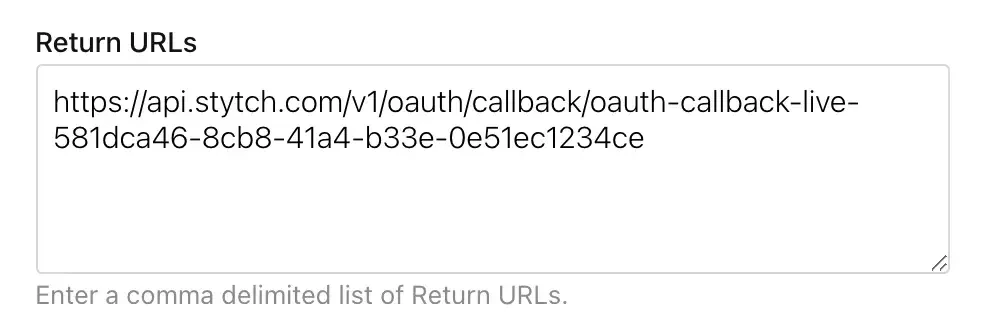
- In the “Website URLs > Return URLs” section, copy and paste the Redirect URI from the Dashboard. When you’re finished, click Done, then Continue, then Save.
- Navigate to the Keys page and create a new key by clicking on the blue plus button.
- Register a new key. Add a Key name and description. Enable ‘Sign in with Apple’ and click ‘Configure’.
- Configure the key by selecting your Primary App ID from the dropdown list. Click ‘Save’, which will redirect you back to the ‘Register a New Key’ page, from there click ‘Continue’ and then ‘Register’.
- Download the .p8 key file. After downloading your key, be sure to save a backup of your key in a secure place as it cannot be re-downloaded as the server copy is removed. Click ‘Done’.

- In the Stytch Dashboard, navigate to “OAuth > Providers > Apple” and click on ‘Configure Provider’. Fill out the configuration details:

- Team ID can be found in the Apple Account page within your Membership details.
- App ID references the ID from step 4.
- Service ID references the ID from step 6.
- Key ID: references the ID from step 11.
- Private key is the .p8 file, which you downloaded in step 13.