Setup
Follow these steps if you have not created a Facebook OAuth client yet.- Navigate to your Facebook (Meta) applications.
- Click Create App.
- Enter a name for the app and click Next.
- Choose Other from the app type list and click Next.
- Select Consumer and click Next, then click Create app.
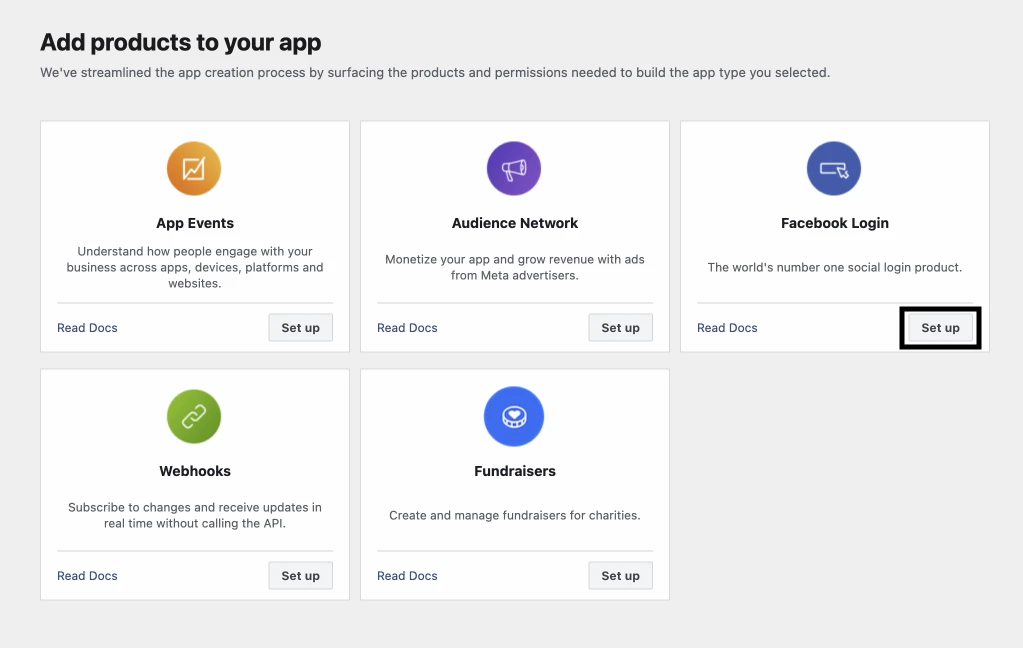
- In the list of products, find the Facebook Login product and click Set up.
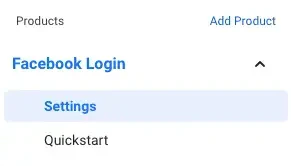
- Ignore the quickstart menu. Instead, on the left pane under Facebook Login, click on Settings.
- Copy-paste the Redirect URI from the Dashboard into the list of Valid OAuth Redirect URIs. Fill in remaining fields. Then click Save changes.
- In the left pane under App Review, navigate to Permissions and Features.
- Click Request advanced access for both email and
public_profileand follow the instructions shown.
Follow these steps if you already have an existing Facebook OAuth client.
- Navigate to your Facebook (Meta) applications.
- Click on the application you’d like to use.
- In the list of products, find the Facebook Login product and click Set up.
- Ignore the quickstart menu. Instead, on the left pane under Facebook Login, click on Settings.
- Copy-paste the Redirect URI from the Dashboard into the list of Valid OAuth Redirect URIs. Fill in remaining fields. Then click Save changes.
- In the left pane under App Review, navigate to Permissions and Features.
- Click Request advanced access for both email and
public_profileand follow the instructions shown.