Prerequisites
In order to complete this guide, you’ll need:- A Stytch project. If you don’t have one already, or would like to create a new one, in the Dashboard, click on your existing project name in the top left corner of the Dashboard, click Create Project, and then select B2B Authentication or Consumer Authentication.
- A React, Next.js, or other JavaScript based app that uses the Stytch B2B Frontend SDK or Consumer Frontend SDK. This will need to be available via a public URL to connect to ChatGPT. If you need something to get started, check out our example apps.
- A ChatGPT account with a Plus subscription, so that you can create a custom GPT.
Integration steps
1
Implement the Stytch IdP component
To turn your app into an identity provider, we have created a component for use in your app:For this flow to succeed, the user must already be logged in to your Stytch-powered app and have an active session, so you’ll want to check for a valid session prior to rendering the component and if the user is not logged in, redirect to the login page with a
<IdentityProvider />when using Consumer applications<B2BIdentityProvider />when using B2B applications
redirect_uri with a code for the Connected App to complete the flow on its backend.return_to parameter. Learn more about the Authorization Code Flow here.2
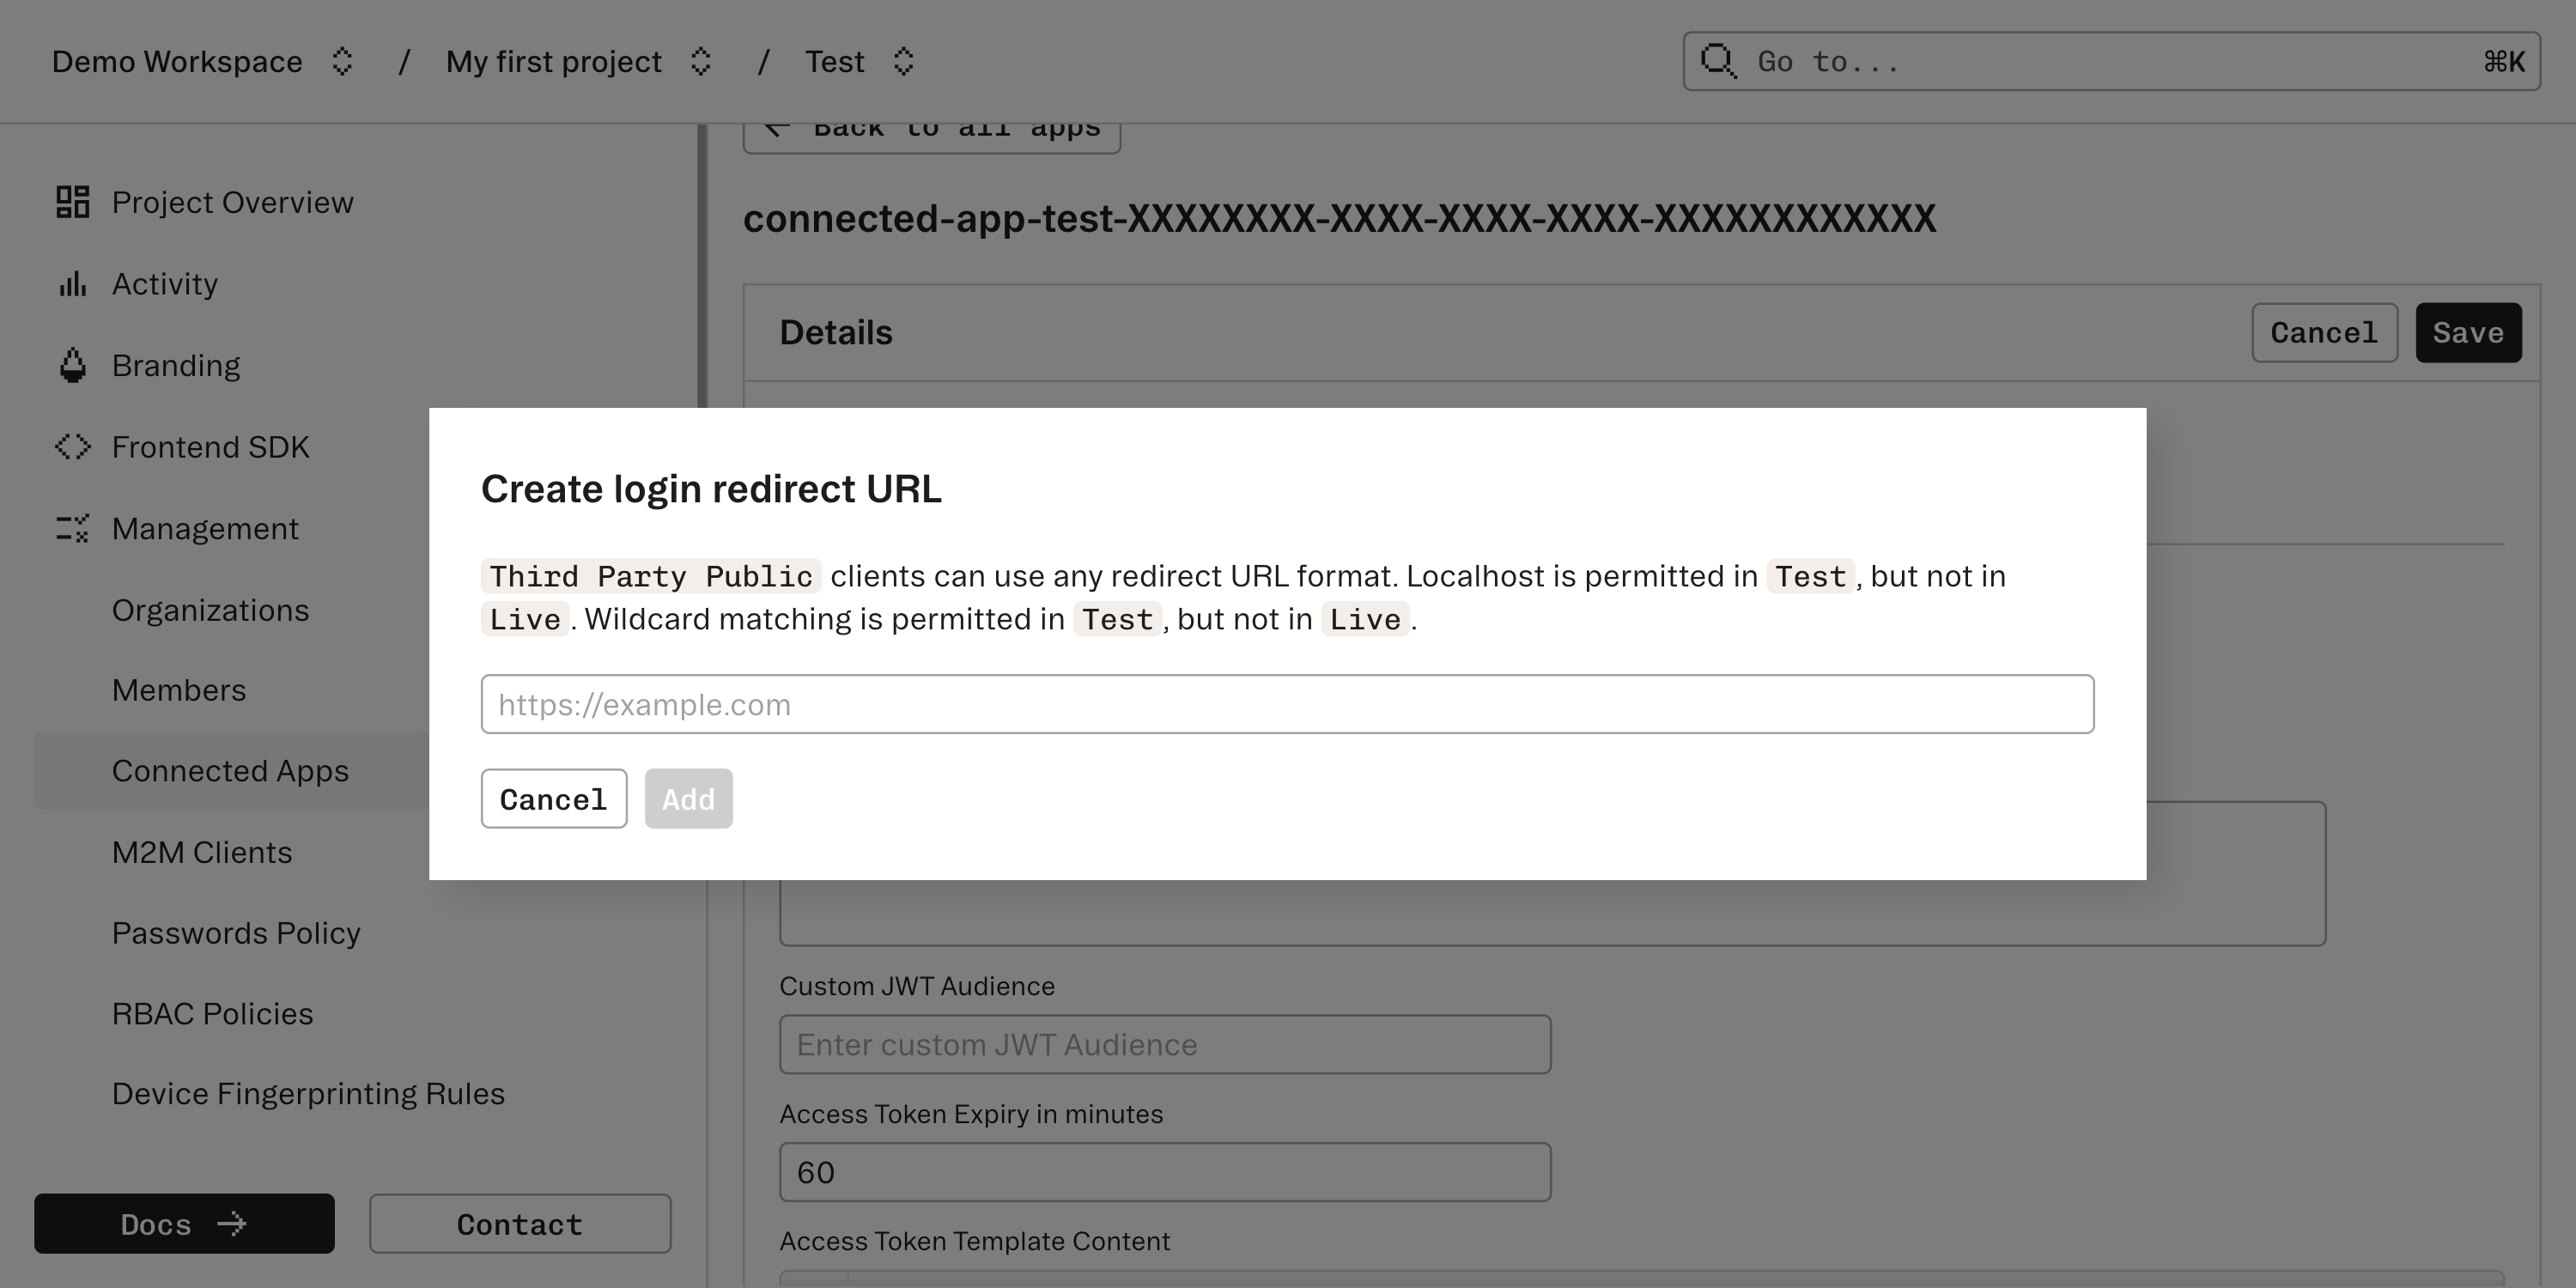
Set up Connected Apps in the Dashboard
Enter the URL where the component is mounted into the Authorization URL field in the Connected Apps section of the Stytch Dashboard. For this example, we’ll use 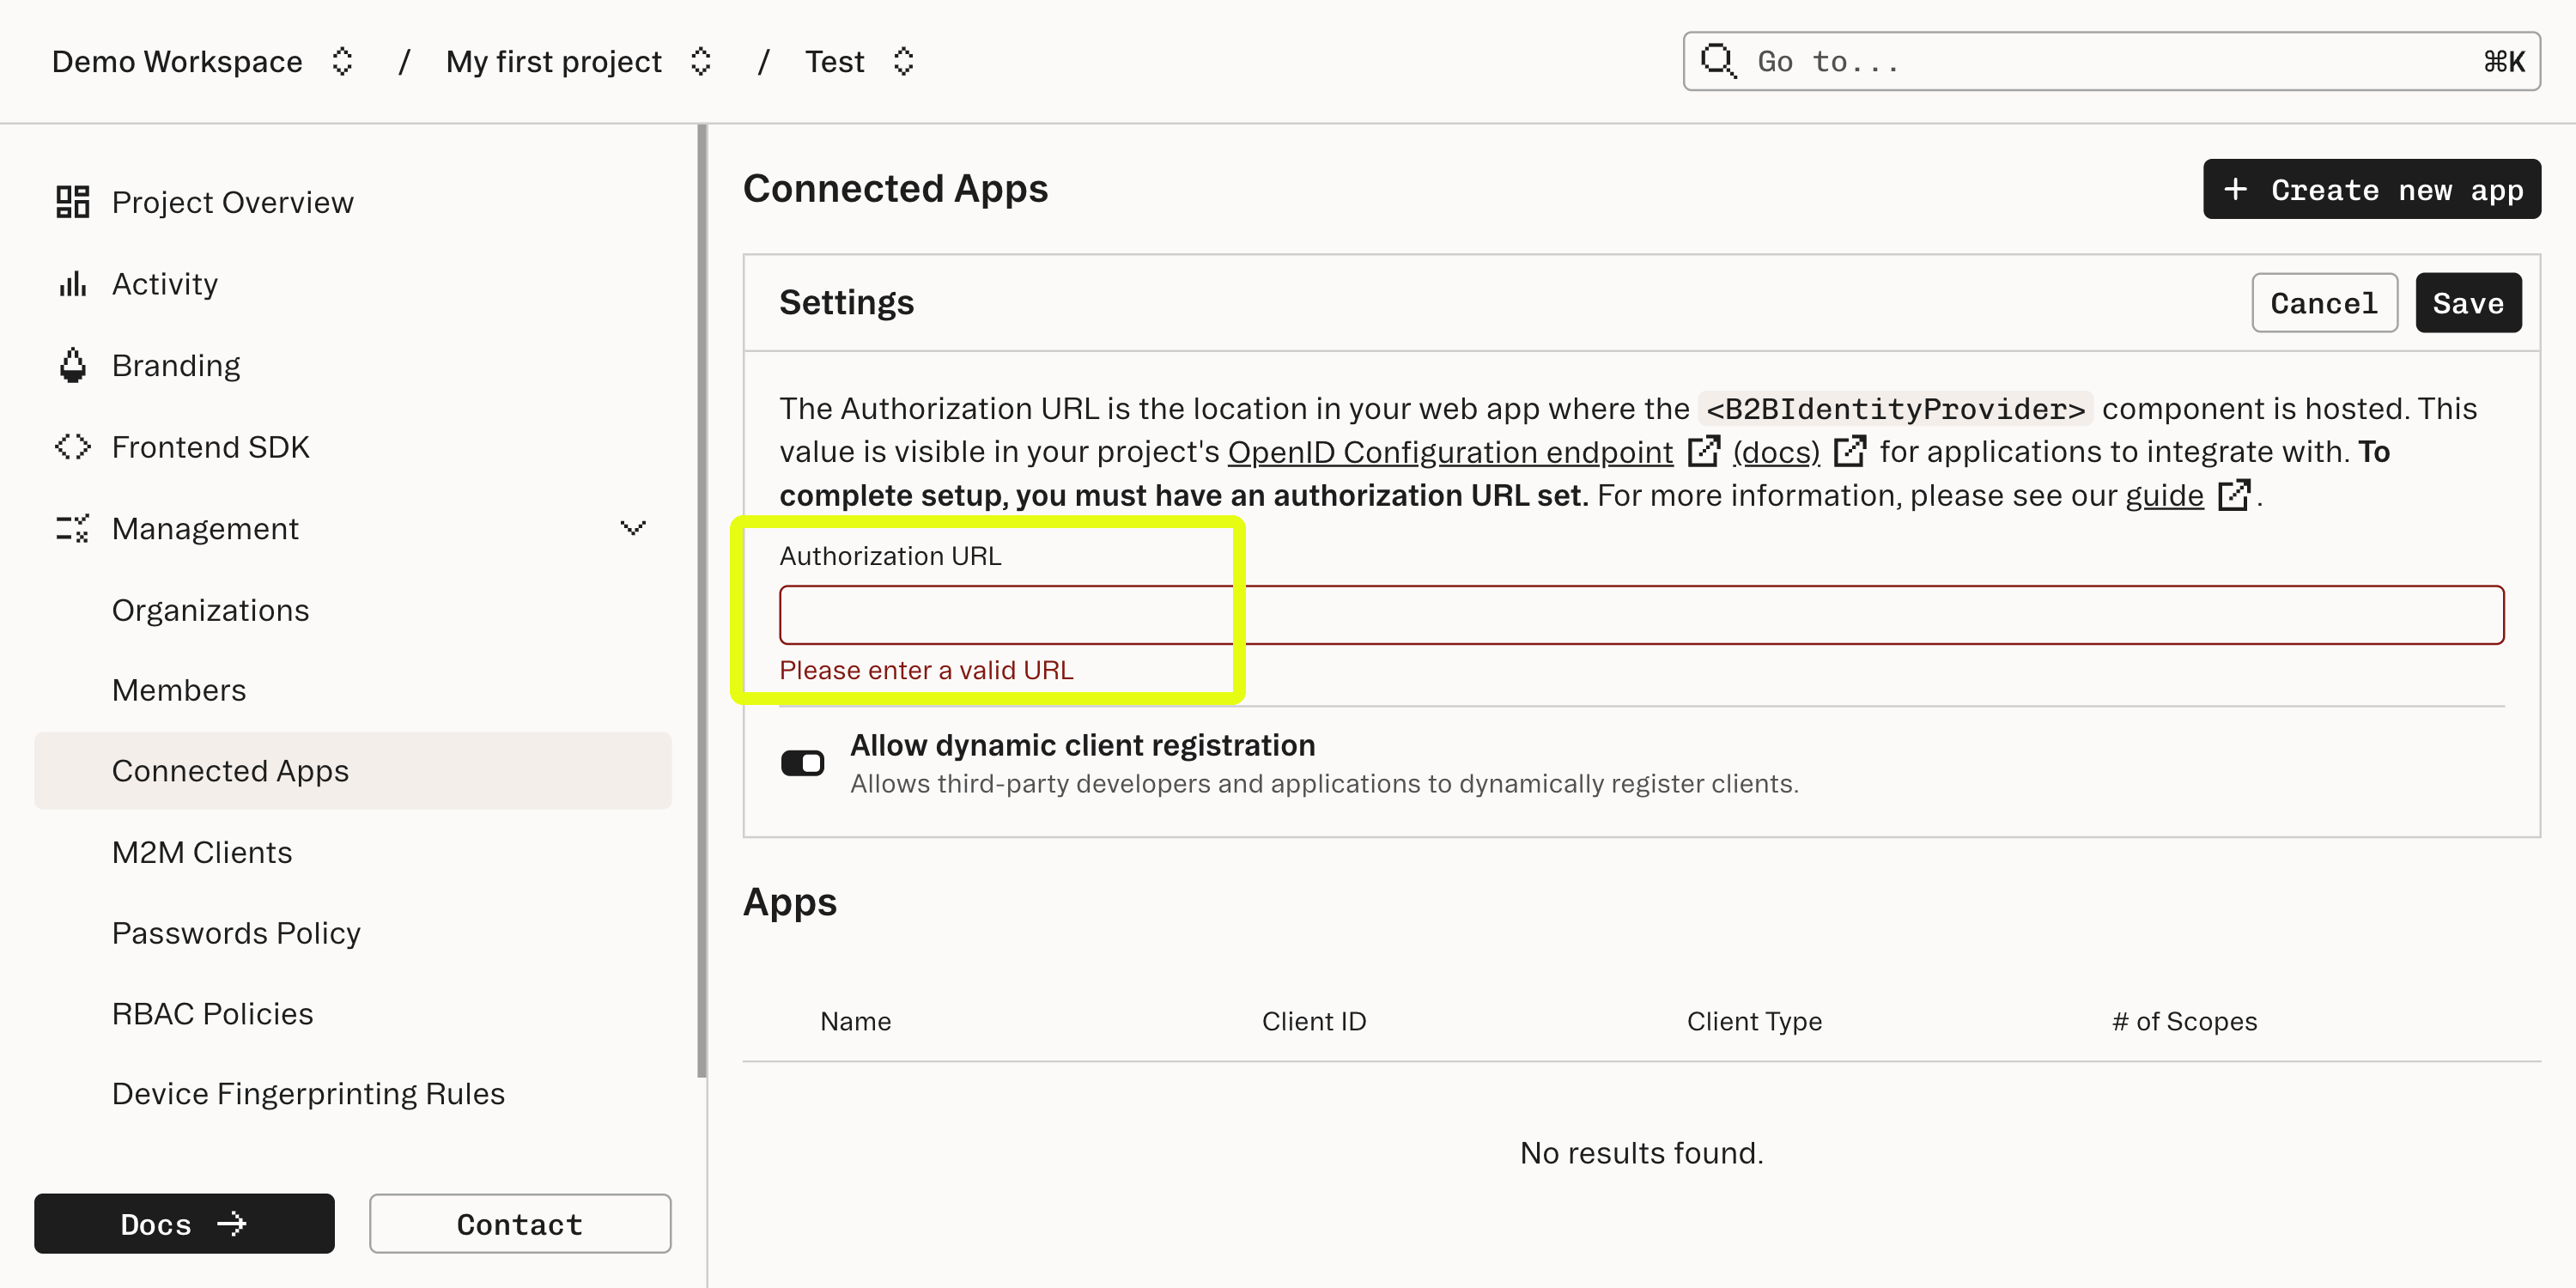
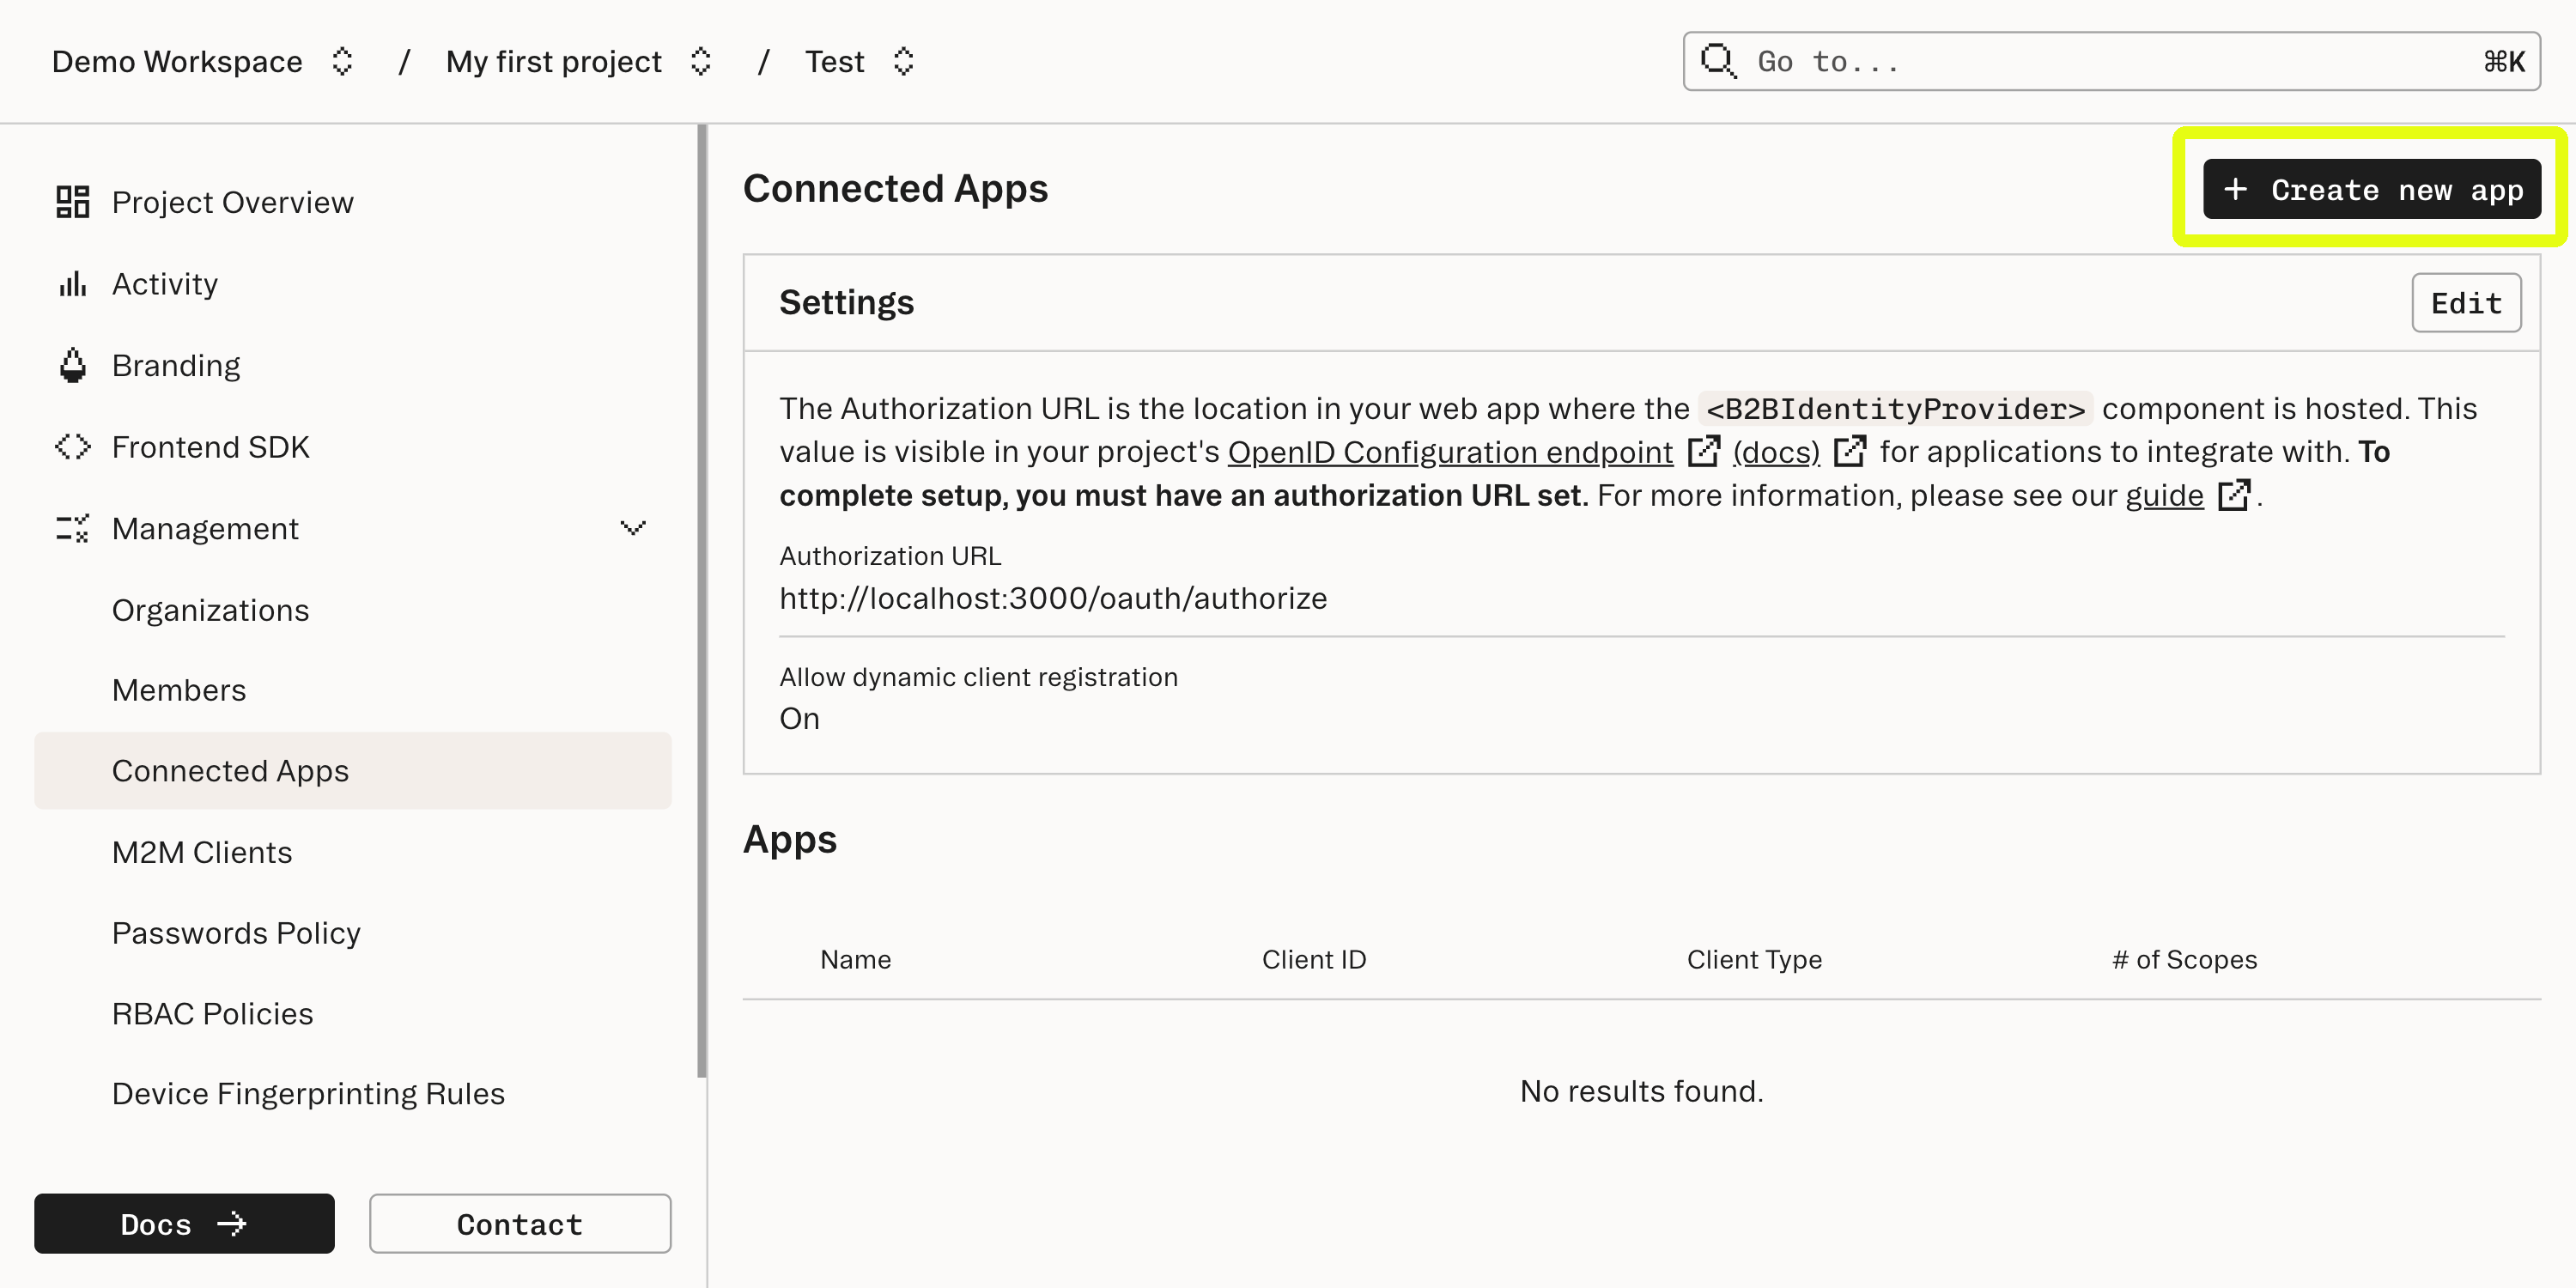
/idp.3
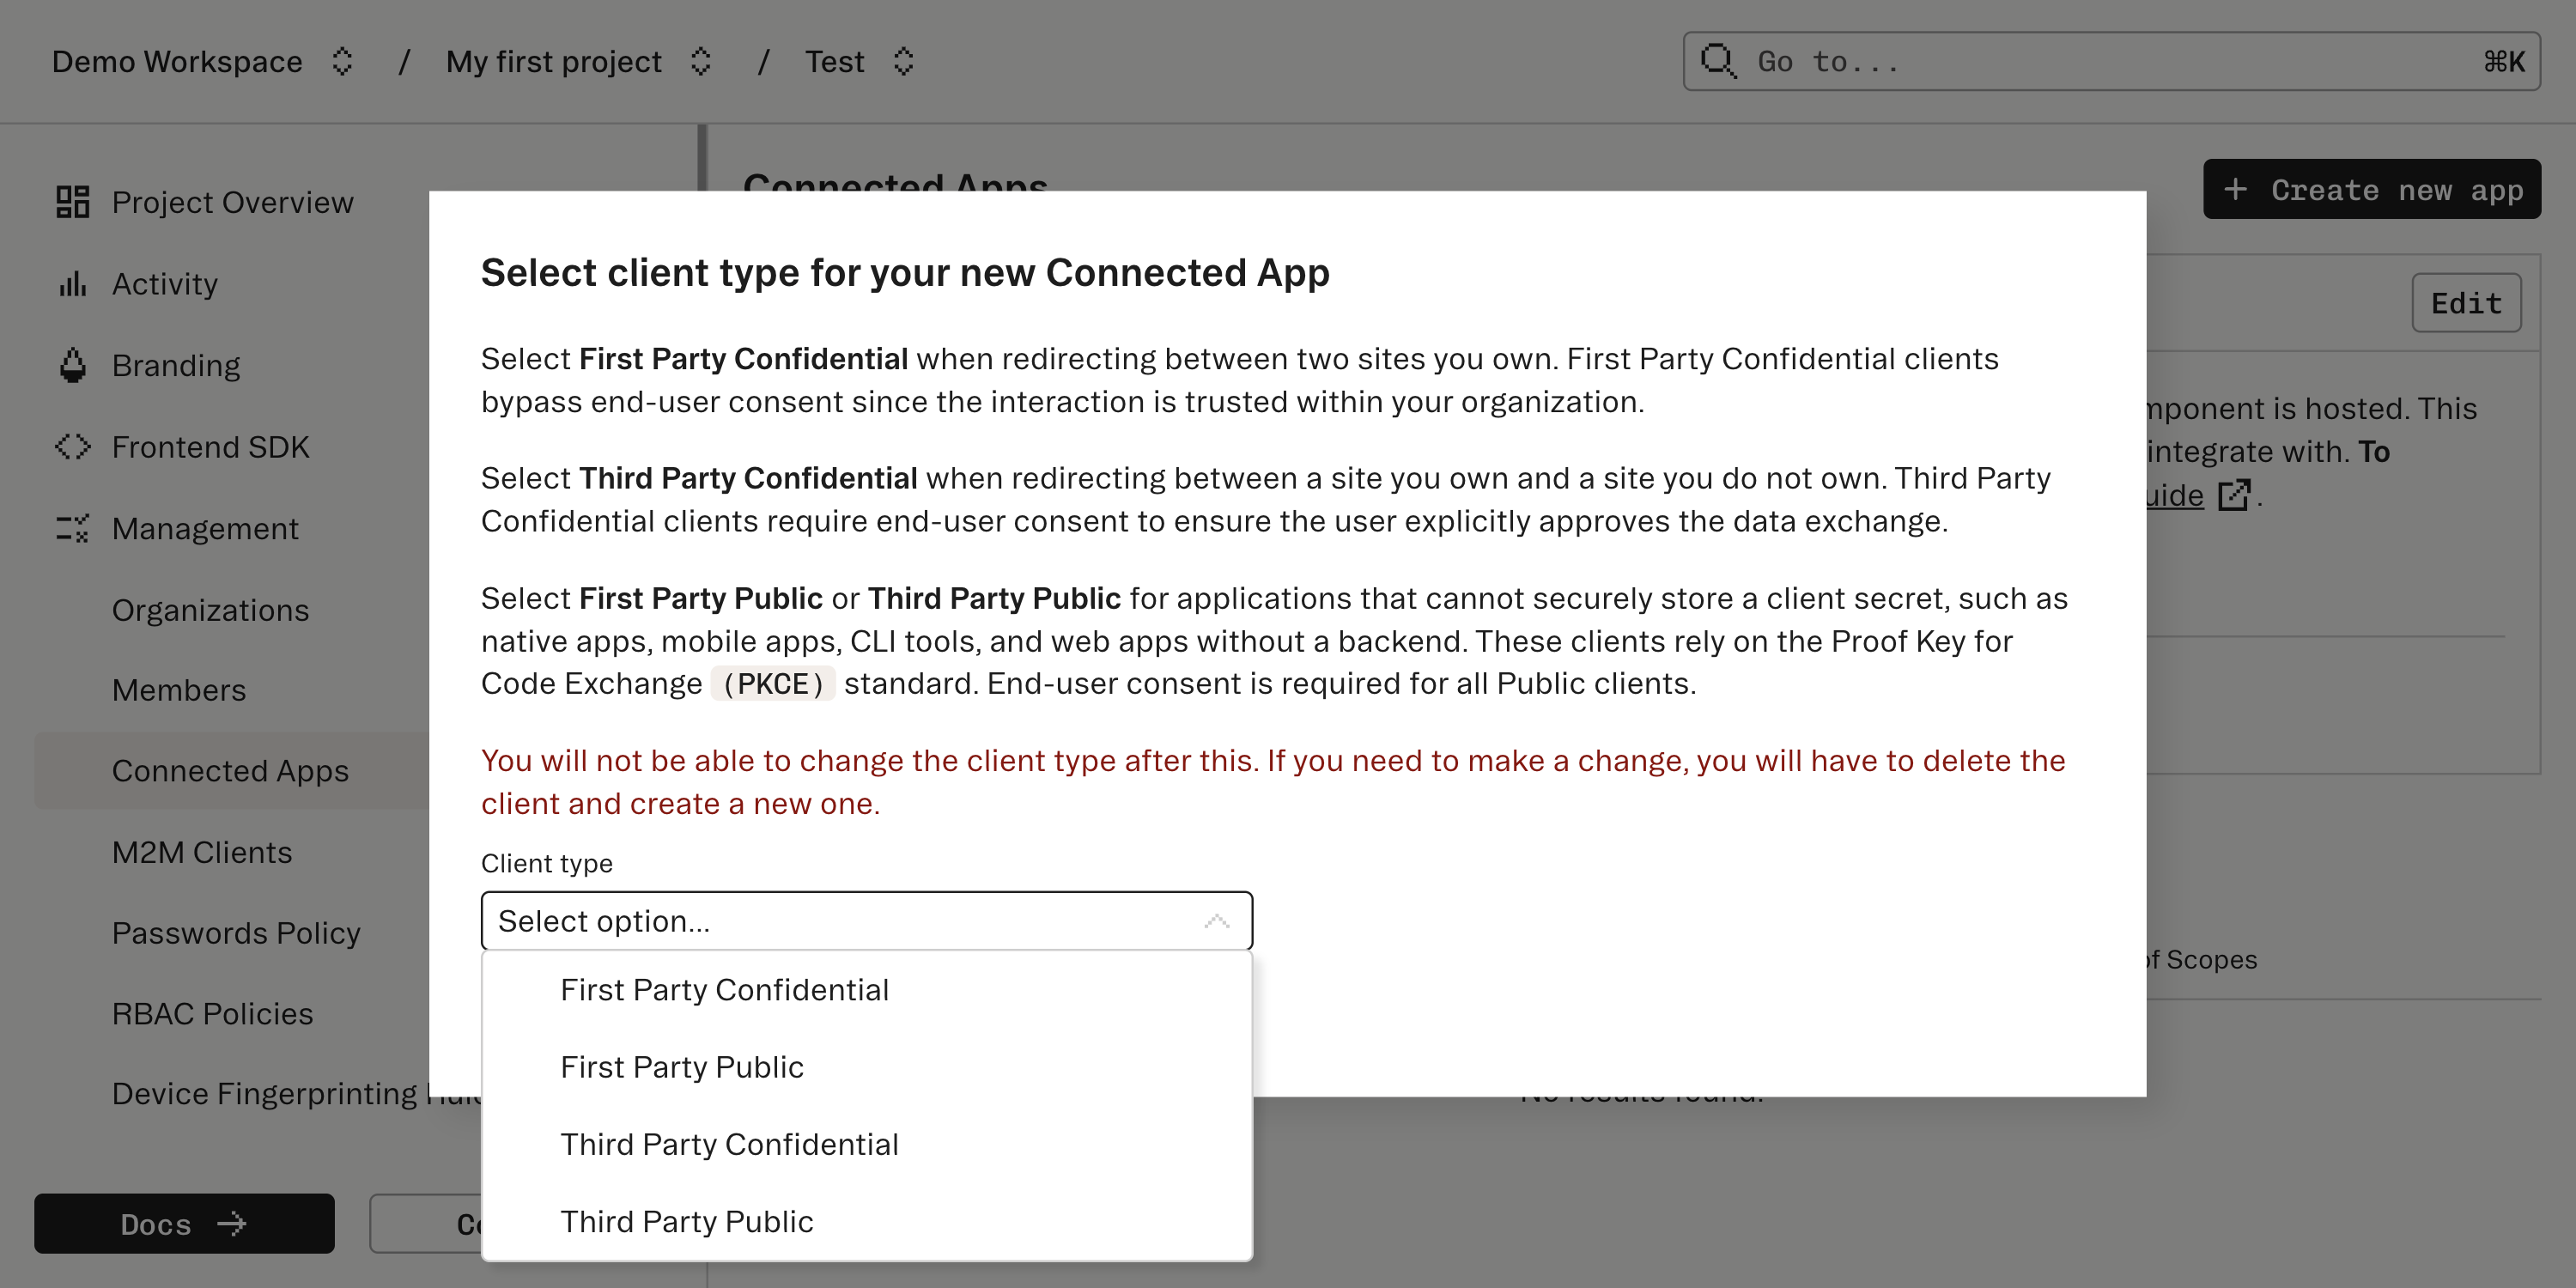
Set up your custom GPT
Go to ChatGPT custom GPTs and click create. Scroll to the bottom and under Actions, select create new Action. Then, under authentication configure OAuth. You’ll want to specify the following: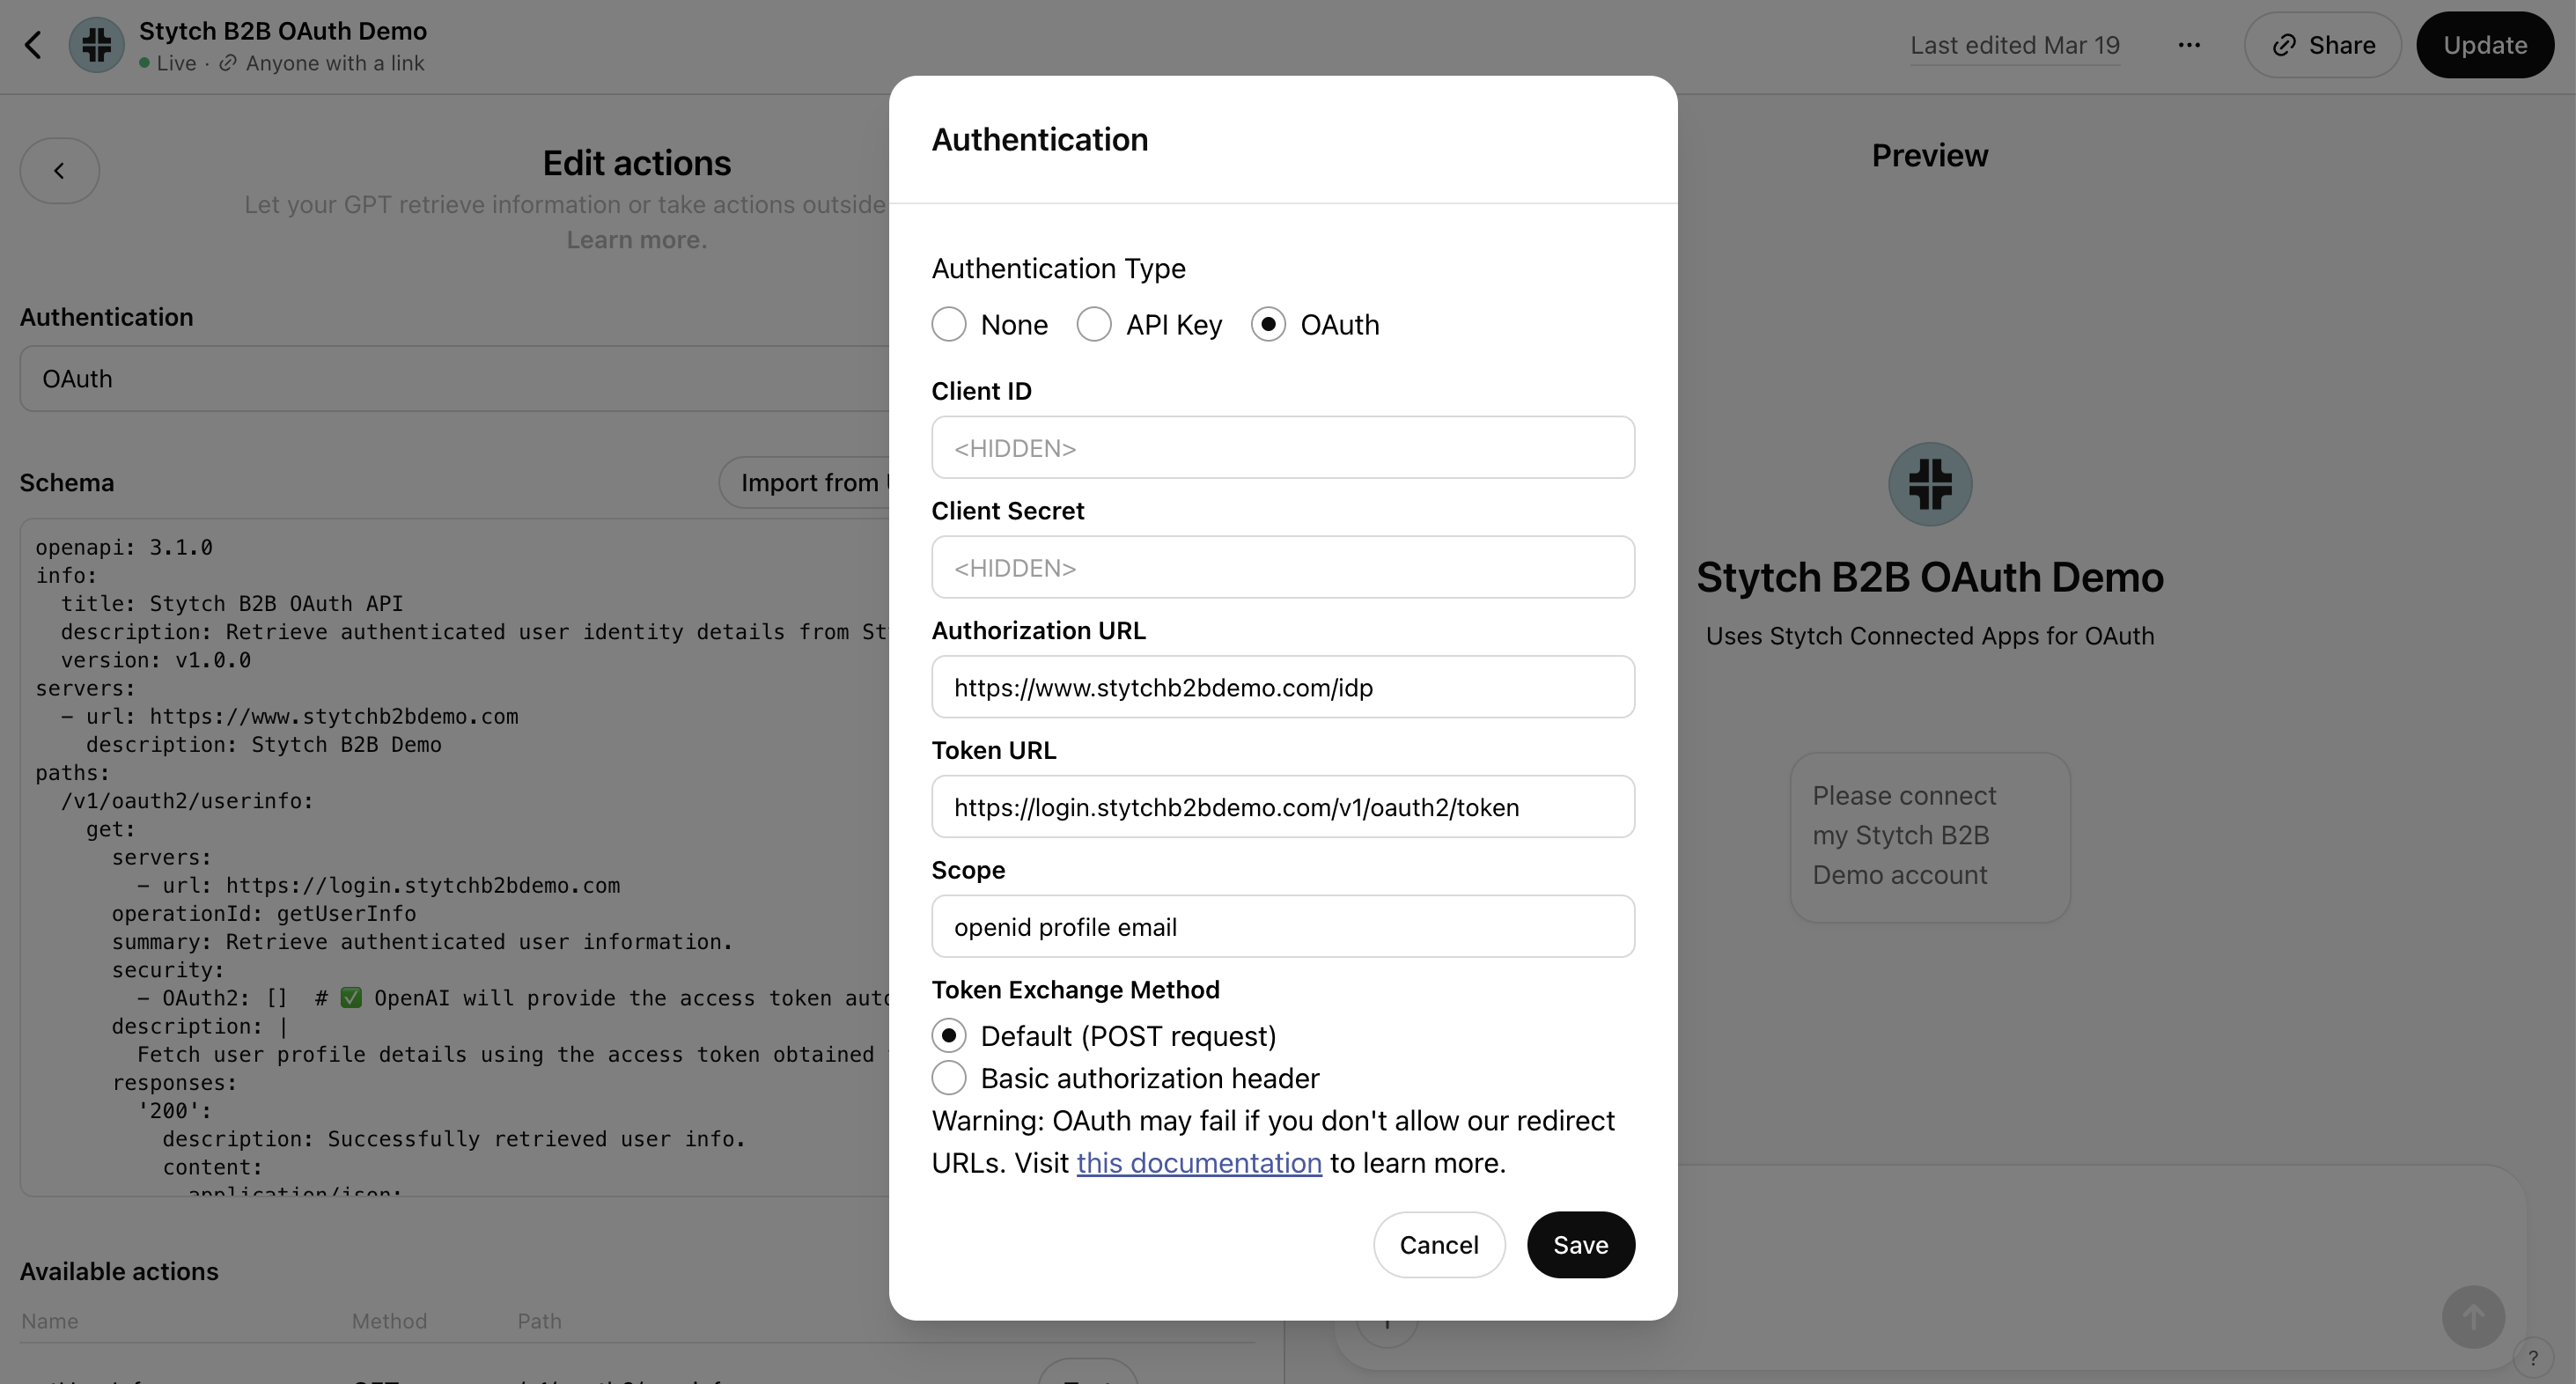
- Client ID: the Client ID you just created
- Client Secret: the Client Secret you just created
- Authorization URL: this the URL where the IdP component is mounted, for example
example.com/idp - Token URL: this is the URL you created in the previous step from the Stytch Dashboard
- Scope: for this use case, specify:
openid profile email
4
Configure your custom GPT to integrate with your app
Finally, you’ll want to add an OpenAPI spec to your custom GPT so that it knows what endpoints it can call using the Access Token from the OAuth connection. You can see an example.
What’s next
Learn more:- Explore a B2B example app showing this use case.
- Checkout a hosted version of this B2B example and the corresponding custom GPT.