Note your Stytch project's subdomain
Note the Project Domain from the Project Overview page. You will need this later when setting up your OAuth provider and adjusting your DNS entries.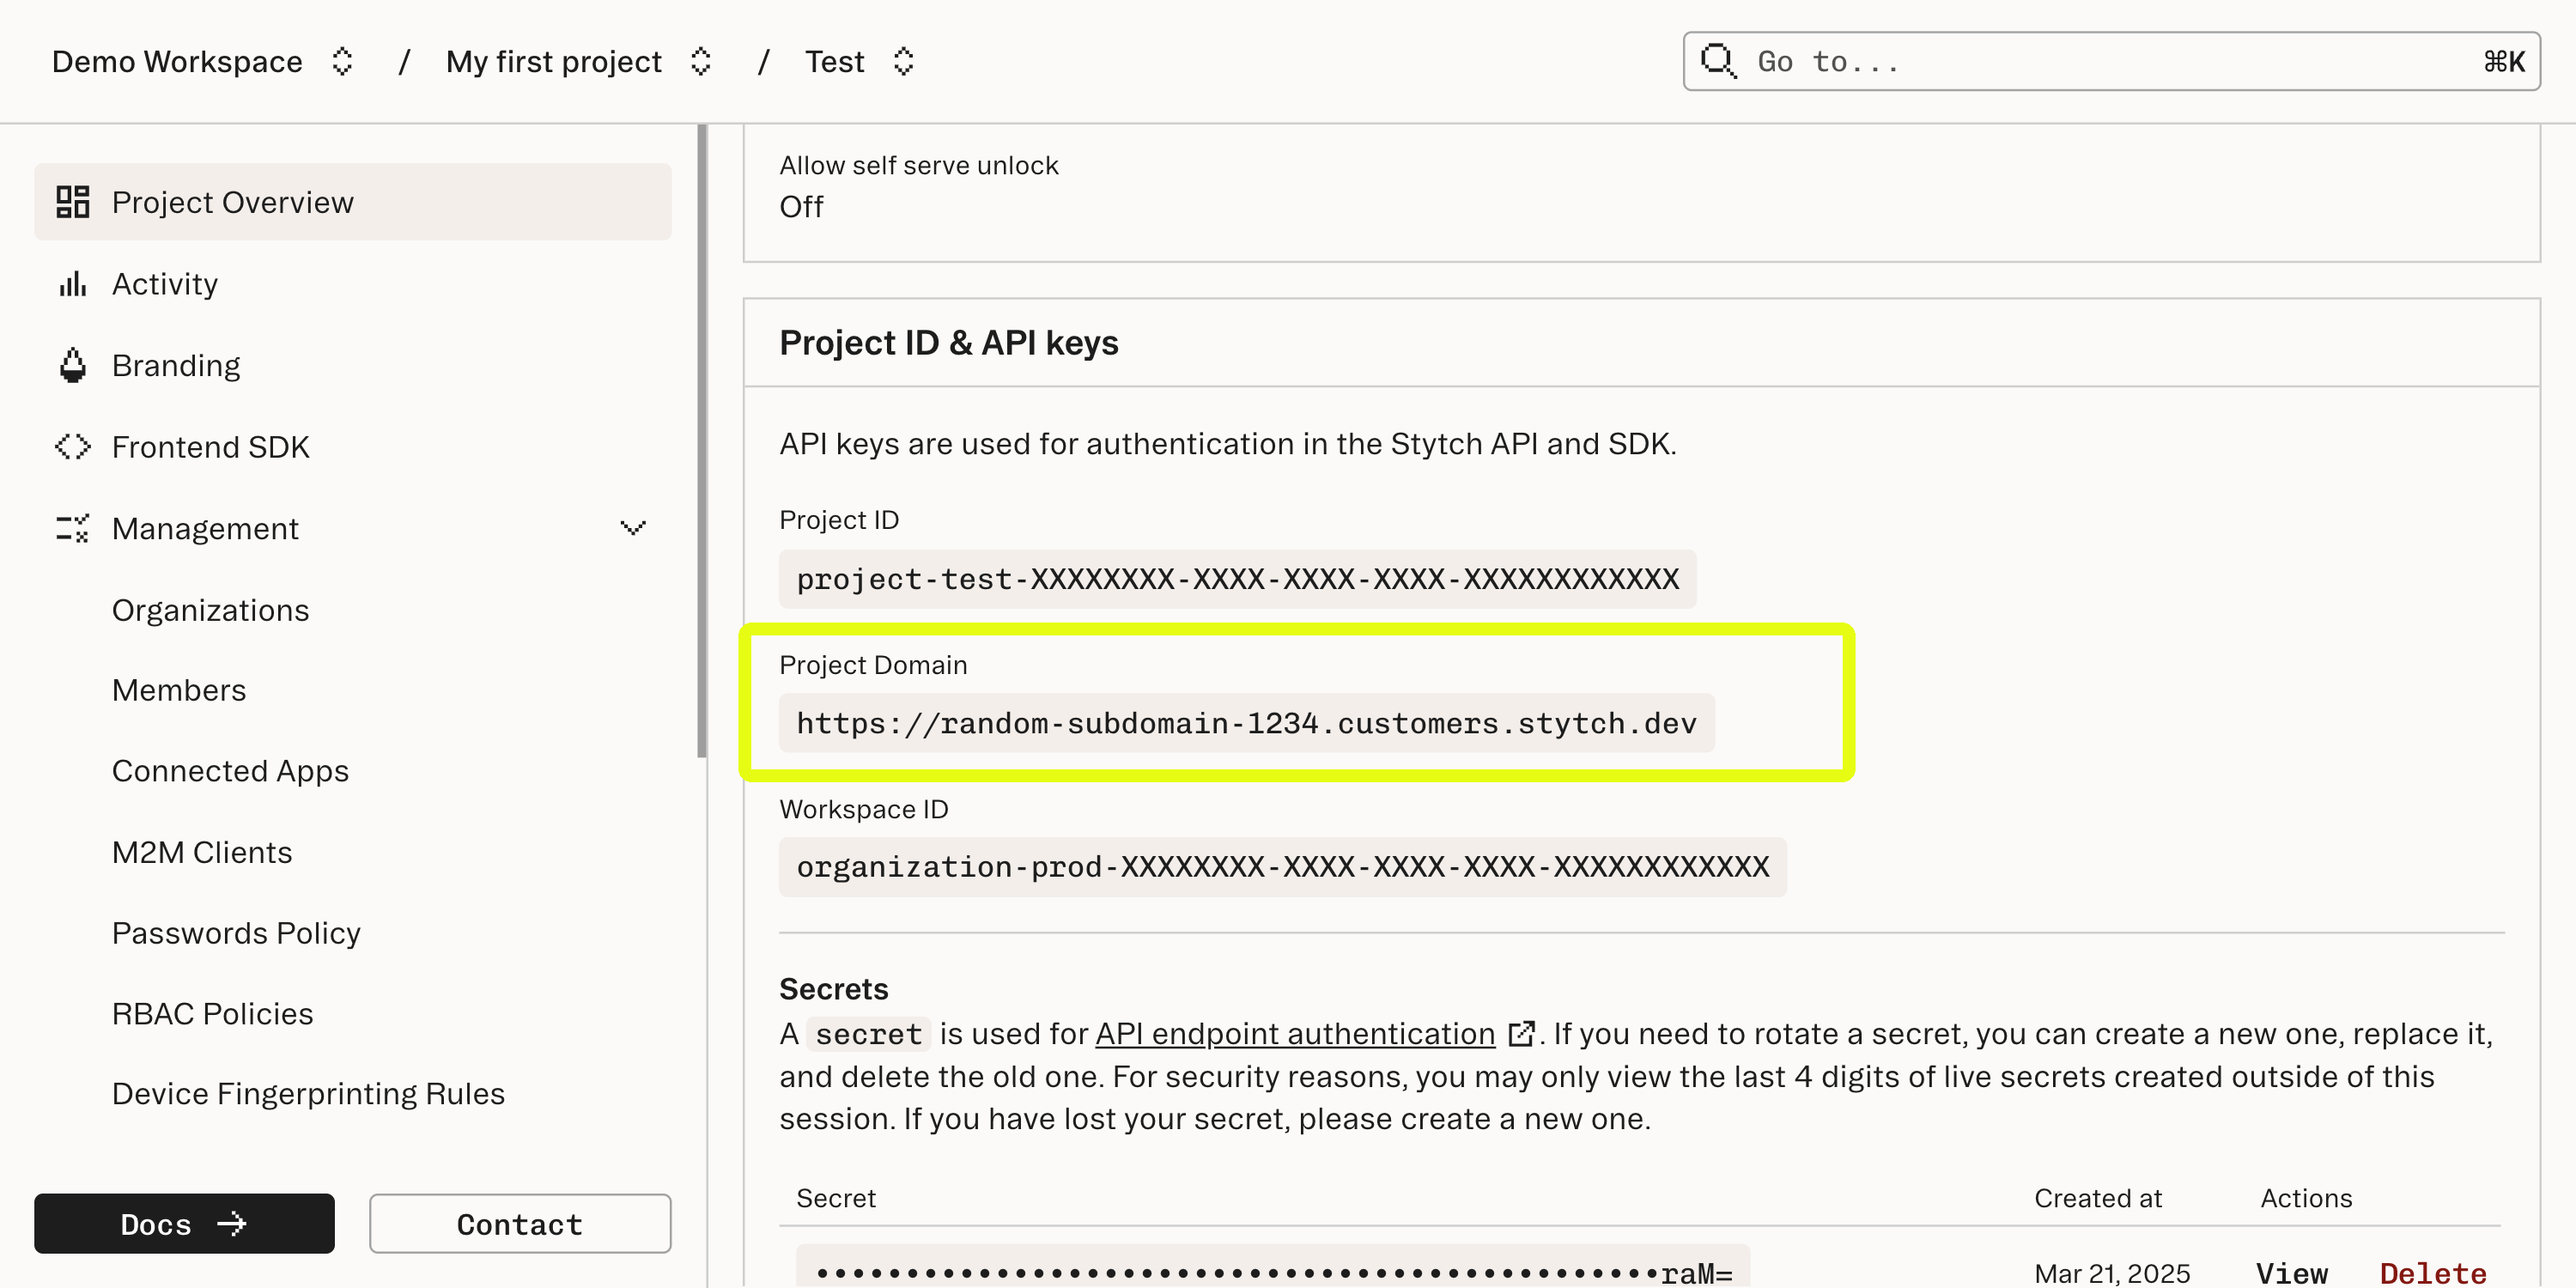
Create an OAuth client
Navigate to the OAuth section, select the OAuth identity provider of your choice and click Configure.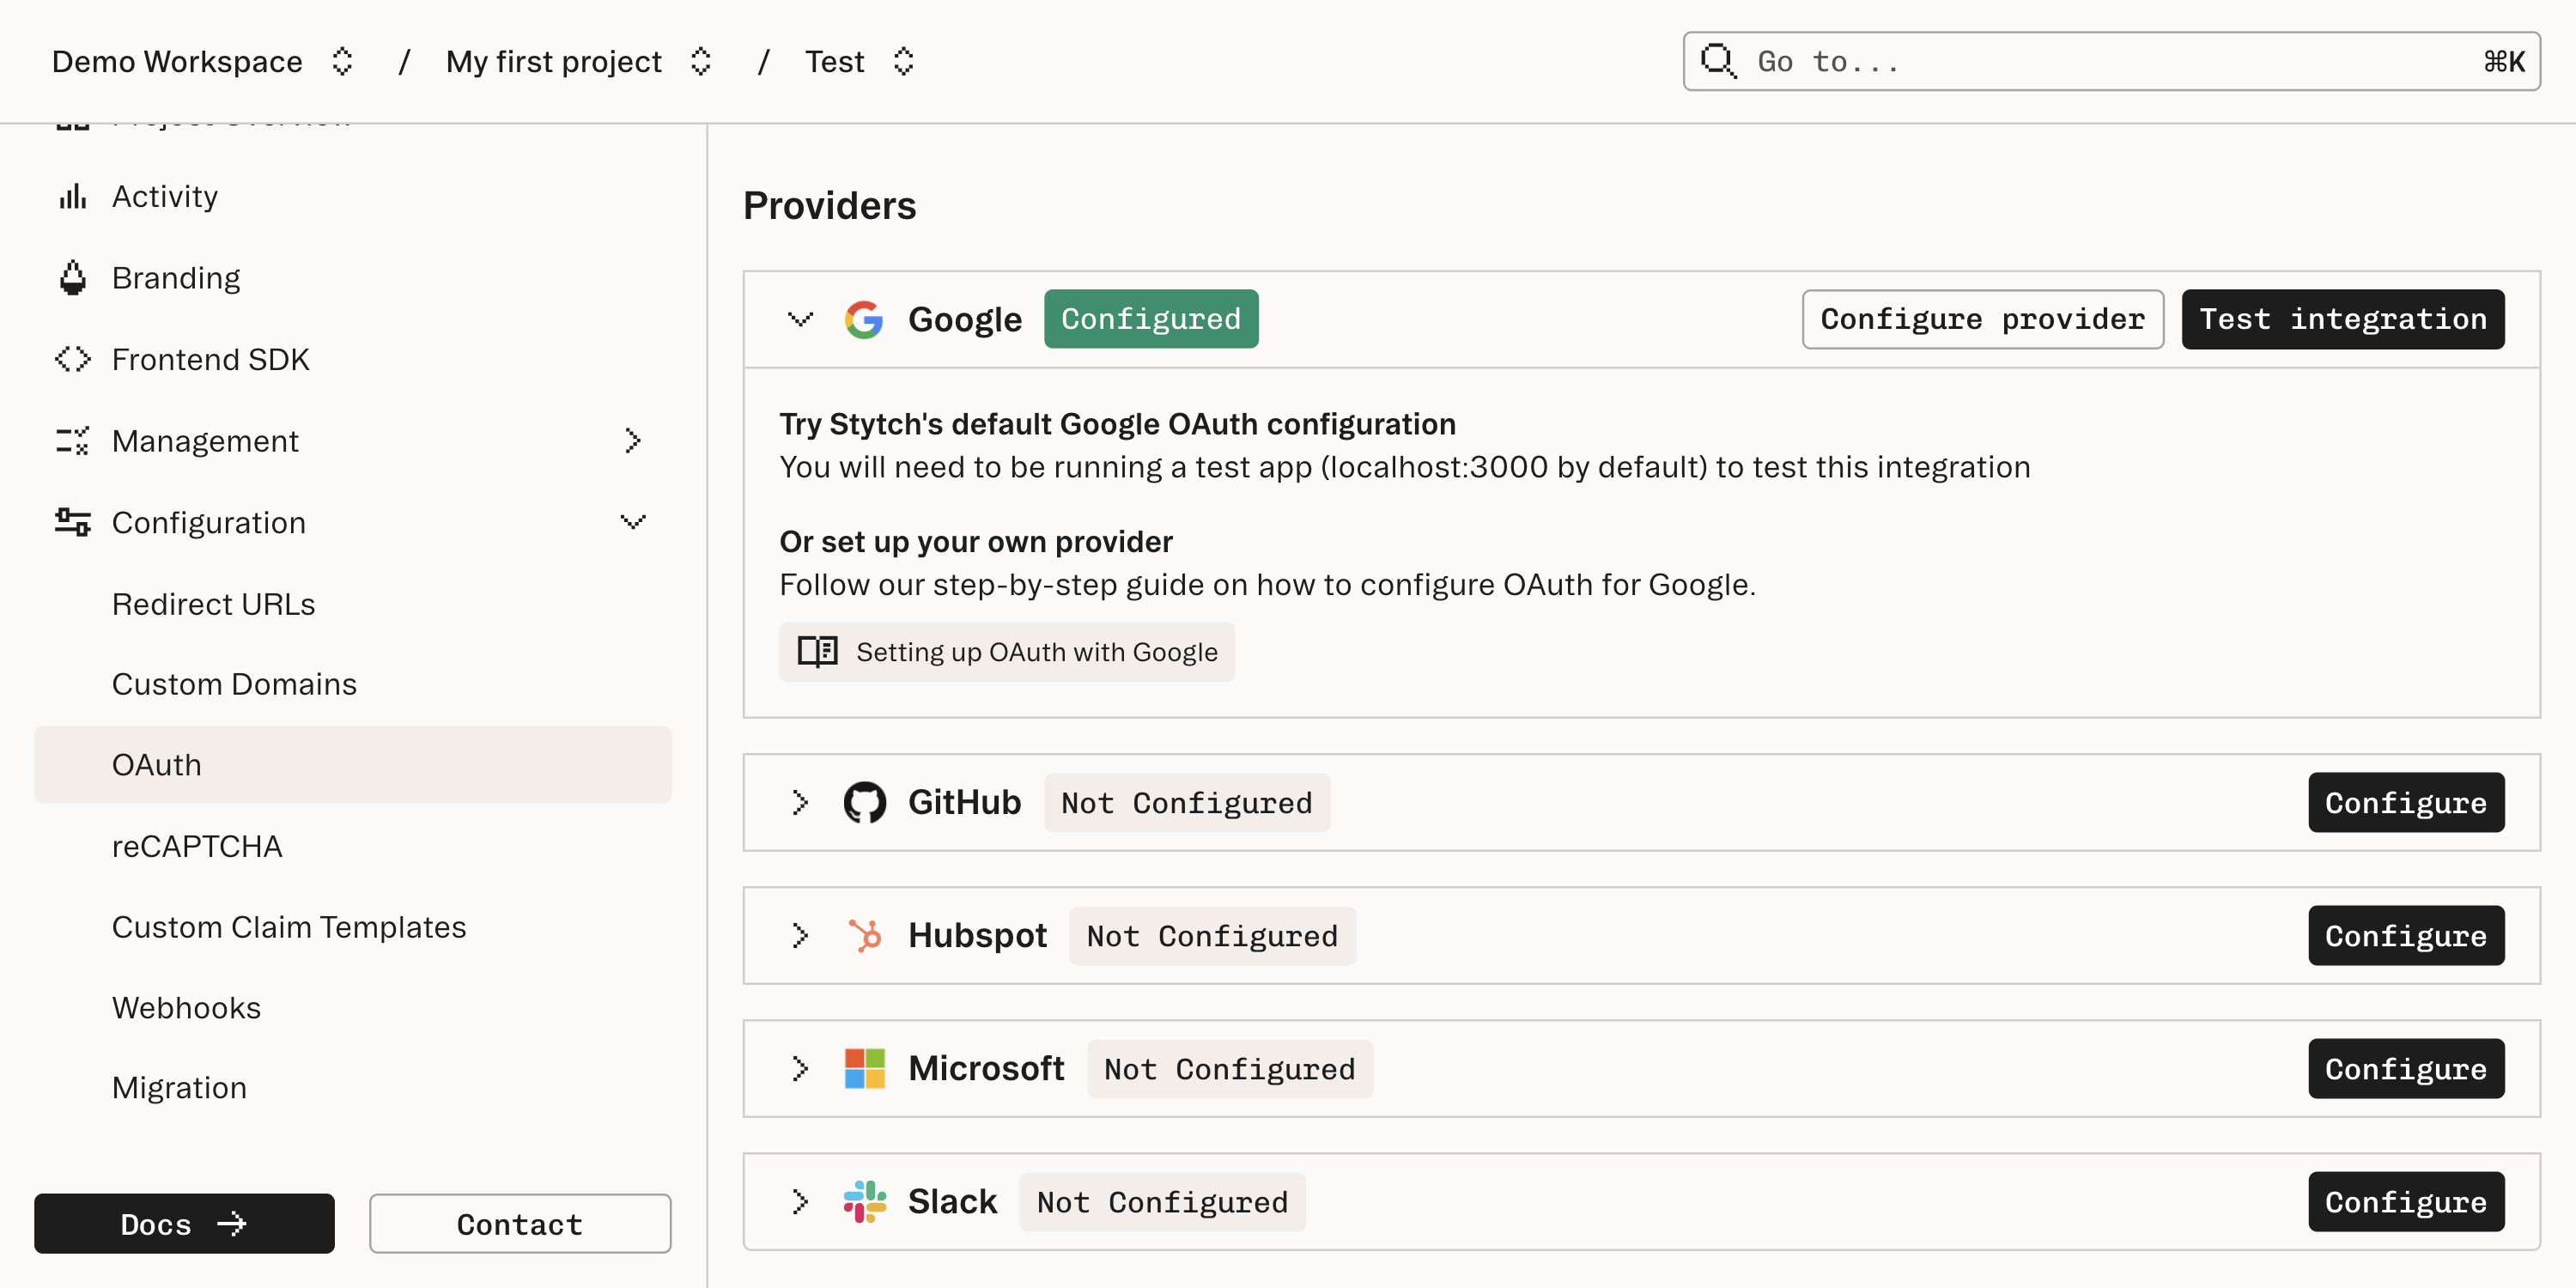
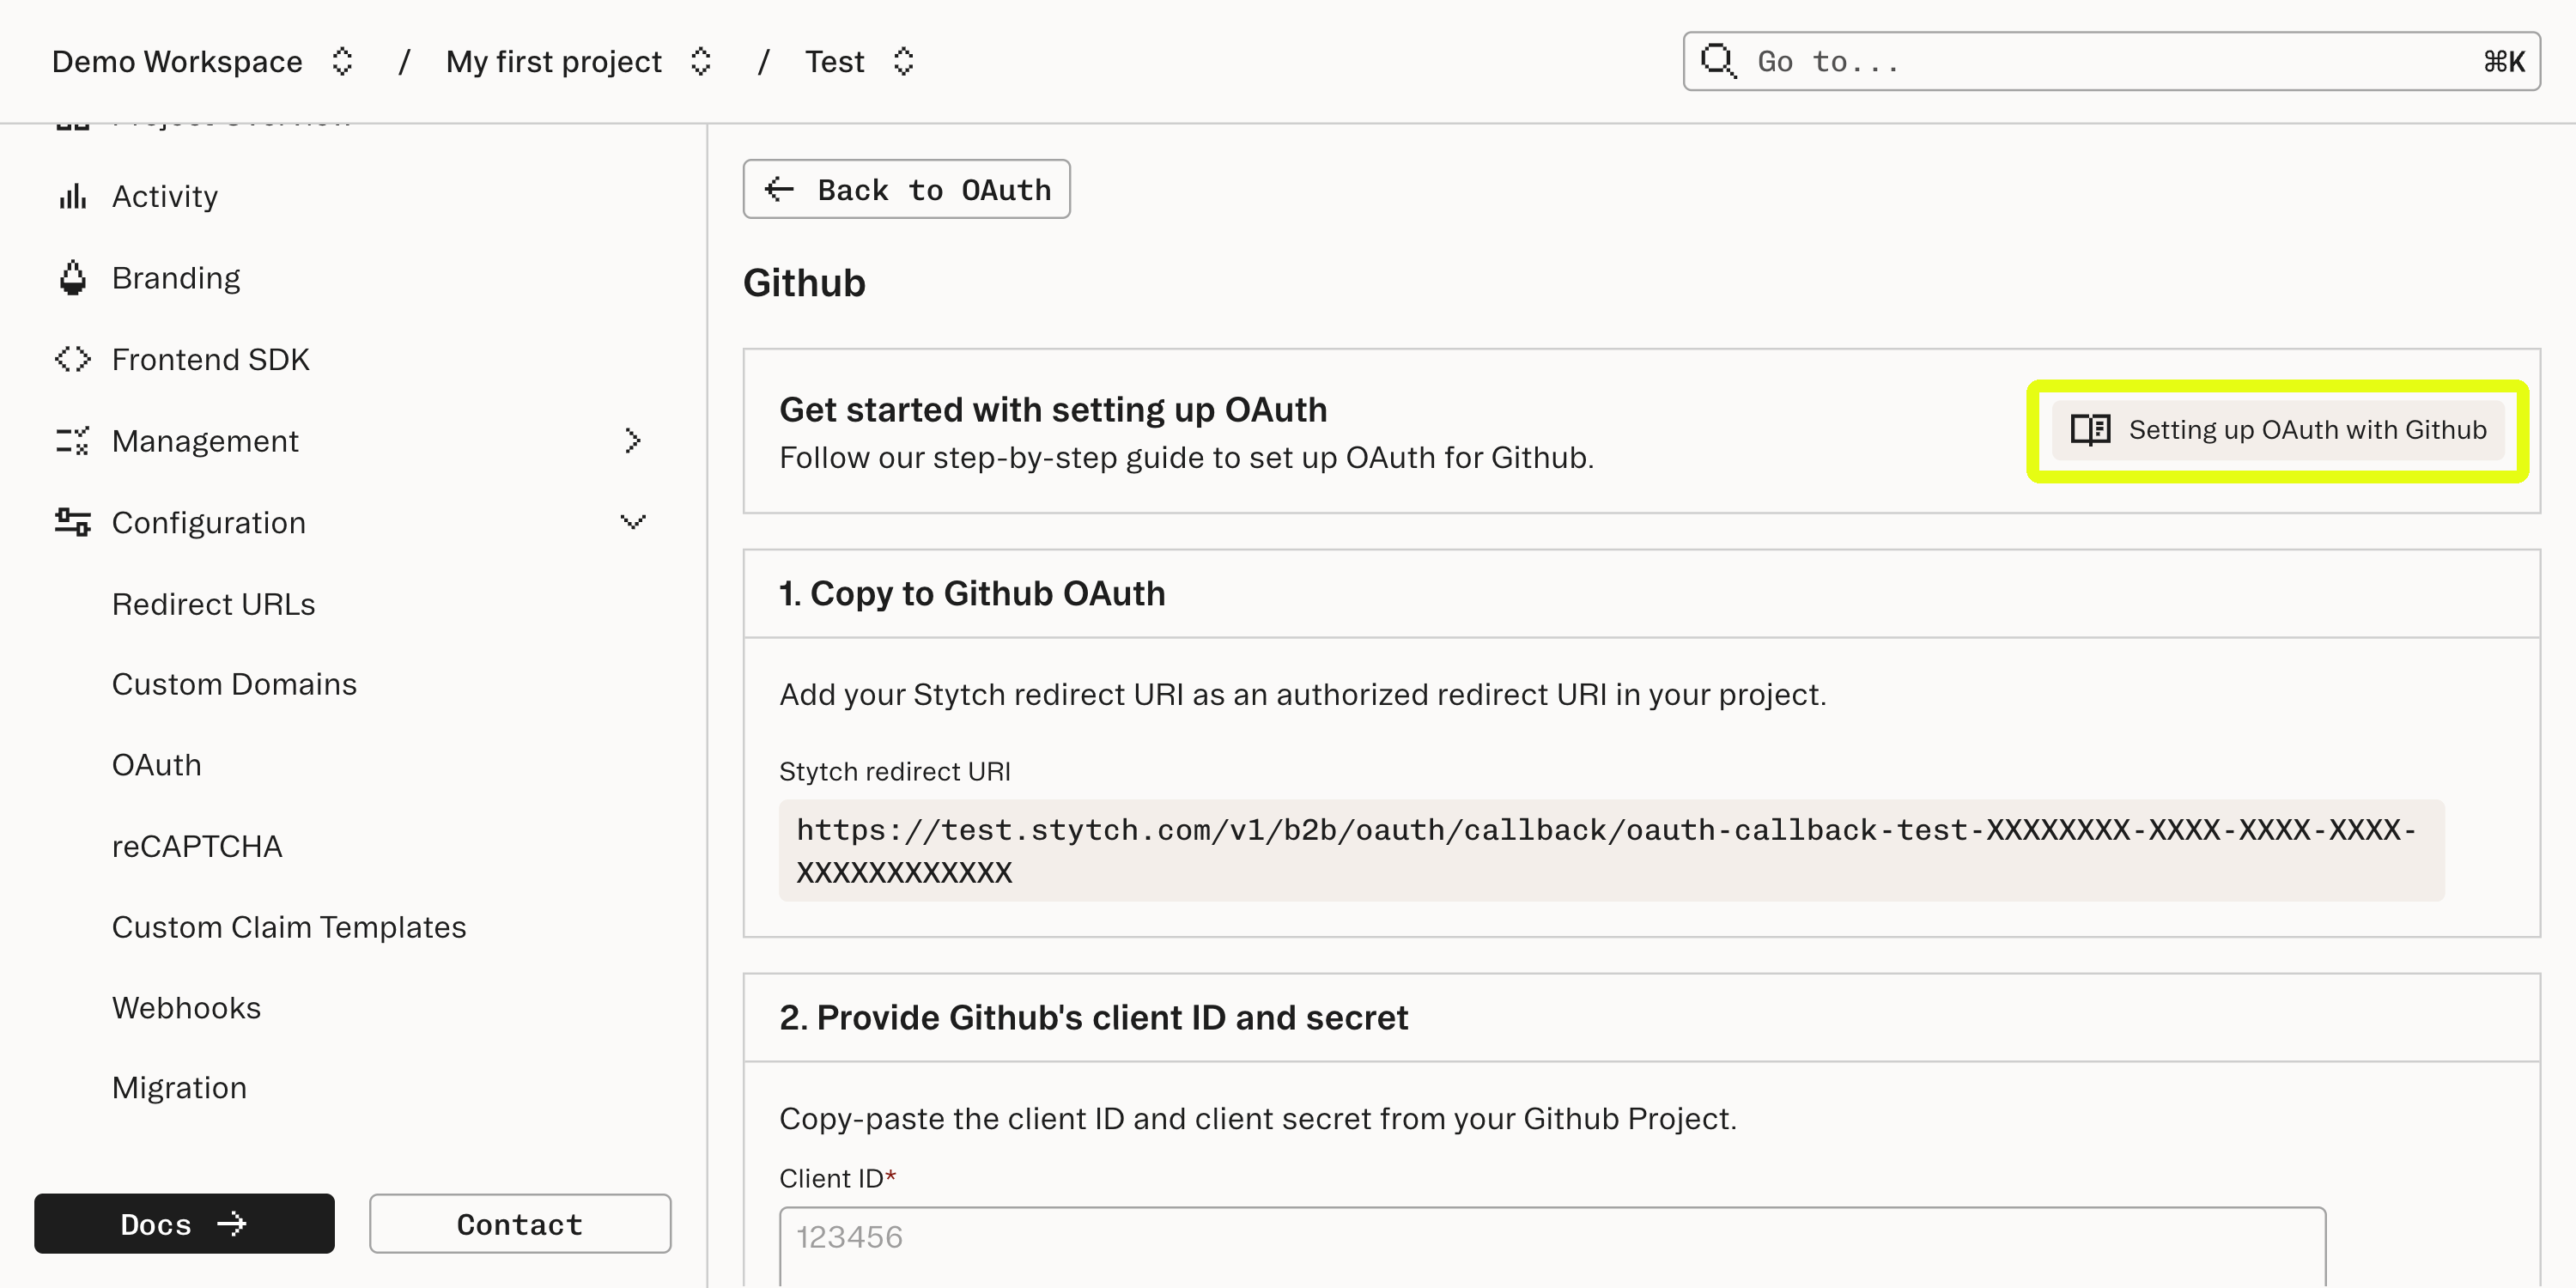
Be sure to add the Stytch redirect URI (
https://{test|live}.stytch.com/v1/b2b/oauth/callback/...) as an authorized redirect URI in your OAuth provider’s settings. This is where end users will be initially redirected after they authenticate with the provider.Configure redirect URLs in the Stytch Dashboard
On the Redirect URLs page, you’ll need to configure the URL where the user will be redirected after a successful OAuth authentication.By default, all new projects have redirect URLs set to
http://localhost:3000/authenticate for Test environments.If you want to use a different port, update the Dashboard to specify new default Redirect URLs for:- Sign-up and Login Redirect URL (for organization-specific login)
- Discovery Redirect URL (for discovery authentication)
(Optional) Create an Organization for Organization-specific authentication
You can get started with the sign-up or login flow without this step, so feel free to skip to Step 5!If you want to start with an example of logging into an existing , you can do so by creating an Organization through the Stytch Dashboard or Create Organization API.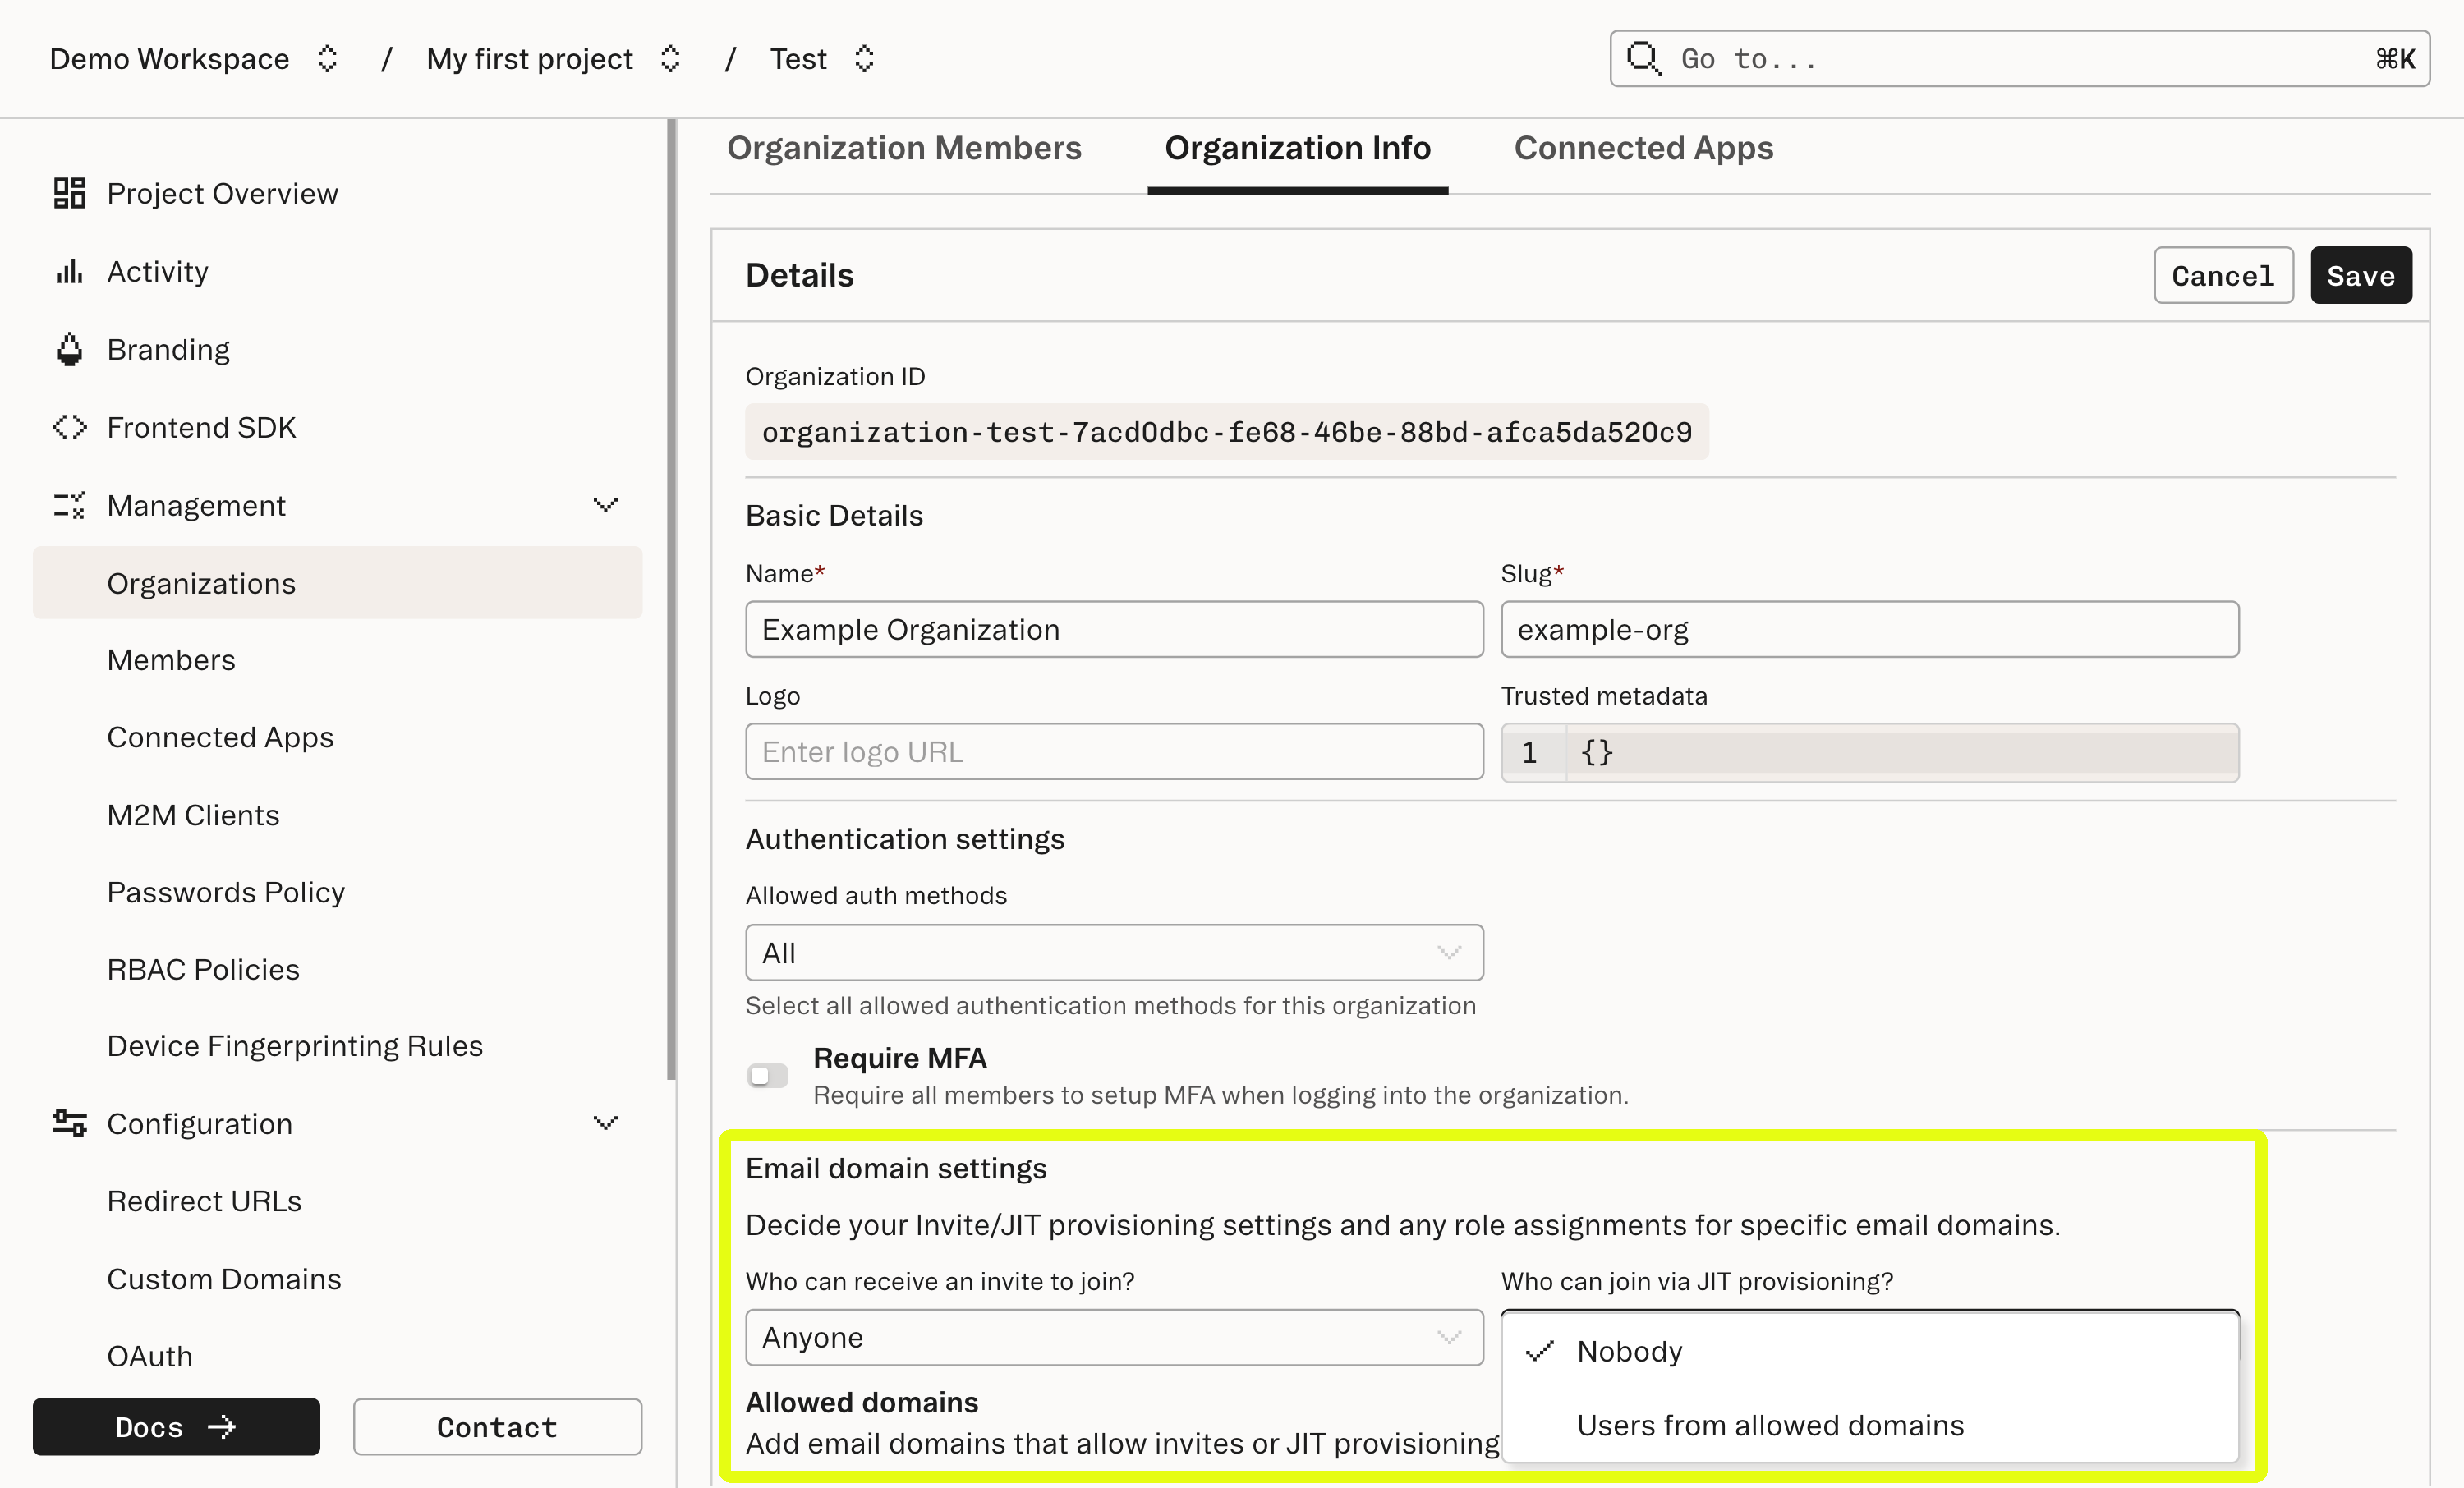
JIT Provisioning by Email Domain
If you are using Google or Microsoft as OAuth providers, and will be testing using a corporate email, you can allow Just-In-Time (JIT) Provisioning to the Organization via email domain by including your domain in theemail_allowed_domains array and setting email_jit_provisioning to RESTRICTED.Just-in-Time (JIT) Provisioning by email domain is restricted for common, free email providers (e.g. gmail.com). If you don’t have a corporate email, you can alternatively create a in your new Organization with the email you will use to log in.
JIT Provisioning by Tenant ID
If you are using Slack, HubSpot, or GitHub as OAuth providers, you can allow JIT Provisioning to the Organization by tenant ID. See our JIT Provisioning guide for additional information.Learn more about step-up flows for Slack/HubSpot/GitHub OAuth.