Configuring Stytch’s MCP server
Stytch is commonly configured during software development, so for this example we’ll be configuring an IDE with Stytch’s MCP server information. To one-click install Stytch’s MCP server with Cursor or VSCode, you can visit mcp.stytch.dev and click the button for installation. Alternatively, for other tools or to set up Stytch MCP with Cursor manually, proceed through the following walkthrough. Although the configuration process here is specific to Cursor, this example should give enough information to configure Stytch’s MCP server for other tools. In the app menu bar, activateAuthenticating with the Stytch MCP server
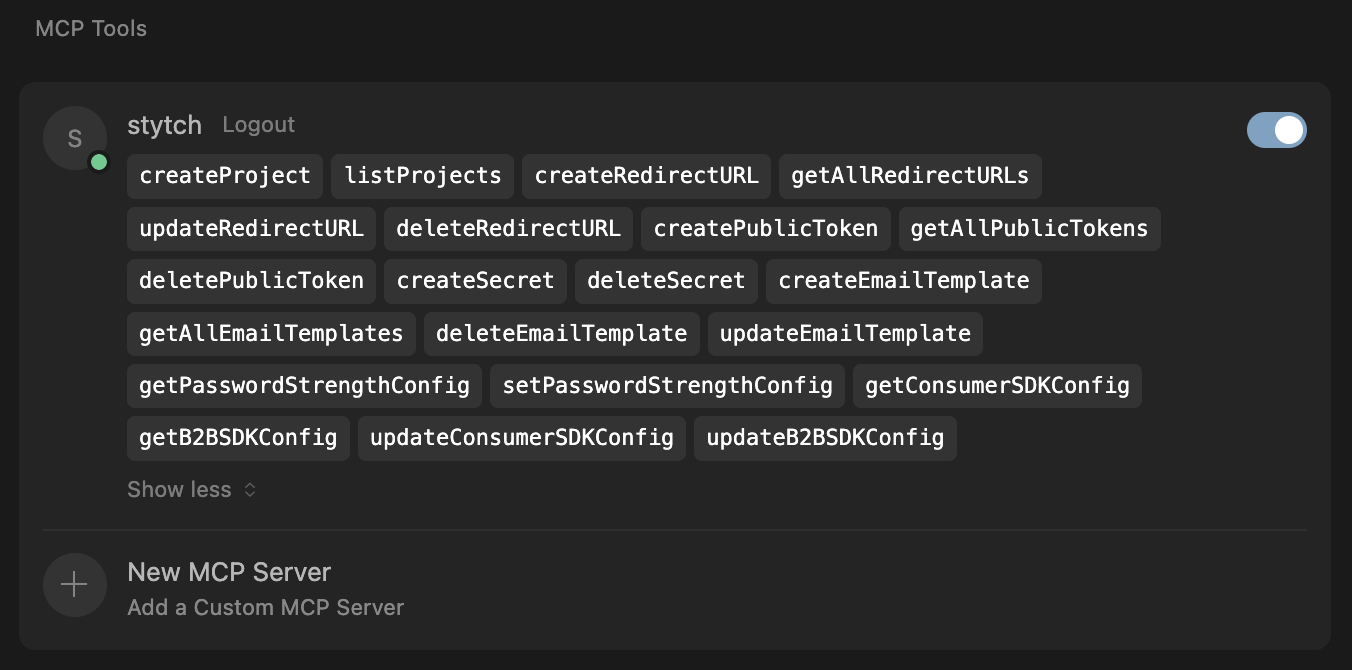
From time to time it may be necessary to reauthenticate with the Stytch MCP server. In the Tools & Integrations view, you can click the message that says “Needs Authentication” to go through the auth flow to grant access to your Stytch workspace to Cursor. Once the flow is done, Cursor should enumerate the tools available and you should see a message like “21 tools enabled”. Clicking this message will expand to show you the tools that Stytch’s MCP server has implemented.