Pre-requisites
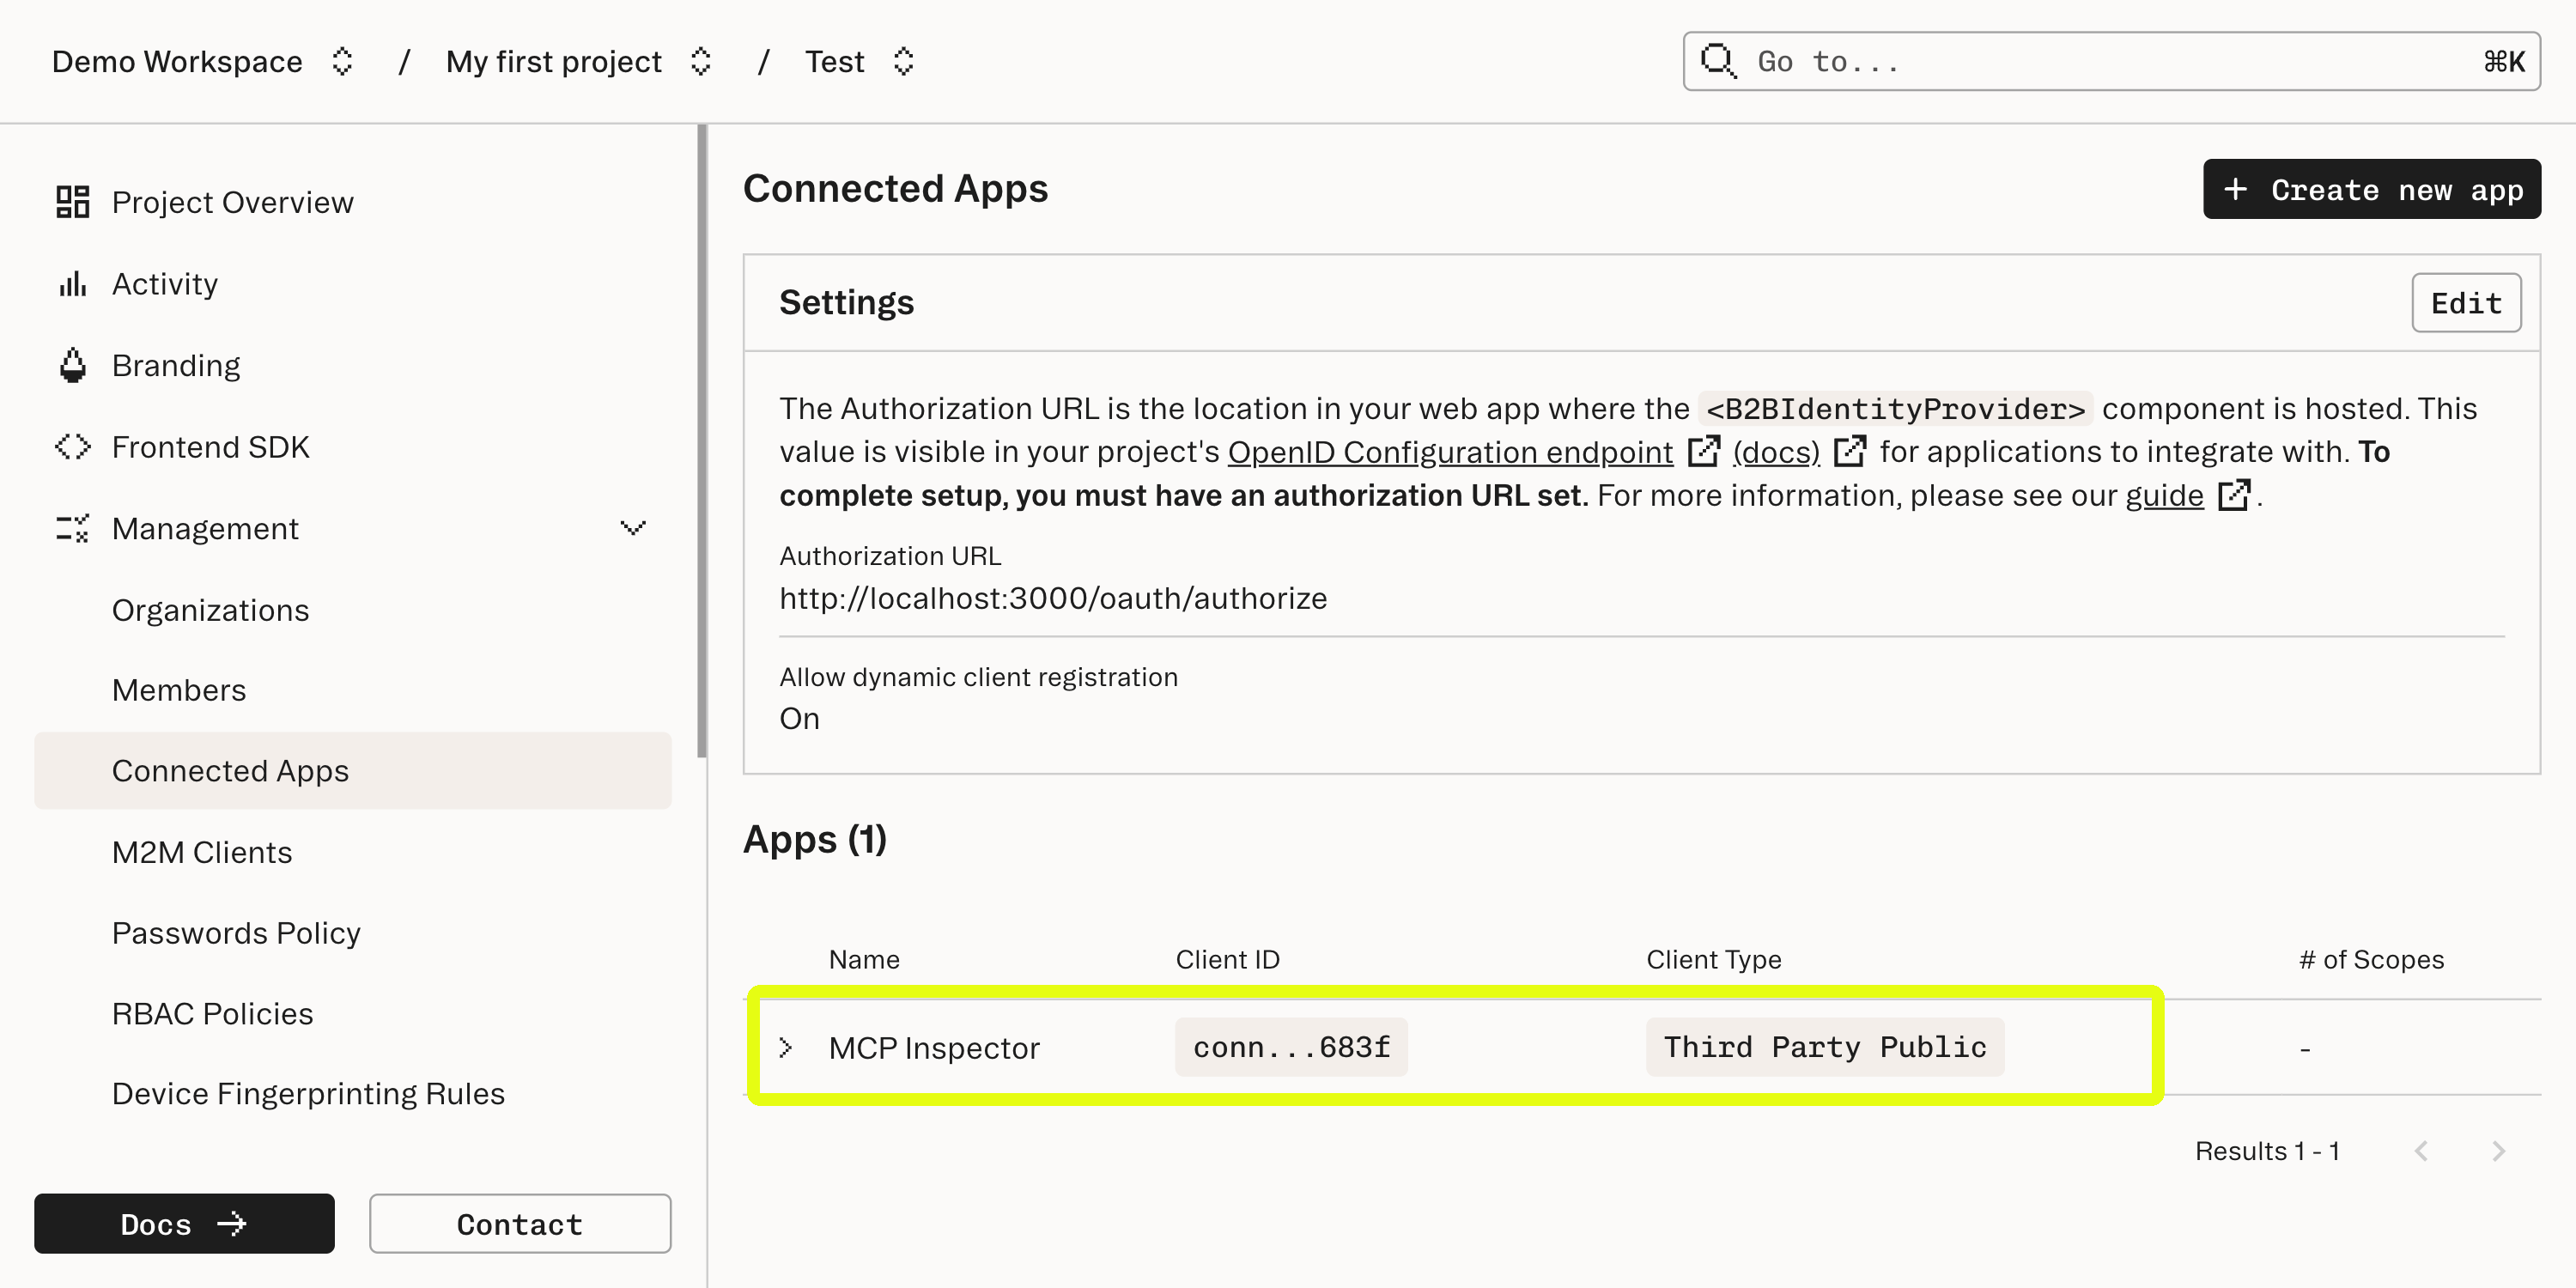
In order to complete this guide, you’ll need:- A Stytch project. If you don’t have one already, or would like to create a new one, in the Dashboard, click on your existing project name in the top left corner of the Dashboard, click Create Project, and then select B2B Authentication.
- The MCP Inspector. This is a tool that will help us ensure that our MCP server is exposing the correct interface, is running properly, and allows us to explore the features of the MCP protocol in a web-based tool.
Create a remote MCP server
Configure Stytch for our example app
Navigate to “Project Settings” to note your “Project ID” and “Public token”. You will need these values later.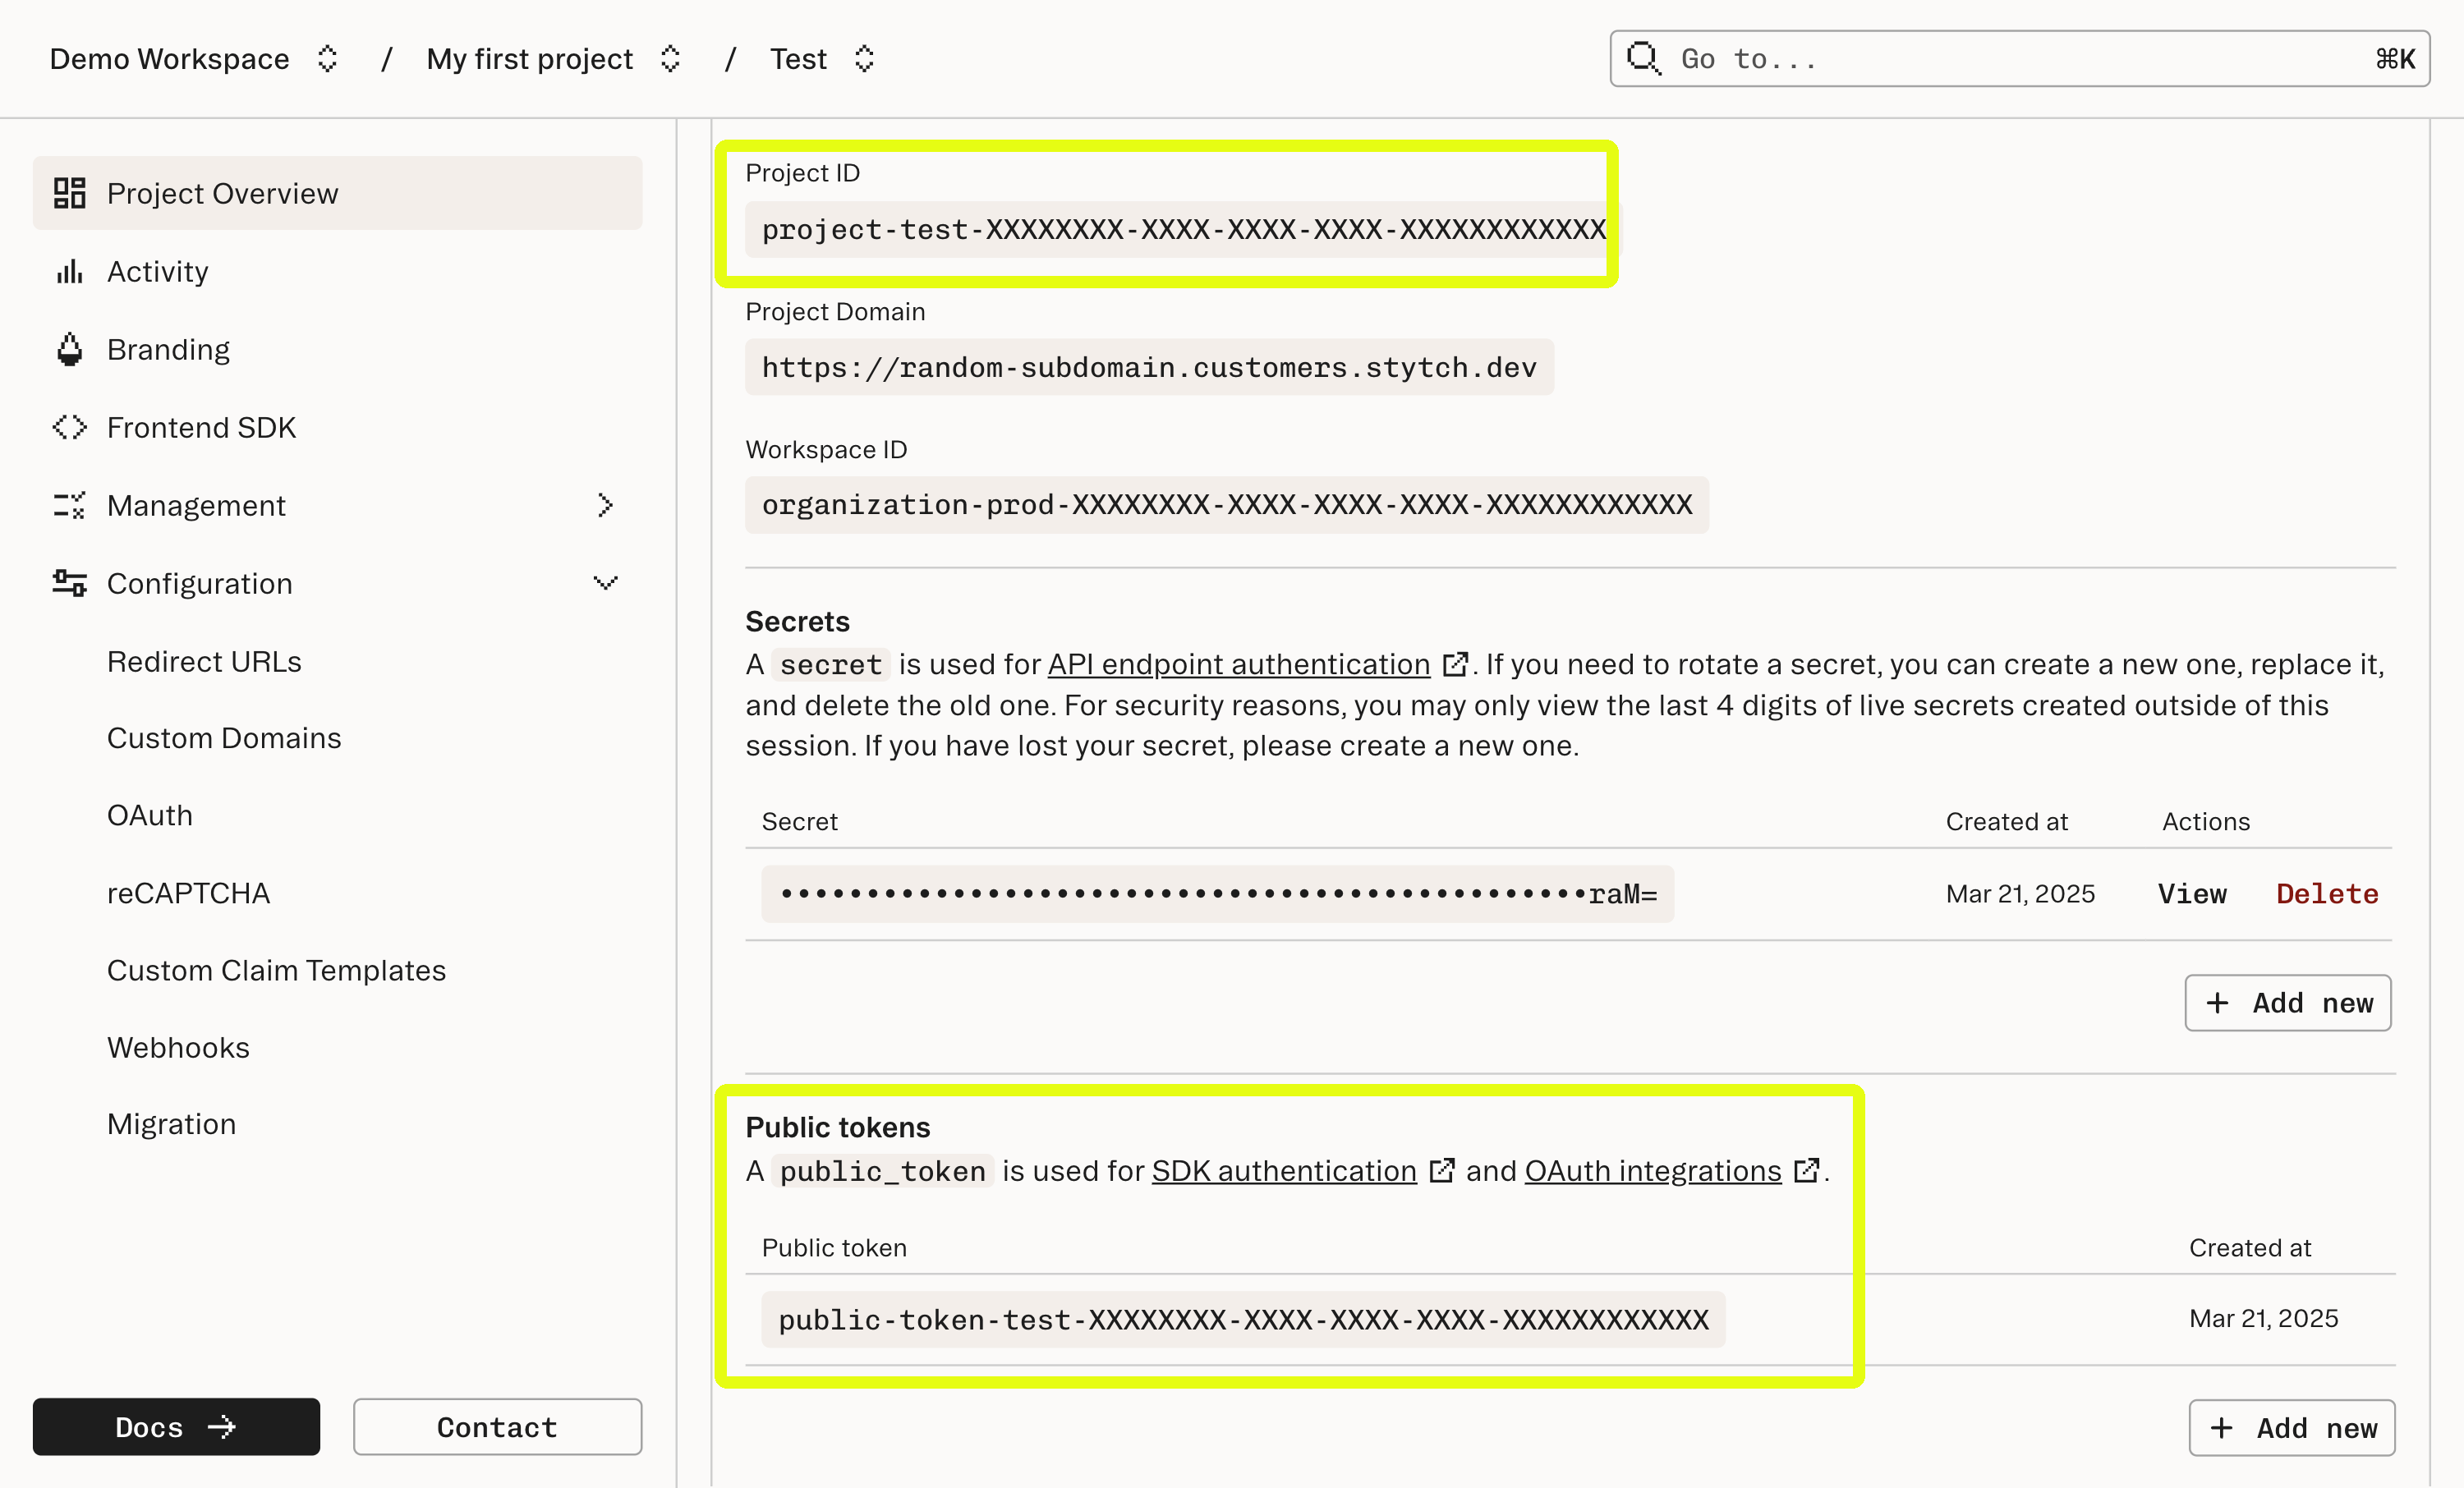
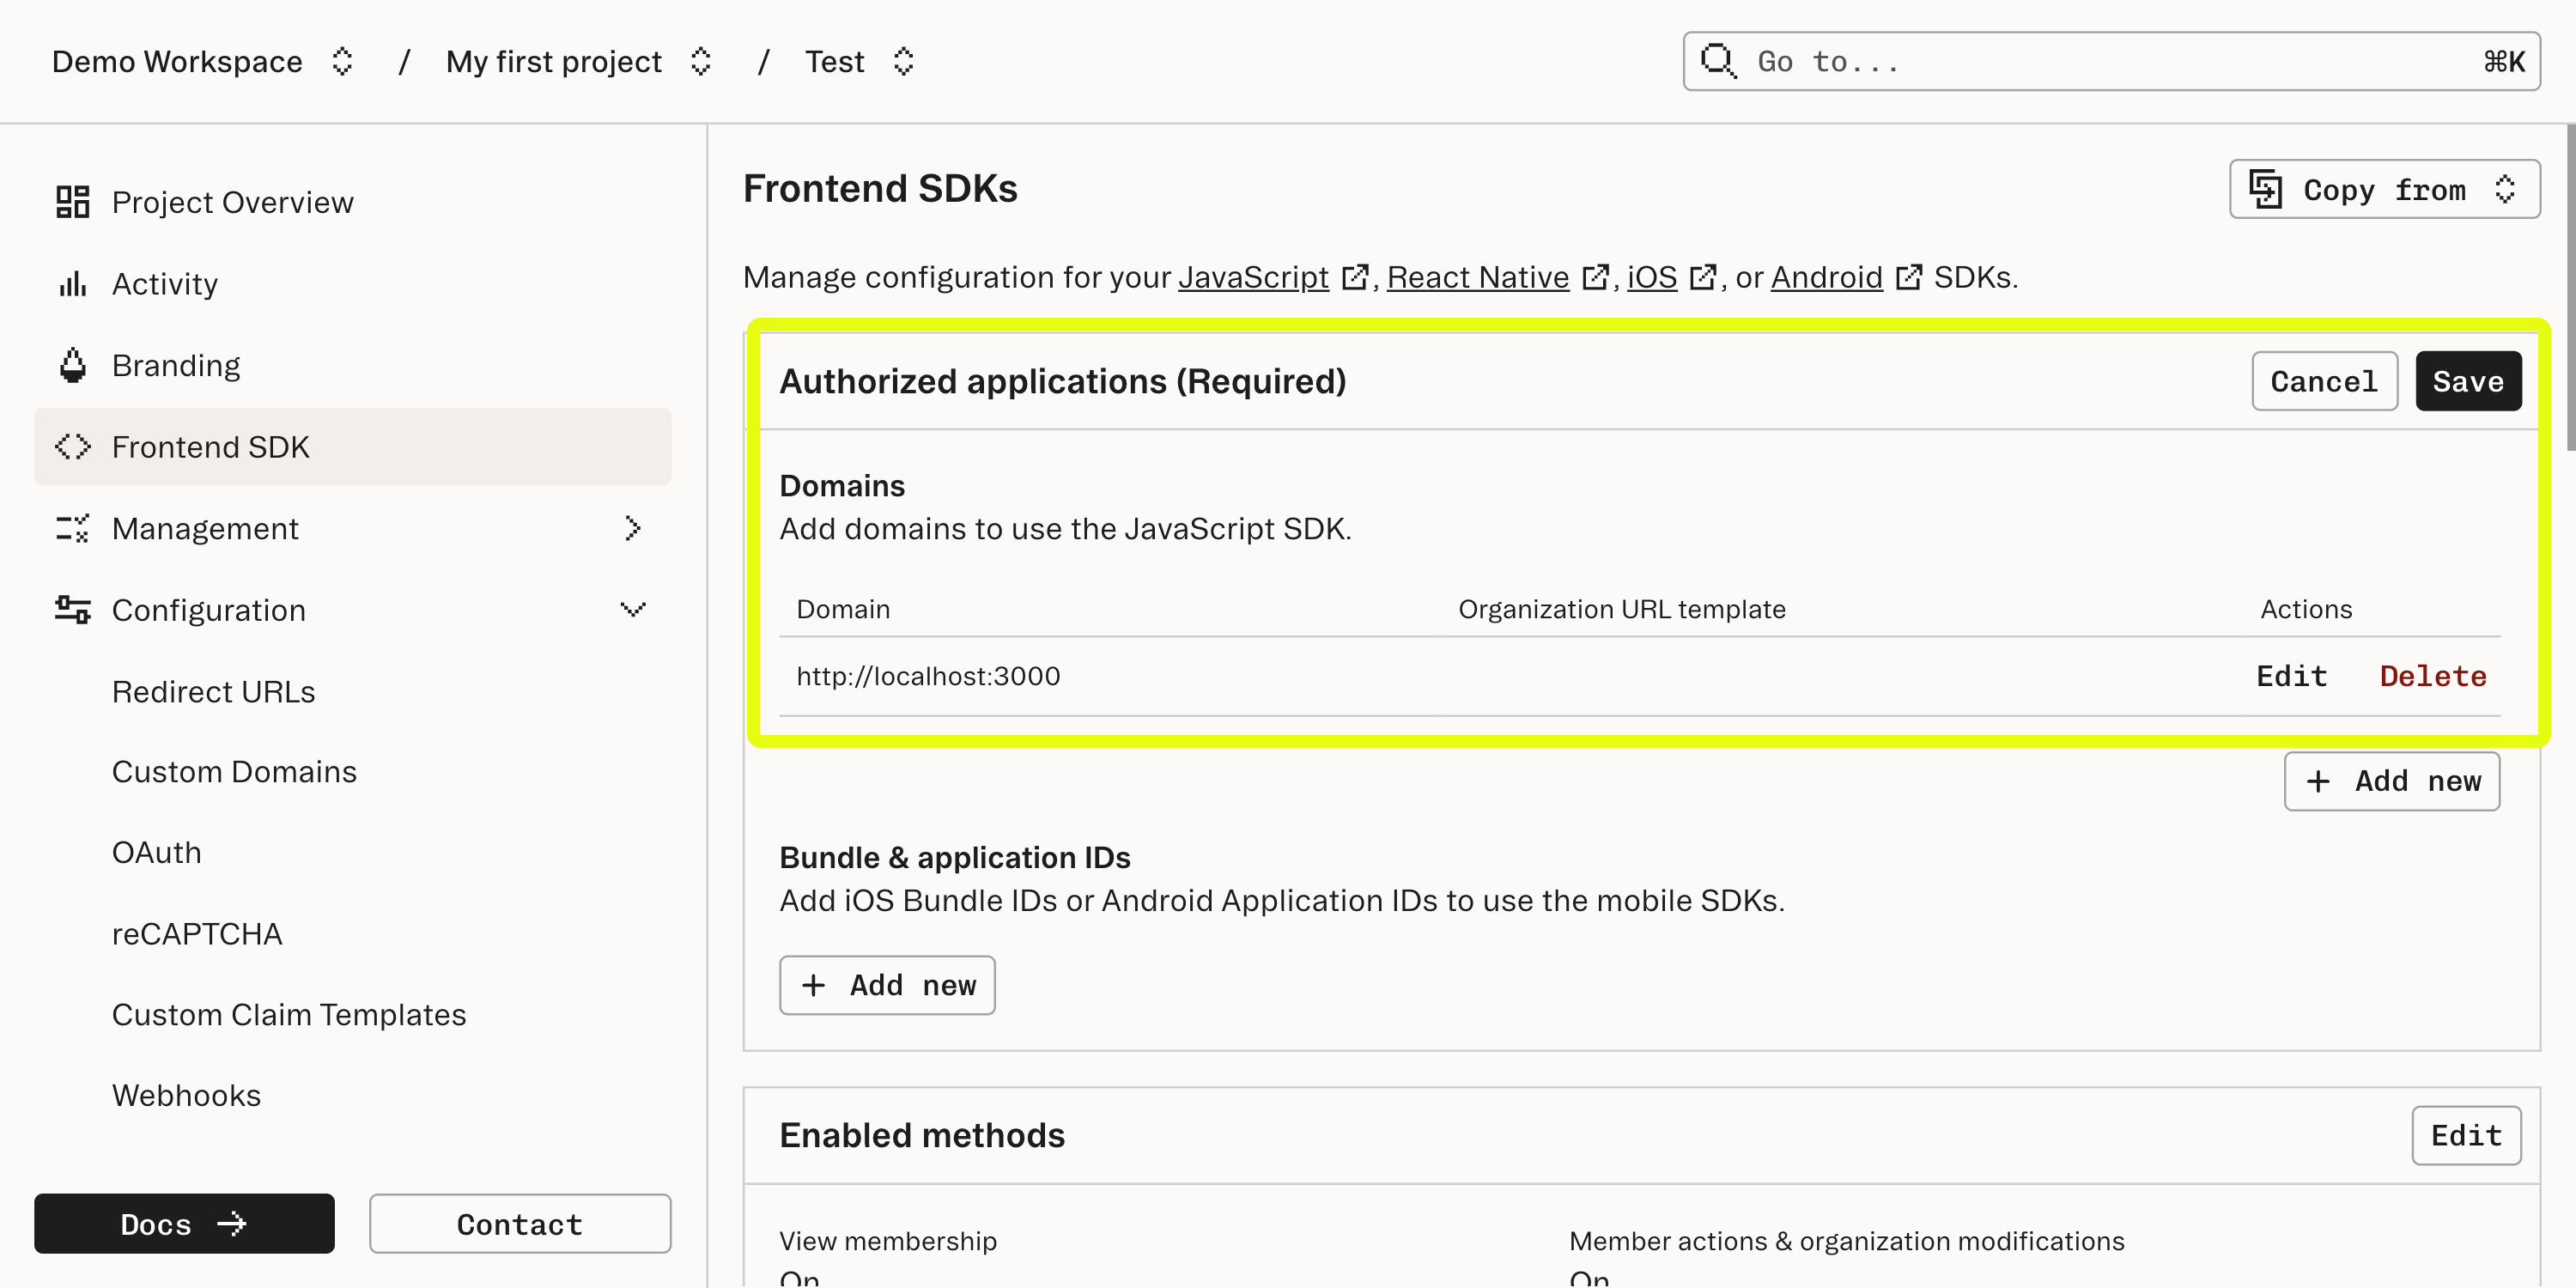
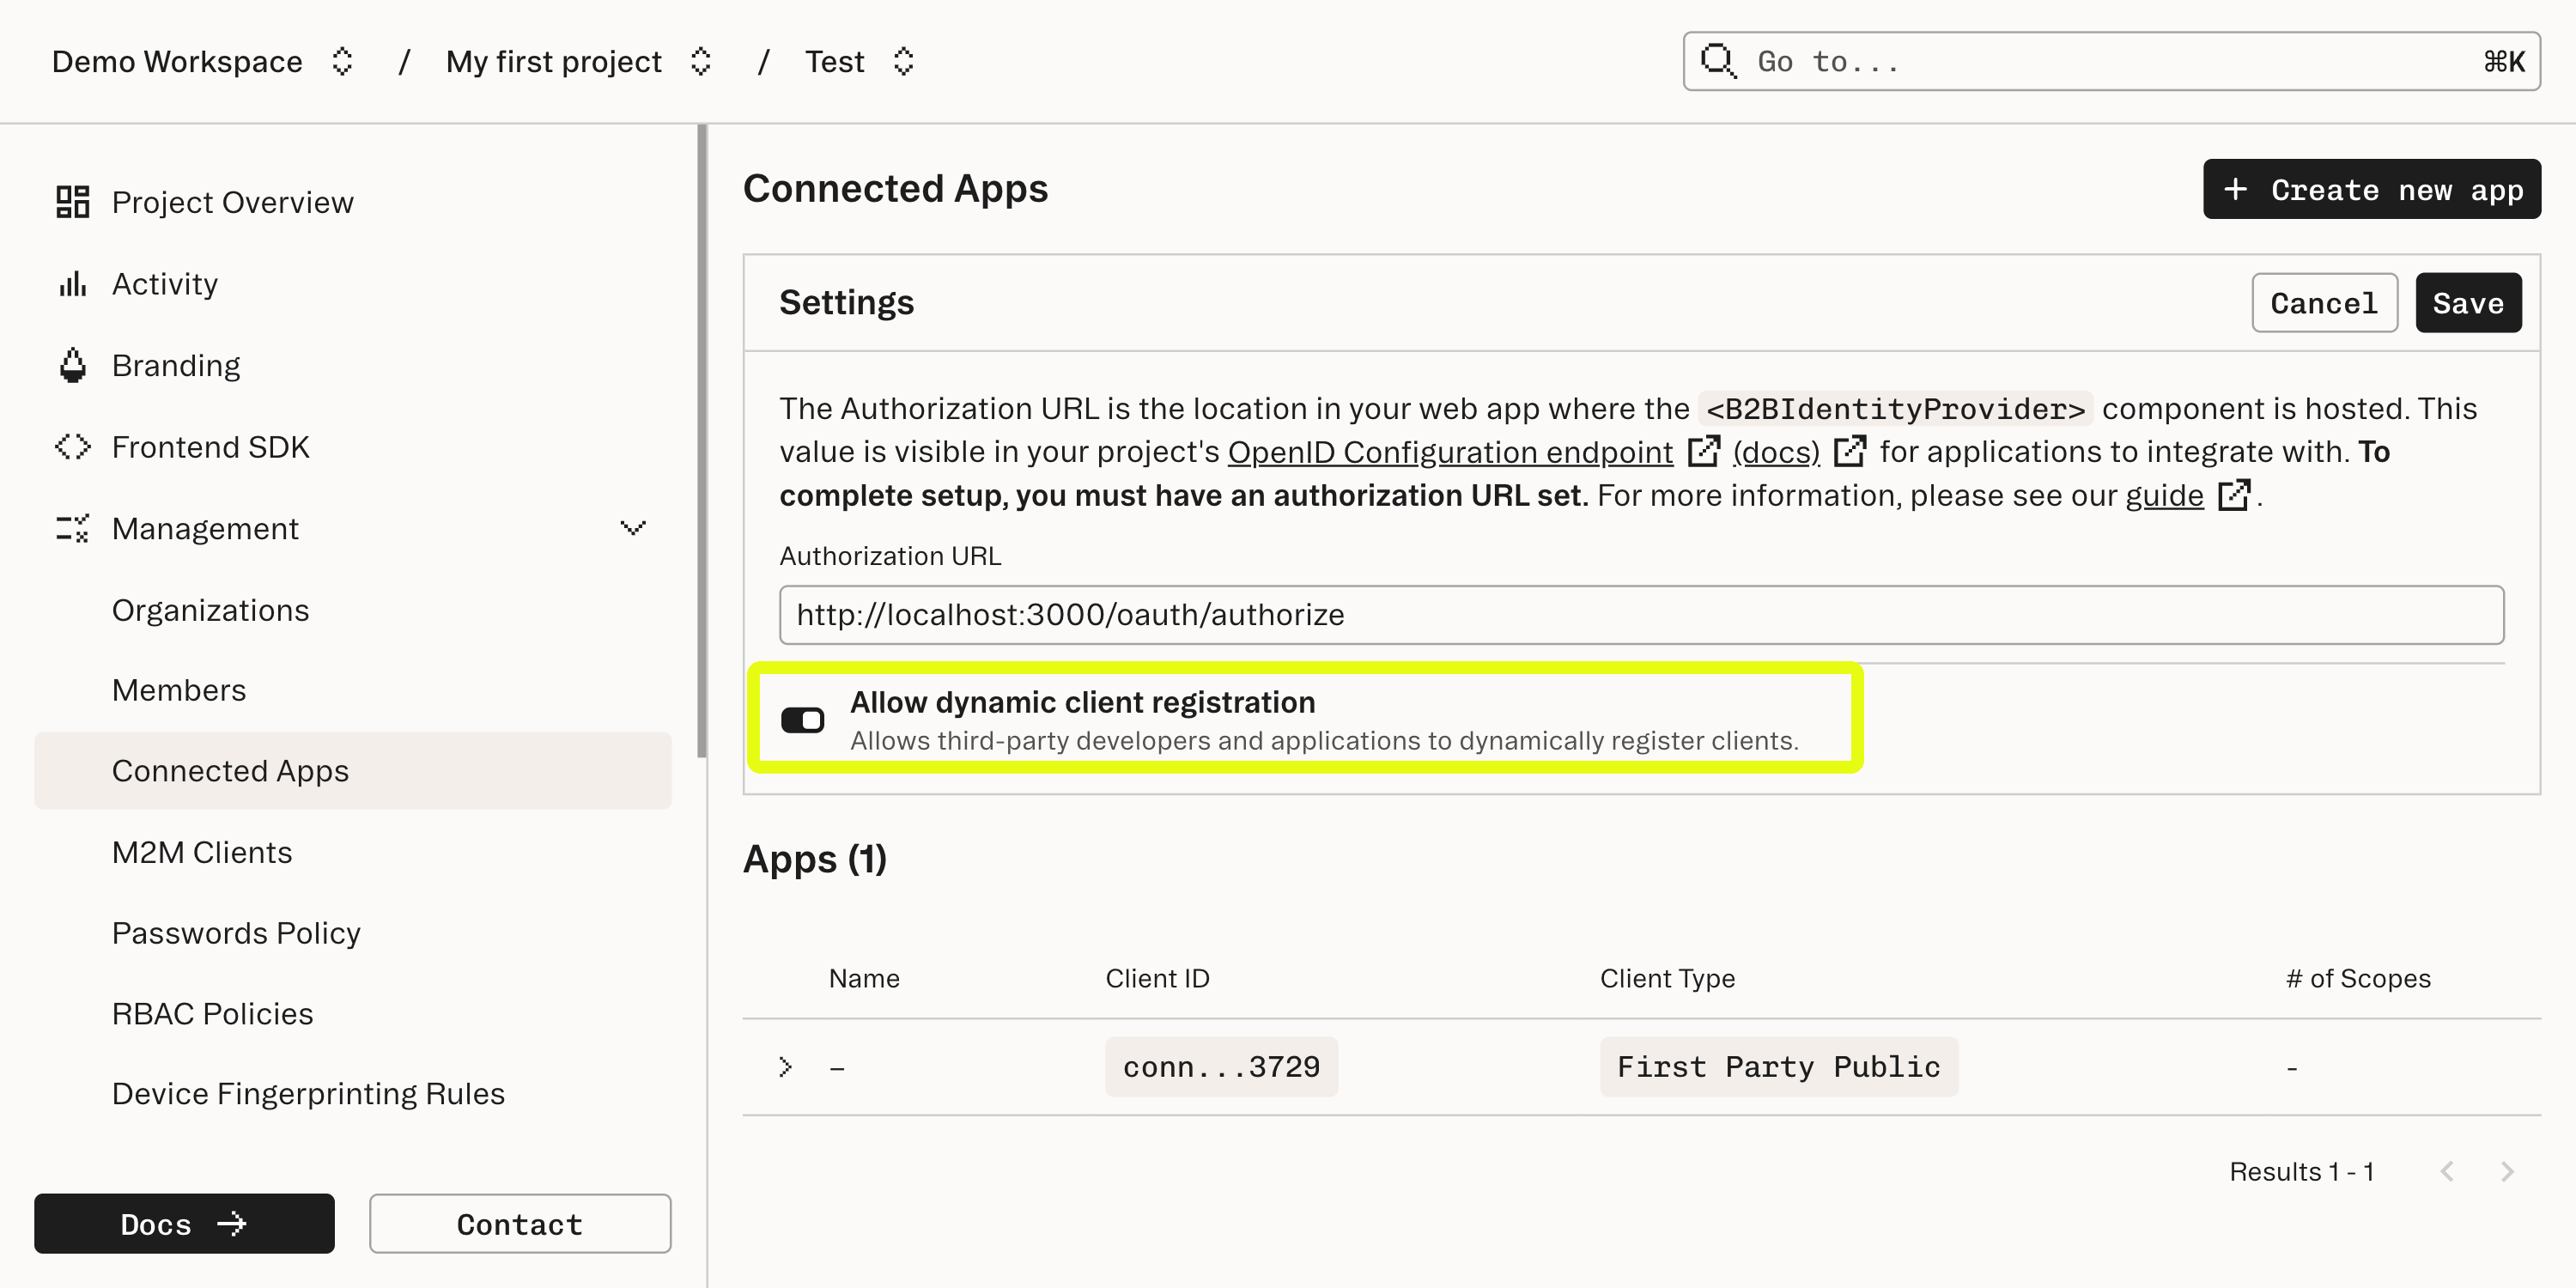

http://localhost:3000
Dynamic Client Registration is a protocol that allows applications to register themselves with Stytch as a Connected App client. We will dive more into how Dynamic Client Registration works later in this guide.

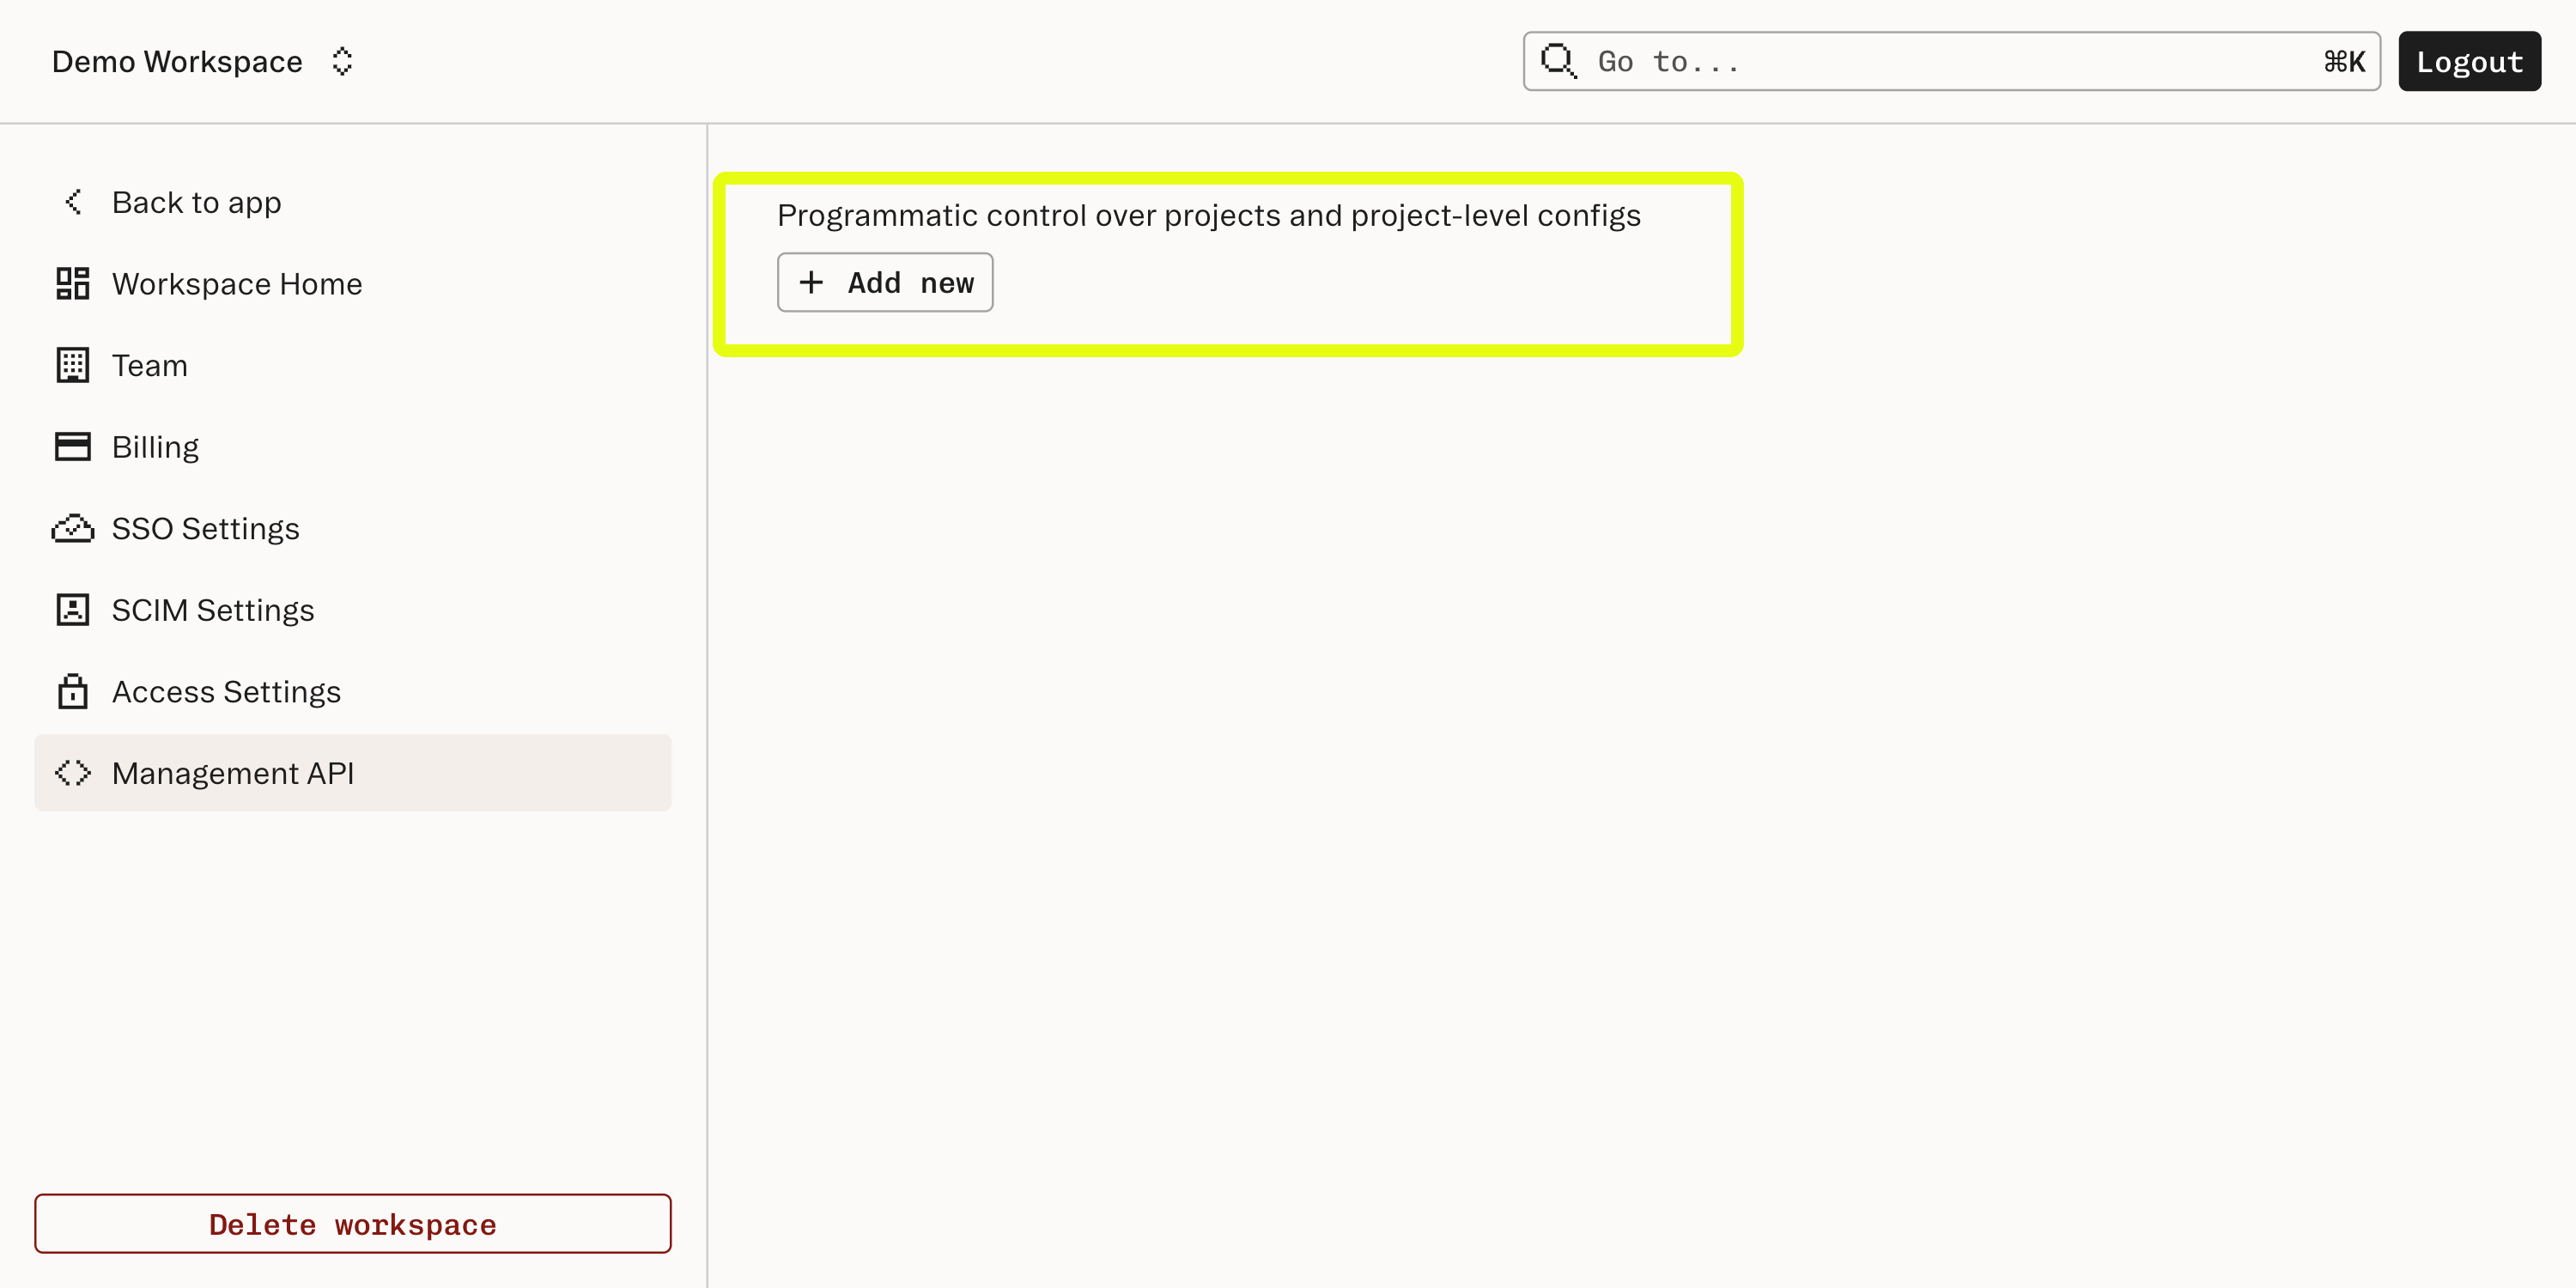
- These credentials are used for Stytch’s Programmatic Workspace Actions, which allows applications to make changes to Stytch’s configuration.
-
We will use these to define roles for authorization with Stytch’s Role-Based Access Control, which will be covered more later in this guide.
Clone the GitHub repository for this guide
The companion repository for this guide is located in GitHub. Go to that repository, clone it, and follow the README to get the OKR Manager app up and running on your local machine.Once you have the example up and running, explore its functionality and start to get a sense of how the app is structured, then return here for a tour of the app’s implementation.
Examine how the HTTP client and server implementations are built
The app exposes a straightforward REST API that implements state management and access control. This API (which can be examined at /api/OKRAPI.ts) exposes methods to create, read, update, and delete high level Objectives, which contain zero or more Key Results to support those Objectives. State management and persistence are handled by the OKRService class, defined in /api/OKRService.ts, which manages the app’s data in the data store.The browser frontend includes a number of React components that work together to render the app. In /src/OKREditor.tsx you can see how the frontend makes requests to the backend API to change the state of our data.Take a moment to read the source code, run the app, and interact with the app’s state to get a feel for how data is being modeled and what operations are valid.
Learn how the MCP server is defined
The MCP Core architecture documentation is a good reference for understanding how an MCP server is implemented.
We’ll dive more deeply into how authentication is implemented in the next step.
Summary of relevant concepts
Summary of relevant concepts
MCP servers use a protocol based on JSON-RPC 2.0 for message passing between the remote MCP server (what we’re building) and the client, which is the LLM that is integrating with the server. The RPC protocol uses POST requests and Server-Sent Events to pass messages back and forth between the server and client. There are a few core primitives (Resource, Prompts, Tools, etc…) defined by the MCP specification that describe the schema of the messages in this protocol and what behaviors can be expected.This is a structurally different protocol than vanilla HTTP requests, so implementing a Remote MCP server is more nuanced than a typical HTTP request/response flow. Thankfully there are libraries to assist in implementing MCP servers. Our example uses @modelcontextprotocol/sdk to handle the specifics of conforming with the MCP protocol.In /api/OKRManagerMCP.ts, you can follow along as the `McpServer class defines the resources and tools that are exposed through the MCP protocol. Note that, just as in the HTTP implementation, the MCP server uses the OKRService class to handle application state.The details of how exactly an MCP server defines its components are implementation-dependent, but for the purposes of this walkthrough the key concept is that MCP defines a protocol for our server to implement in order to establish communications with an LLM client. This protocol can coexist with an HTTP server or stand on its own, but the fundamentals of establishing authorization and authentication are similar for each.
Learn how authentication and authorization with Stytch is implemented
Dynamic Client Registration
Dynamic Client Registration
Dynamic Client Registration is an OAuth standard for allowing a client to automatically register itself with an Identity Provider (IdP) server and is included as part of the Remote MCP protocol.The first time the MCP Inspector attempts to access our OKR Manager app it will receive a
401 Unauthorized` response. This will cause the MCP Inspector to fetch metadata about our server. In /api/index.ts the OKR Manager app creates a route at /.well-known/oauth-authorization-server which returns metadata about the OAuth server (as covered in the Authorization Server Metadata standard).Once the MCP Inspector has fetched the metadata from our OKR Manager app Stytch and the MCP Inspector will handle the rest of the Dynamic Client Registration process to create a new Connected Apps client.Connected Apps authorization
Connected Apps authorization
Role Based Access Control
Role Based Access Control
Our OKR Manager app uses Stytch’s Role-Based Access Control to manage authorization. When we initially configured the app, we ran this step as instructed in the GitHub README:This command used Programmatic Workspace Actions to define roles for the OKR Manager app. On the RBAC page in the Dashboard, you will now see some new Roles, Resources, and Scopes. Take a moment to examine these.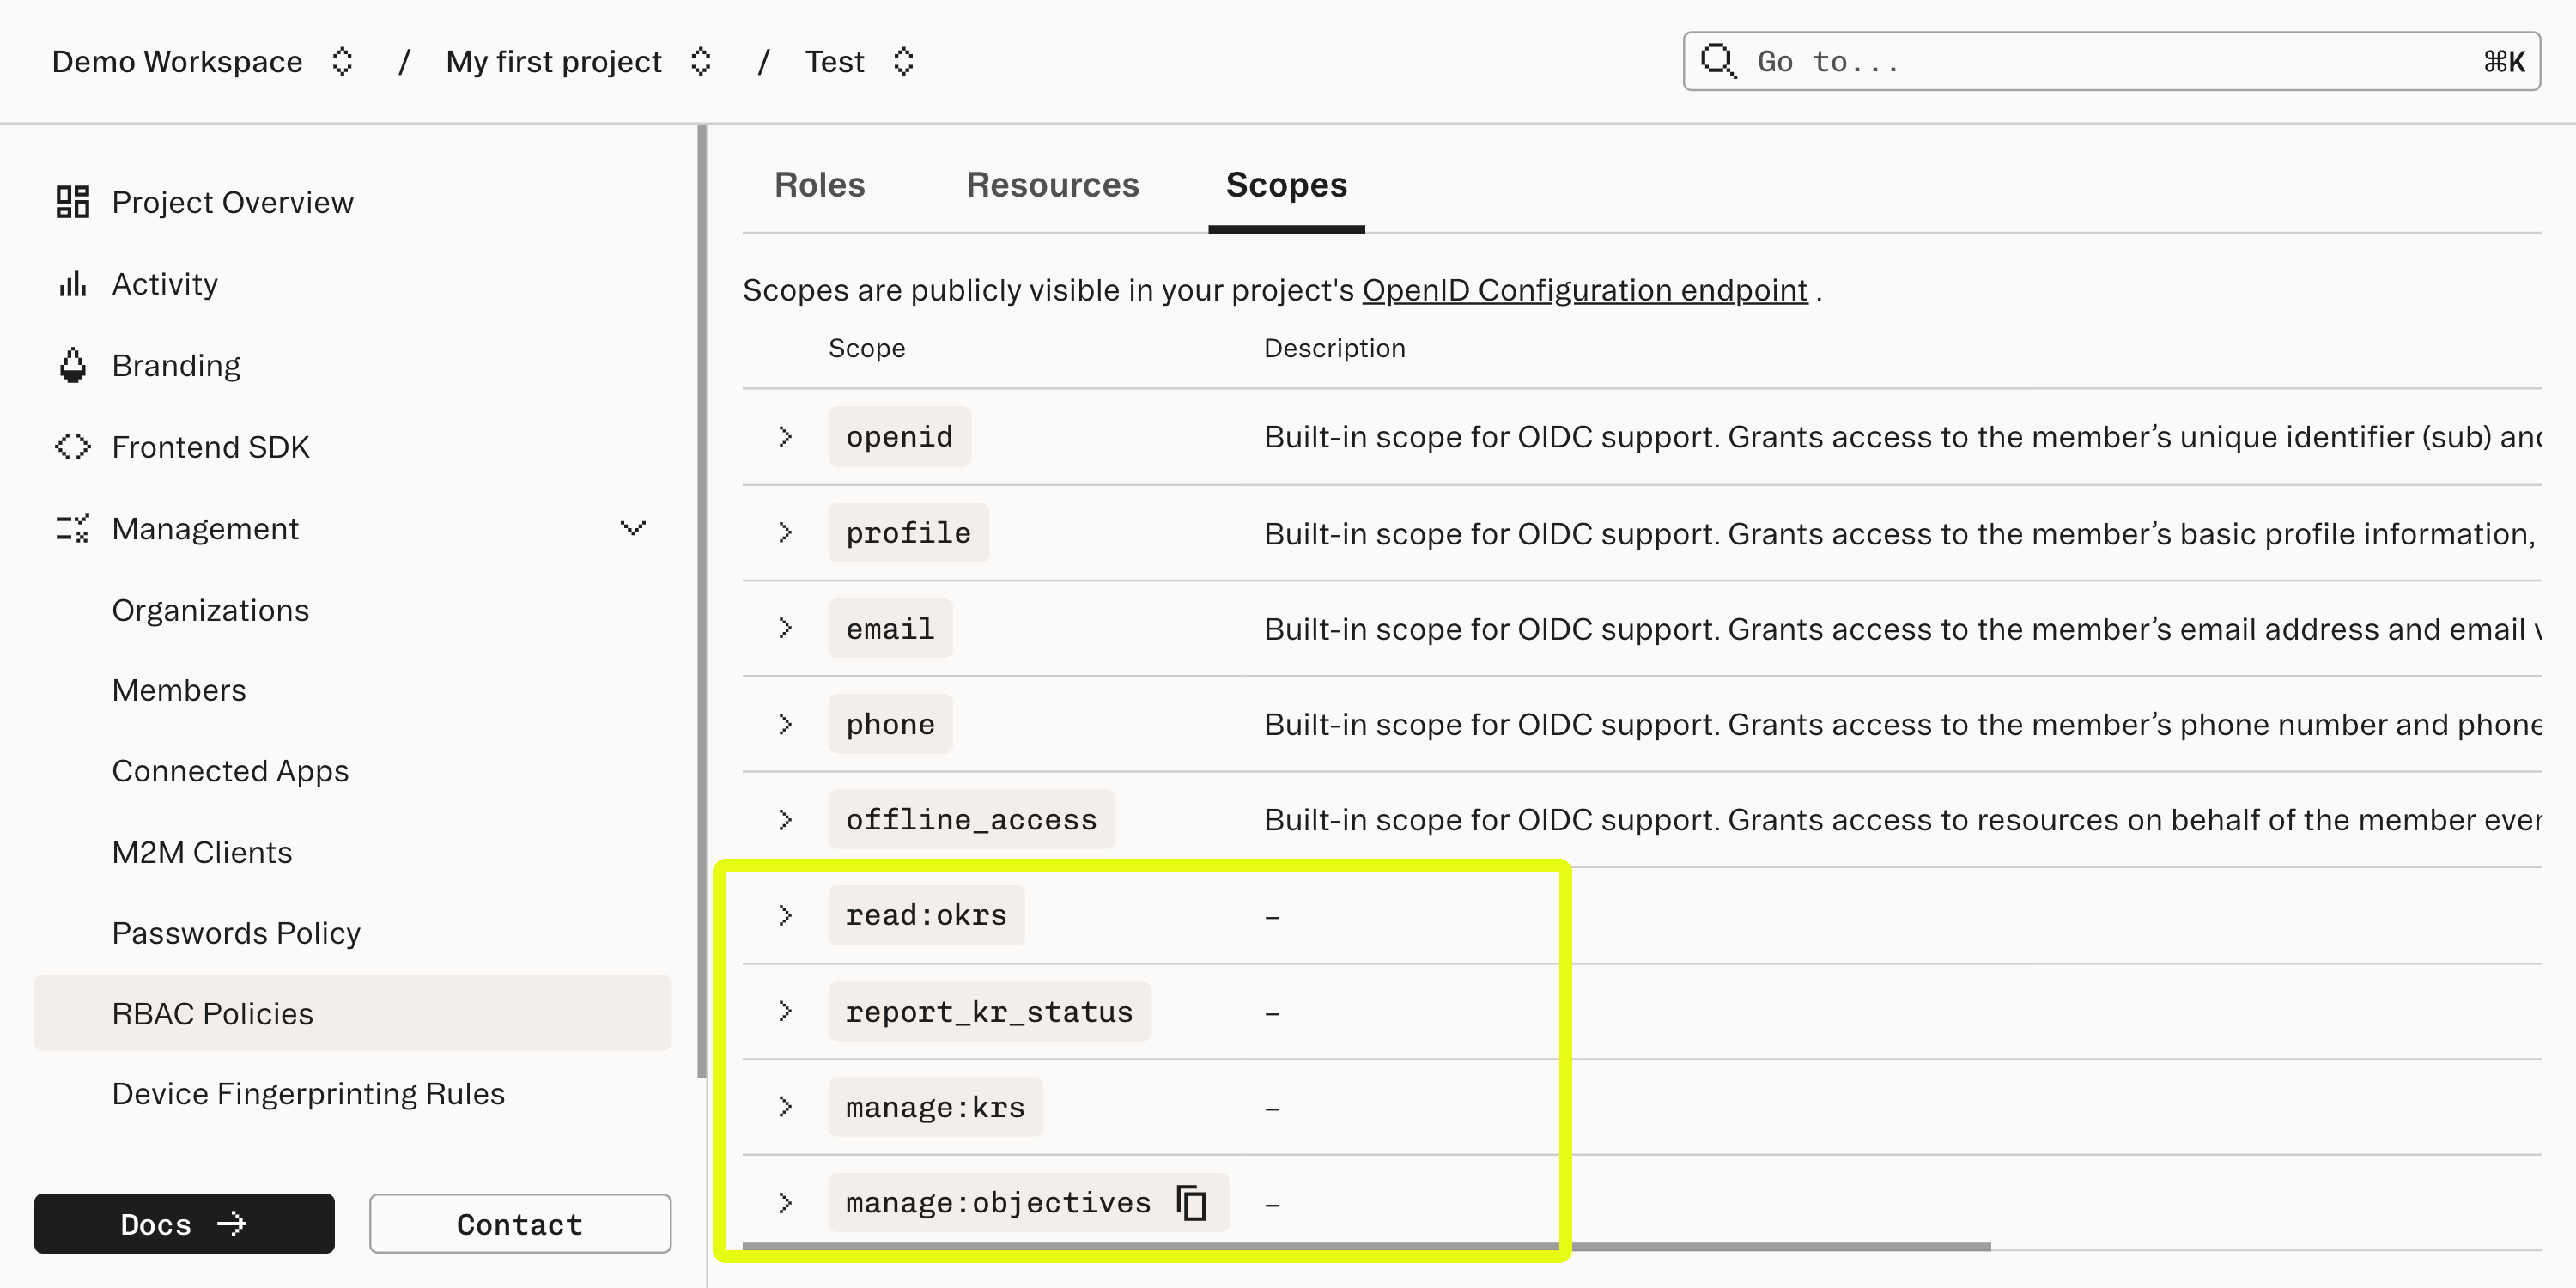

Client-side authentication
Client-side authentication
In the web client, the app wraps the OKREditor component on export in parent components that enforce authentication and authorization. For authentication, we verify that there is a current Stytch Member logged in and redirect to the
/login page if not. For authorization, the UI uses the Stytch frontend SDK higher-order component withStytchPermissions to calculate the permissions available to the user and to pass them down as props to its wrapped component. These are checked as the components are rendered and used to present an appropriate UI that communicates the user’s permissions (for instance, graying out components for operations that are not permitted to the user).Server-side authentication and authorization
Server-side authentication and authorization
Deploying to Cloudflare
The GitHub README covers the steps necessary to deploy the app as a Cloudflare Worker. After the deploy, be sure to note that the location of the server will have changed, which requires additional configuration in Stytch. Once you have the URL for your Cloudflare Worker, repeat the process in Step 1 to add this URL as an “Authorized Application” in the “Frontend SDK” settings.
What’s next
- Familiarize yourself with Stytch’s B2B SDKs and Consumer SDKs for a deeper dive on how to integrate your MCP server with Stytch.
- Read more about Role-Based Access Control to understand Stytch’s authorization in more detail.
- Browse the Model Context Protocol documentation for more information about Remote MCP Servers.


