Back to blog
Stytch Terraform: Now generally available
Product
Feb 22, 2025
Author: Stytch Team
Author: Edwin Lim
Stytch Terraform Provider is now v1.0 and officially in GA. This launch makes it easy for teams to automate and scale their identity infrastructure with greater control and flexibility.
These features allow you to programmatically manage your Stytch projects via Hashicorp’s Terraform so you don’t have to manually rely on the Stytch Dashboard. You can create new projects, set project password configs, manage public tokens and secrets, or even update your RBAC policy.
Automating with Programmatic Workspace Actions
In the past, configuration tasks like creating a Redirect URL required logging into the dashboard and manually completing a series of steps. While this worked fine for new users running their initial setup, it quickly became a limitation for developers who manage multiple Stytch projects or perform bulk operations. We needed a way for Stytch developers to automate their workflows.
That’s why we released Programmatic Workspace Actions, our Management API, which is designed to programmatically control all aspects of a Stytch project. With this API, you can:
- Create new Stytch auth projects
- Configure SDK settings
- Manage public tokens and secrets
- Define RBAC policies
- Set redirect URLs
- Update email templates
- And more
But in order to truly enable scalable infrastructure, we took it one step further.
Scaling with Stytch Terraform Provider
We’re proud to announce the v1 release of our official Terraform Provider. Built on top of Programmatic Workspace Actions, Stytch Terraform Provider enables you to provision, manage, and automate Stytch projects with declarative code.
Our Terraform Provider leverages the official Stytch Management Go SDK under the hood, acting as a bridge between Terraform’s configuration language (HCL) and Programmatic Workspace Actions. It translates your Terraform config files into the corresponding Stytch Management API calls.
Maintaining RBAC across three different environments became an administrative challenge. Stytch's Management API now allows us to perform CRUD operations on the RBAC rulesets—saving us time and providing complete certainty about which rules are applied across our environments.

Maintaining RBAC across three different environments became an administrative challenge. Stytch's Management API now allows us to perform CRUD operations on the RBAC rulesets—saving us time and providing complete certainty about which rules are applied across our environments.
Infrastructure-as-Code has become the gold standard for engineering teams to programmatically manage and scale their core infrastructure. With Stytch Terraform, you now have the power to control and orchestrate authentication systems at any scale.
How to Programmatically Manage Your Stytch Resources Using Terraform
You can get started with Terraform in just minutes, it’s available for anyone to use. Let’s dive in.
Creating Your Workspace Management Key
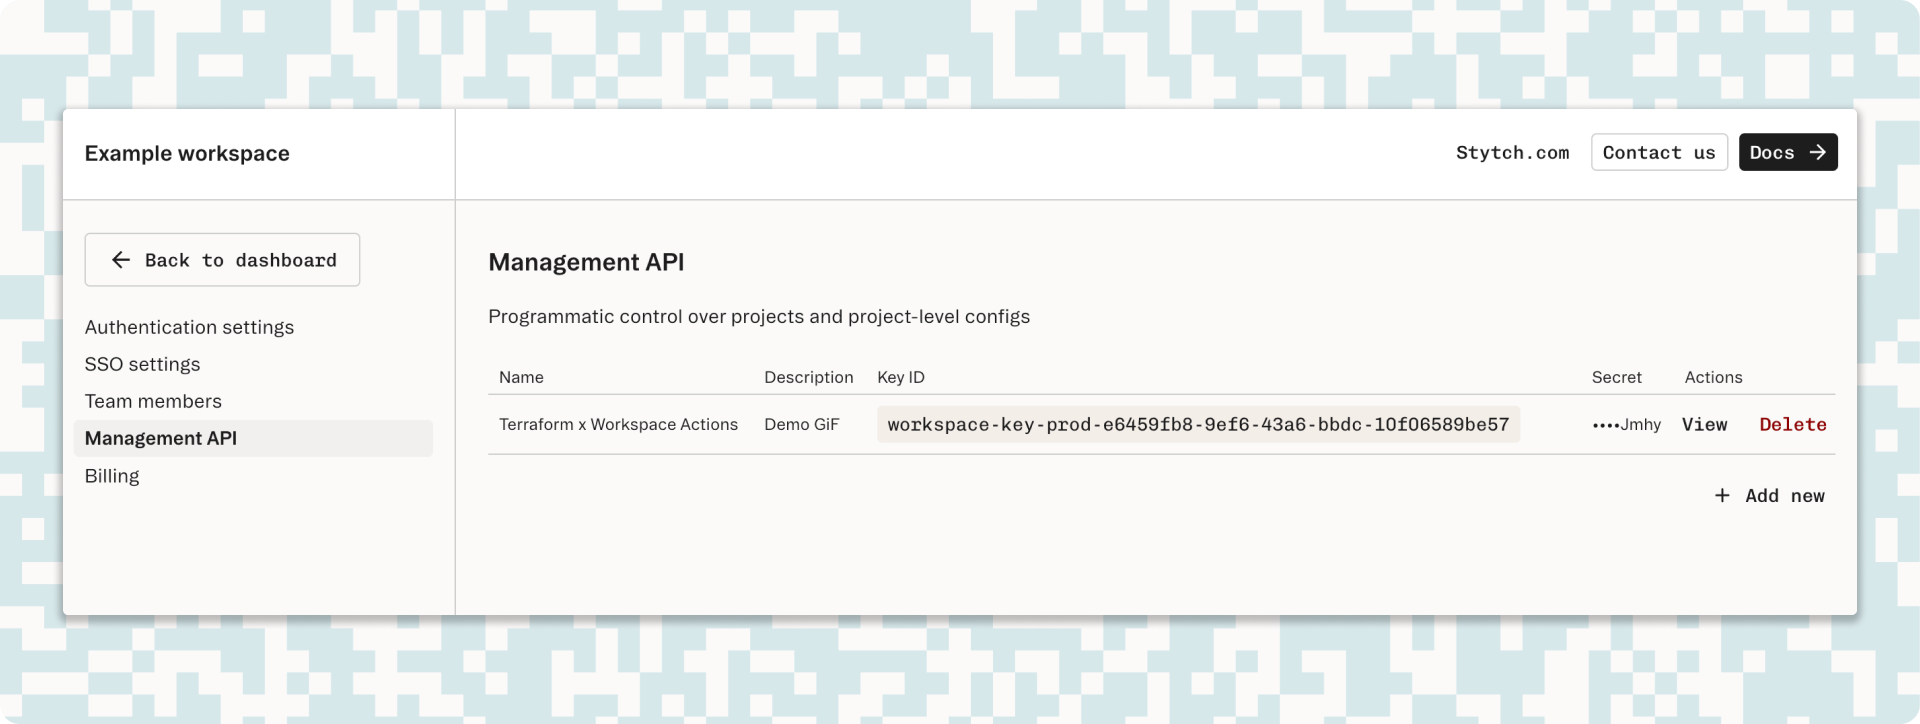
To create a new Workspace Management Key, log in to your Stytch dashboard, navigate to Workspace Settings > Management API, and click Add New to create a new Workspace Management Key.
Make sure to securely store the secret, as it won’t be visible again after this step. These keys have high-level access to your Stytch workspace, so treat them with care and only share them with those authorized to perform these privileged actions.
Calling the Management API
To interact with the Stytch Management API, you can use the Stytch Management Go SDK, the Stytch Terraform Provider, or any HTTP client of your choice, such as cURL or Postman or Insomnia. When making requests, you have to use HTTP Basic Authentication to authenticate your requests, using the Key ID as your user ID and the Secret as your password.
Here's an example cURL POST request to help you create a project and get started:
curl -s -X POST https://management.stytch.com/v1/projects \
		-H "Content-Type: application/json" \
		-u "workspace-key-prod-0000000-0000-0000-0000-000000000:key-secret" \
		-d '{"project_name": "Workspace Actions Test", "vertical": "B2B"}'
Setting Up Your Stytch Terraform Provider
The Stytch Terraform Provider can only communicate with our Management API using the Workspace Management Keys you copied earlier. So the first thing we need to do is to set the Key ID and Secret as our environment variables.
If you already have a working Terraform directory locally, create a variable.tf file in the root and paste the code block below to define your environment variables:
variable "stytch_workspace_key_id" {}
variable "stytch_workspace_key_secret" {}
Next, create a terraform.tfvars file and store the values of your workspace_key_id and workspace_key_secret according to the key-value pairs specified below (ensure this file is added to .gitignore if you use version control):
terraform {
  required_providers {
    stytch = {
      source  = "stytchauth/stytch"
      version = ">= 0.1.1"
    }
  }
}

provider "stytch" {
  workspace_key_id     = var.stytch_workspace_key_id
  workspace_key_secret = var.stytch_workspace_key_secret
}
Then, run the following command to initialize the Stytch provider:
terraform initValidate the configuration to check for errors:
terraform validateGenerate and review the execution plan:
terraform planApply the configuration:
terraform applyManaging Stytch Projects
Once you've initialized the Provider, you can start creating B2B and B2C projects within your Stytch workspace using Terraform’s HCL. You can create a stytch.tf file in your directory to contain all the config you’ll create to manage Stytch resources.
For example, if you want to create a new B2B project, your config might look like this:
# Creating a B2B project
resource "stytch_project" "b2b_project" {
  name     = "Terraform Test Workspace"
  vertical = "B2B"
}
Once the configuration is in place, you can run the terraform plan and terraform apply commands to create the project within your workspace. The Terraform provider will automatically make the necessary API calls to Stytch to set up the project, and you can verify that it was successfully created in your Stytch dashboard.
Managing SDK Config
With the stytch_consumer_sdk_config and stytch_b2b_sdk_config resources, you can manage SDK configurations for your B2B and B2C projects. These resources enable you to define basic authentication settings like sessions, cookies, time-based OTPs, and even our DFP-protected CAPTCHA.
# Managing B2B SDK configuration
resource "stytch_b2b_sdk_config" "b2b_sdk_config" {
  project_id = stytch_project.b2b_project.test_project_id
  config = {
    basic = {
      enabled                   = true
      create_new_members        = true
      allow_self_onboarding     = true
      enable_member_permissions = true
      domains                   = []
      bundle_ids                = ["com.stytch.app", "com.stytch.app2"]
    }
    sessions = {
      max_session_duration_minutes = 60
    }
    totps = {
      enabled      = true
      create_totps = true
    }
    dfppa = {
      enabled                = "ENABLED"
      on_challenge           = "TRIGGER_CAPTCHA"
      lookup_timeout_seconds = 3
    }
    cookies = {
      http_only = "DISABLED"
    }
  }
}
Managing Roles and Permissions within Your RBAC Policies
The stytch_rbac_policy Terraform resource allows you to define and manage RBAC policies for your B2B project. By specifying a unique project_id, you can define custom_resources with associated actions (e.g., create, read, update, delete). You can also define custom_roles with specific permissions that link the resources and actions you created earlier to these roles.
# Managing B2B RBAC policies
resource "stytch_rbac_policy" "b2b_rbac_policy" {
  project_id = stytch_project.b2b_project.test_project_id
  custom_roles = [
    {
      role_id     = "my-custom-admin"
      description = "My custom admin role"
      permissions = [
        {
          resource_id = "my-resource"
          actions     = ["create", "read", "update", "delete"]
        },
        {
          resource_id = "my-other-resource"
          actions     = ["read"]
        }
      ]
    },
  custom_resources = [
    {
      resource_id       = "my-resource"
      description       = "My custom resource"
      available_actions = ["create", "read", "update", "delete"]
    },
    {
      resource_id       = "my-other-resource"
      description       = "My other custom resource"
      available_actions = ["read"]
    }
  ]
}
Managing Redirect URLs
With the stytch_redirect_url resource, you can manage redirect URLs for both Consumer and B2B projects. You can assign multiple valid types to each URL, such as LOGIN, SIGNUP, INVITE, and DISCOVERY, and specify whether a type is the default for that URL. Redirect URLs define where users are sent after completing actions initiated by Stytch, allowing you to tailor login and signup UX.
# Managing Stytch Redirect URLs in a consumer project
resource "stytch_redirect_url" "consumer_redirect_url" {
  project_id = stytch_project.consumer_project.test_project_id
  url        = "http://localhost:3000/consumer"
  valid_types = [
    {
      type       = "LOGIN"
      is_default = true
    },
    {
      type       = "SIGNUP"
      is_default = true
    },
    {
      type       = "INVITE"
      is_default = false
    }
  ]
}

# Managing Stytch Redirect URLs in a B2B project (includes DISCOVERY type)
resource "stytch_redirect_url" "b2b_redirect_url" {
  project_id = stytch_project.b2b_project.test_project_id
  url        = "http://localhost:3000/b2b"
  valid_types = [
    {
      type       = "LOGIN"
      is_default = true
    },
    {
      type       = "SIGNUP"
      is_default = true
    },
    {
      type       = "INVITE"
      is_default = false
    },
    {
      type       = "DISCOVERY"
      is_default = true
    }
  ]
}
Getting Started
There’s much more you can do with the Stytch Terraform Provider. Visit the official release on the Terraform Registry, where you’ll find detailed documentation to guide you through configuring and using each resource.
If you’re interested in using Programmatic Workspace Actions directly, you can check our docs or use the stytch-management-go library.
That wraps up Launch Week! Thank you for joining us and exploring all the exciting new features we’ve shared.
Build with Stytch
Pricing that scales with you • No feature gating • All of the auth solutions you need plus fraud & risk
Related Articles

Product
Feb 20, 2025
Stytch Connected Apps: Make any app an OAuth provider for integrations and AI agents
Product
Feb 19, 2025
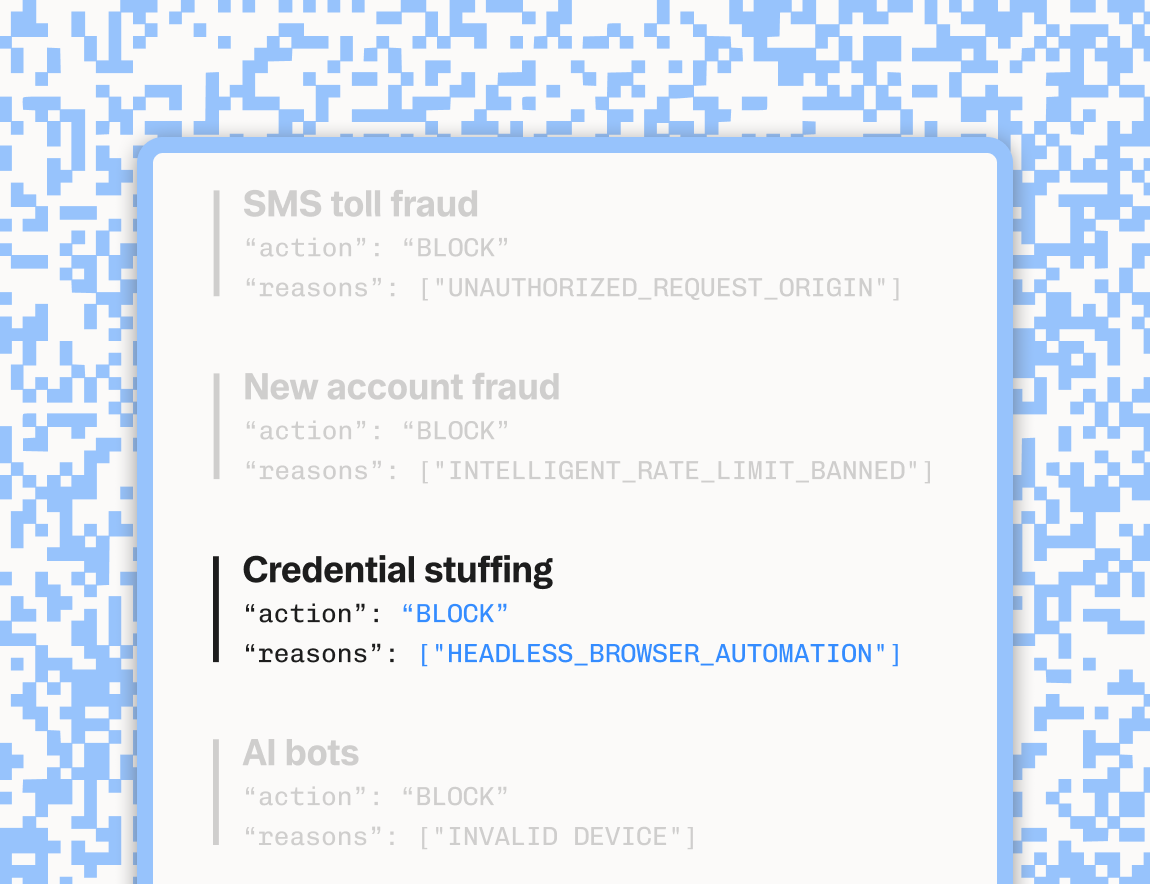
Stytch Fraud & Risk Prevention: Intelligent Rate Limiting, real-time monitoring, and more
Product
Feb 21, 2025
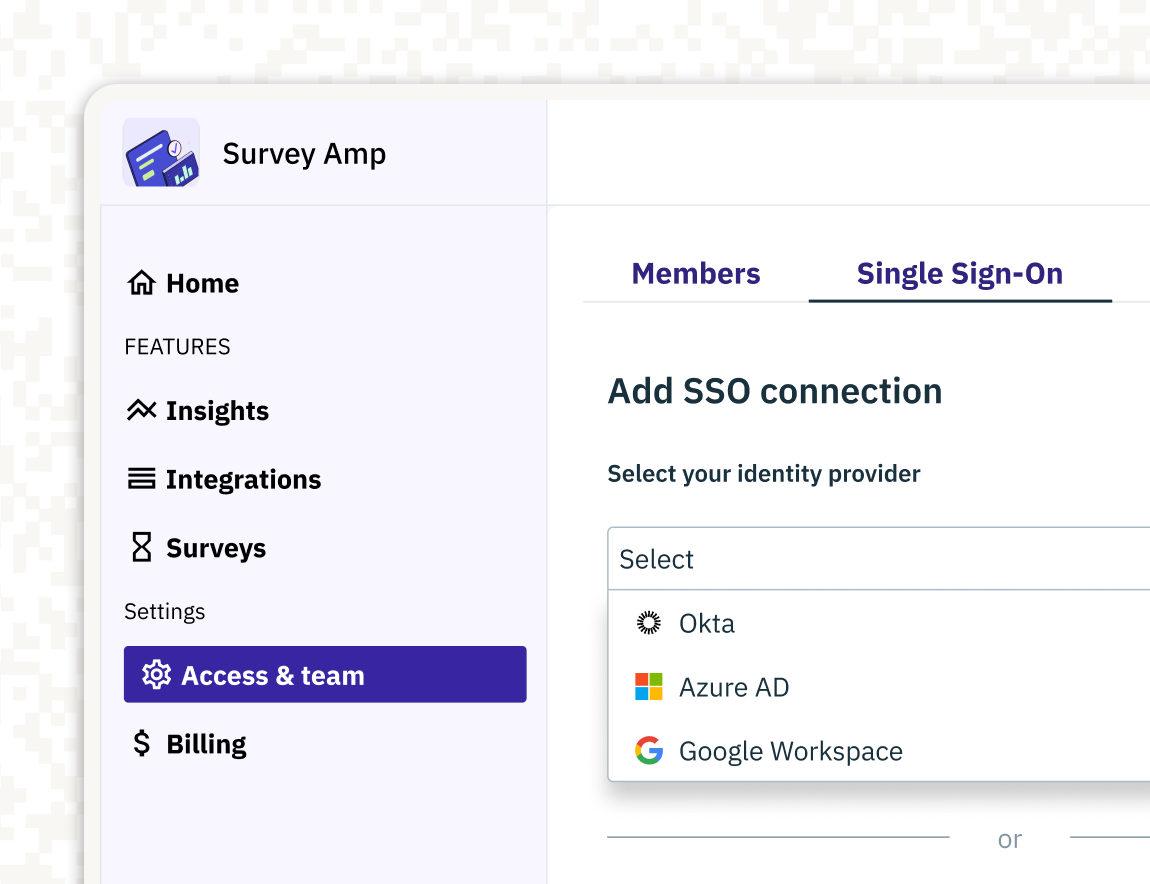
Stytch Admin Portal: Self-serve management for organizations and enterprise auth
Authentication & Authorization
Fraud & Risk Prevention
Resources
Community
© 2020-2026 Stytch. All rights reserved.