Back to blog
How to implement Web Bot Auth for your AI agent, bot, or crawler (and why you should)
Latest
Auth & identity
Engineering
Sep 23, 2025
Author: Bobbie Chen
If you run a legitimate AI agent (or bot, or crawler), you’ve probably run into walls: CAPTCHAs, 403s, or full-on IP blocks. You respect robots.txt and don’t spam requests, but defenders don’t care. Your users are frustrated and threaten to switch to a sneakier, less-ethical provider.
This is the state of the world because website operators can’t easily identify who’s on the other end. Anyone can fake a user agent string, so there’s no real way to trust traffic.
Web Bot Auth flips this dynamic. Instead of sneaking around defenses, you identify yourself clearly using an unspoofable cryptographic (emerging) standard. When you implement Web Bot Auth, you give sites a reason to trust and prioritize you, rather than throttling you with the other suspicious traffic.
This guide is for builders who want their own agents, bots, and crawlers to be recognized as good bots. It shows you how to adopt Web Bot Auth step-by-step so you can get reliable access while making site owners happy you’re there.
At Browserbase, we want to enable a web where legitimate AI agents operating on behalf of humans and enterprises can access the same web. Web Bot Auth is an industry-wide collaboration to make this easier, and Stytch’s technical guide is a great starting point for anyone to join.
– Peyton Casper, Product - Identity & Trust at Browserbase
(And if you're a website owner, check out our blog post about Web Bot Auth verification!)
Web Bot Auth overview
At its core, Web Bot Auth is a standard for signing your HTTP requests in a way that website owners can verify your signature. Reading the actual standards docs is long and tedious since they specify all the details needed to do this. That's why we wrote this simplified getting started guide.
Your agent is a client, and it makes HTTP requests to a server. To implement Web Bot Auth, your agent should:
- Generate a public-private key pair.
- Make sure the server knows about your public key. We think the easiest way is to publish your public key in a well-known directory, but you can also register with each server directly.
- When you are ready to send an HTTP request, sign a message consisting of certain fields from that request.
- Include the resulting signature and metadata in the request (as HTTP headers).
- Send the HTTP request!
Then, the server can look up your public key and verify your signature. Next up, we’ll show you how to implement this, step-by-step.
Step-by-step: how to implement Web Bot Auth
This tutorial walks you through code snippets step-by-step to better understand the requirements of Web Bot Auth.
All of the code snippets below are also available in our GitHub repo: stytchauth/web-bot-auth-example , with a few scripts to run through the end-to-end process.
Step 1: Generate a public-private keypair
You’ll need to generate a public-private keypair for your bot. The following example code generates a public and private key for use with the Ed25519 signature system:
// npm install jose
import { generateKeyPair, exportJWK, calculateJwkThumbprint } from 'jose';
const { publicKey, privateKey } = await generateKeyPair('Ed25519');
Step 2: Publish your public key in your well-known directory
In this step, you’ll host your public key at the URL path /.well-known/http-message-signatures-directory , in the JSON Web Key Set format.
First, convert your public key into JSON Web Key (JWK) format, including the JWK Thumbprint:
 // Convert public key to JWK for publishing
 const publicJWKFull = await exportJWK(publicKey);

 // Add recommended JOSE metadata
 const publicJWK = {
   ...publicJWKFull,
   kty: 'OKP',
   crv: 'Ed25519',
 };

 // Compute a stable kid (RFC 7638 thumbprint)
 publicJWK.kid = await calculateJwkThumbprint(publicJWK, 'sha256');
Then, create the JSON Web Key Set (JWKS). This is a simple JWKS for demo purposes, so the key is loaded once and never changes; in production, you should be able to add or rotate keys over time.
// Wrap into a JWKS and print/publish it (public key only)
const jwks = { keys: [publicJWK] };
console.log('Public JWKS:');
console.log(JSON.stringify(jwks, null, 2));
You’ll need to host this as an HTTP server. This example uses Express:
// npm install express
const app = express();

// Serve JWKS at the well-known HTTP Message Signatures Directory path
app.get('/.well-known/http-message-signatures-directory', (req, res) => {
  res.setHeader('Content-Type', 'application/http-message-signatures-directory+json');
  res.json(jwks);
});

// Health check endpoint
app.get('/health', (req, res) => {
  res.json({ status: 'ok', kid: publicJWK.kid });
});

// Start the server
app.listen(port, () => {
  console.log(`🚀 JWKS server running at http://localhost:${port}/.well-known/http-message-signatures-directory`);
  console.log(`🔍 Health check available at http://localhost:${port}/health`);
  console.log(`📊 Public key ID: ${publicJWK.kid}`);
});
This will work on localhost, but most verifiers can't reach your localhost. Anyone who wants to verify your bot needs to access your directory to get your public key.
In this tutorial, we’ll use Pinggy to expose your localhost to the public internet. In production, you’ll want to use your own domain instead.
With Pinggy, you can expose your localhost publicly using this SSH forwarding command:
ssh -p 443 -R0:localhost:3000 free.pinggy.ioYou will see a message like this:
You are not authenticated.
Your tunnel will expire in 60 minutes. Upgrade to Pinggy Pro to get unrestricted tunnels. https://dashboard.pinggy.io
   http://<random-string>.free.pinggy.link
   https://<random-string>.free.pinggy.link
Now, navigate to https://<random-string>.free.pinggy.link/.well-known/http-message-signatures-directory. You should see your JSON Web Key Set, starting with {"keys":[{"kid": ... .
This response means you have a publicly-accessible key directory, based on the HTTP Message Signatures Directory proposal!
Now that you have keys and a publicly-accessible directory, you can sign and make requests!
Step 3: Sign a message related to your HTTP request
Let’s say you want to send an HTTP request to https://www.isagent.dev . The Web Bot Auth proposal and HTTP Message Signatures standard describe how to construct a related message and sign it.
3a: Create the "signature base" message
The "signature base" is a collection of components related to your HTTP request, which are arranged as a string. This signature base message will be signed later.
You will use three components in your signature base message:
@authority, which represents the server domainsignature-agent, which is your well-known key directory, and@signature-params, which is metadata about your signature itself
@authority is the Host (HTTP/1.1) or Authority (HTTP/2 and /3), which is the fully-qualified domain name (with no trailing dot, https://, or path). For example if you are requesting the URL https://www.isagent.dev/docs, the @authority is www.isagent.dev .
signature-agent is the quoted HTTPS URL to your well-known directory (without any path). Since you used Pinggy in step 2, your signature-agent URL will be something like "https://<random-string>.free.pinggy.link" .
@signature-params contains metadata about the "covered components" (in our case, @authority and signature-agent), as well as the signing key and signature method. We'll include the following parameters as defined by HTTP Message Signatures: Signature Parameters, separated by colons:
keyid: the JWK Thumbprint for the signing key (for theed25519key in this tutorial, this is defined in RFC 8037)alg: algorithm used for signing (in this tutorial,ed25519)created: Unix timestamp for creation (now)expires: Unix timestamp for expiry (recommended: no more than now+24 hours)nonce: a random unique stringtag: for Web Bot Auth, this will be the literal stringweb-bot-auth
You will use these three components to create the signature base. The following code shows how to serialize the signature base into the format defined by HTTP Message Signatures:
// created / expires as Unix timestamps
const now = Math.floor(Date.now() / 1000);
const tomorrow = now + (24 * 60 * 60);

// Use a random UUID for the nonce
const nonce = crypto.randomUUID();

// Extract hostname for @authority
const urlObj = new URL(url);
const authority = urlObj.hostname;

// construct the @signature-params Inner List
const signatureParams = [
  '("@authority" "signature-agent")',
  `keyid="${publicJWK.kid}"`,
  'alg="ed25519"',
  `created=${now}`,
  `expires=${tomorrow}`,
  `nonce="${nonce}"`,
  'tag="web-bot-auth"',
].join(';');

// Create the message to sign
const signatureBaseMessage = `"@authority": ${authority}
"signature-agent": "${signatureAgent}"
"@signature-params": ${signatureParams}`;
3b: Sign the message
Using your private key, sign the signature base. This will result in a binary output, which should be base64 encoded:
async function calculateSignature(signatureBase, privateKey) {
  // Convert message to Uint8Array for signing
  const messageBytes = new TextEncoder().encode(signatureBase);

  // Sign using Ed25519 algorithm (EdDSA)
  const signature = await crypto.subtle.sign({name: 'Ed25519'}, privateKey, messageBytes);

  // Return as base64 (not base64url!)
  const signatureBase64 = Buffer.from(new Uint8Array(signature)).toString('base64');
  return signatureBase64;
}
3c: Create the headers used for Web Bot Auth
There are three headers used for Web Bot Auth: Signature, Signature-Input, and Signature-Agent.
You need to have a "name" for your signature; in this tutorial, we will use sig1 as the name. More complex integrations may have multiple signatures (from proxies, etc.) but for now let's assume there is only one signature.
The Signature is the actual signature value. It is defined as a Structured Field Dictionary where the key is the name of the signature (sig1), and the value is a Byte Sequence, meaning we will wrap the base64-encoded signature value with colons:
// Javascript object formatting
{'Signature': `sig1=:${signature}:`}
Signature-Input is the value of @signature-params above, but as a Structured Field where the key is the name of the signature (sig1 again) and the value is a String:
// Javascript object formatting
{'Signature-Input': `sig1=${signatureParams}`}
And Signature-Agent is the quoted URL where your well-known directory is hosted (without the path):
// Javascript object formatting
{'Signature-Agent': `"${signatureAgent}"`}
Putting it all together:
async function createWebBotAuthHeaders(url, signatureAgent, publicJWK, privateKey) {
  // created / expires as Unix timestamps
  const now = Math.floor(Date.now() / 1000);
  const tomorrow = now + (24 * 60 * 60);

  // Use a random UUID for the nonce
  const nonce = crypto.randomUUID();

  // Extract hostname for @authority
  const urlObj = new URL(url);
  const authority = urlObj.hostname;

  // construct the @signature-params Inner List
  const signatureParams = [
    '("@authority" "signature-agent")',
    `keyid="${publicJWK.kid}"`,
    'alg="ed25519"',
    `created=${now}`,
    `expires=${tomorrow}`,
    `nonce="${nonce}"`,
    'tag="web-bot-auth"',
  ].join(';');

  // Create the message to sign
  const signatureBaseMessage = `"@authority": ${authority}
"signature-agent": "${signatureAgent}"
"@signature-params": ${signatureParams}`;

  // Sign the message
  const signature = await calculateSignature(signatureBaseMessage, privateKey);

  // Return the headers
  return {
    'Signature': `sig1=:${signature}:`,
    'Signature-Input': `sig1=${signatureParams}`,
    'Signature-Agent': `"${signatureAgent}"`,
  };
}
Step 4: Attach the Web Bot Auth headers to your HTTP request
Now comes the easy part: attach those three headers to your HTTP request.
For example:
const API_URL = 'https://api.isagent.dev/is_agent';
const STYTCH_PUBLIC_TOKEN = 'TODO: get a public token from the Stytch dashboard'

const webBotAuthHeaders = await createWebBotAuthHeaders(API_URL, signatureAgent, publicJWK, privateKey);
const response = await fetch(API_URL, {
  method: 'POST',
  body: JSON.stringify({"public_token": STYTCH_PUBLIC_TOKEN}),
  headers: {
    'Content-Type': 'application/json',
    ...webBotAuthHeaders
  },
});

const data = await response.json();
console.log(JSON.stringify(data, null, 2));
Or if you're using a tool like Puppeteer, you'll need to intercept requests and rewrite their headers:
const browser = await puppeteer.launch({ headless: false });
const page = await browser.newPage();

// sign every request and add the resulting headers
await page.setRequestInterception(true);
page.on('request', async interceptedRequest => {
  const oldHeaders = interceptedRequest.headers();
  const newHeaders = await createWebBotAuthHeaders(interceptedRequest.url(), signatureAgent, publicJWK, privateKey)
  interceptedRequest.continue({ headers: {oldHeaders, ...newHeaders} });
});

await page.goto('https://isagent.dev', { waitUntil: 'networkidle2' });
Step 5: Send the request!
Run the code to send the request! If you're following along in the example repo, you'll see output like the following:
Testing with browser automation...
🌐 Opened https://isagent.dev in Puppeteer.
❓ Verification response: {
  "identity": "Self-declared agent | Verified | \"<random-string>.a.free.pinggy.link\"",
  "is_agent_client_hint": true
}
✅ Successfully verified!
Congrats - you've successfully signed requests using Web Bot Auth and tested your implementation!
How does the server verify a request?
When a server receives your agent’s request (and supports Web Bot Auth verification), it will notice the headers and attempt to verify them.
We’re doing this with our verification logic in IsAgent and Stytch Device Fingerprinting. At a high level, that process looks like this:
- Use the
Signature-Agentheader to get the key directory. - Use the
keyidfromSignature-Inputto get the right key from the key directory. - Reconstruct the “signature base” from the
Signature-Inputparameters - Verify the signature using the public key.
- Also, check that the nonce isn’t reused and the signature hasn’t expired.
If all of these succeed, the verifier has proven that the HTTP request was signed by someone who can access to the key listed in the directory.
Common mistakes
It's easy to almost-implement the specification in a way that makes requests unverifiable, usually by incorrectly serializing the signature base. Here are some common pitfalls:
- Not sending Signature-Agent.
- Technically, the Web Bot Auth proposal says Signature-Agent is optional ("should"). But sending Signature-Agent enables decentralized discoverability, meaning that you don't need to register your keys with every website or verifier in the world.
- For this reason, Stytch requires that bots use Signature-Agent to be verified using Web Bot Auth.
@authorityshould include subdomains.- In testing, we saw situations where the bot did not include subdomains - for example, setting authority to
example.cominstead ofapi.example.com. - This is not compliant with the proposed specification, so we were unable to verify these requests.
- In testing, we saw situations where the bot did not include subdomains - for example, setting authority to
- Quoting, structured fields, and other serialization issues:
- In testing, we also saw scenarios where the bot did not correctly serialize various headers or the signature base string:
- The Signature field must be
base64encoded, notbase64url. - The Signature-Agent field should be a quoted URL, like
"example.com", notexample.com. - In the signature base, the
@signature-paramslist (like("@authority" "@signature-agent")must match the order of the newline-separated components.
- The Signature field must be
- These fiddly bits are mainly defined in HTTP Message Signatures (RFC 9421), but you'll also need to jump into Structured Field Values for HTTP (RFC 9651) to get them all.
- In testing, we also saw scenarios where the bot did not correctly serialize various headers or the signature base string:
Specifications and standards work
We're publishing this guide to make it easy to get started, but the official specifications and proposals are all publicly available. Here are the ones mentioned in this guide:
- Web Bot Auth (currently a draft proposal under discussion in IETF)
- HTTP Message Signatures (RFC 9421)
- HTTP Message Signatures Directory (also a draft proposal under discussion)
- JSON Web Key (RFC 7517)
- JSON Web Key (JWK) Thumbprint (RFC 7638)
- Structured Field Values for HTTP (RFC 9651)
- The Base16, Base32, and Base64 Data Encodings (RFC 4648)
The IETF has an industry working group to discuss the related problems and proposed solutions. Check out the Web Bot Auth Working Group for more information.
What's next?
At Stytch, we are excited about Web Bot Auth as an important emerging standard: the User Agent, but cryptographically protected. We are joining our partners Anchor Browser, Browserbase, Akamai, Cloudflare, and the broader Web Bot Auth community to make this a reality. To verify Web Bot Auth signatures today, you can use IsAgent and Stytch Device Fingerprinting.
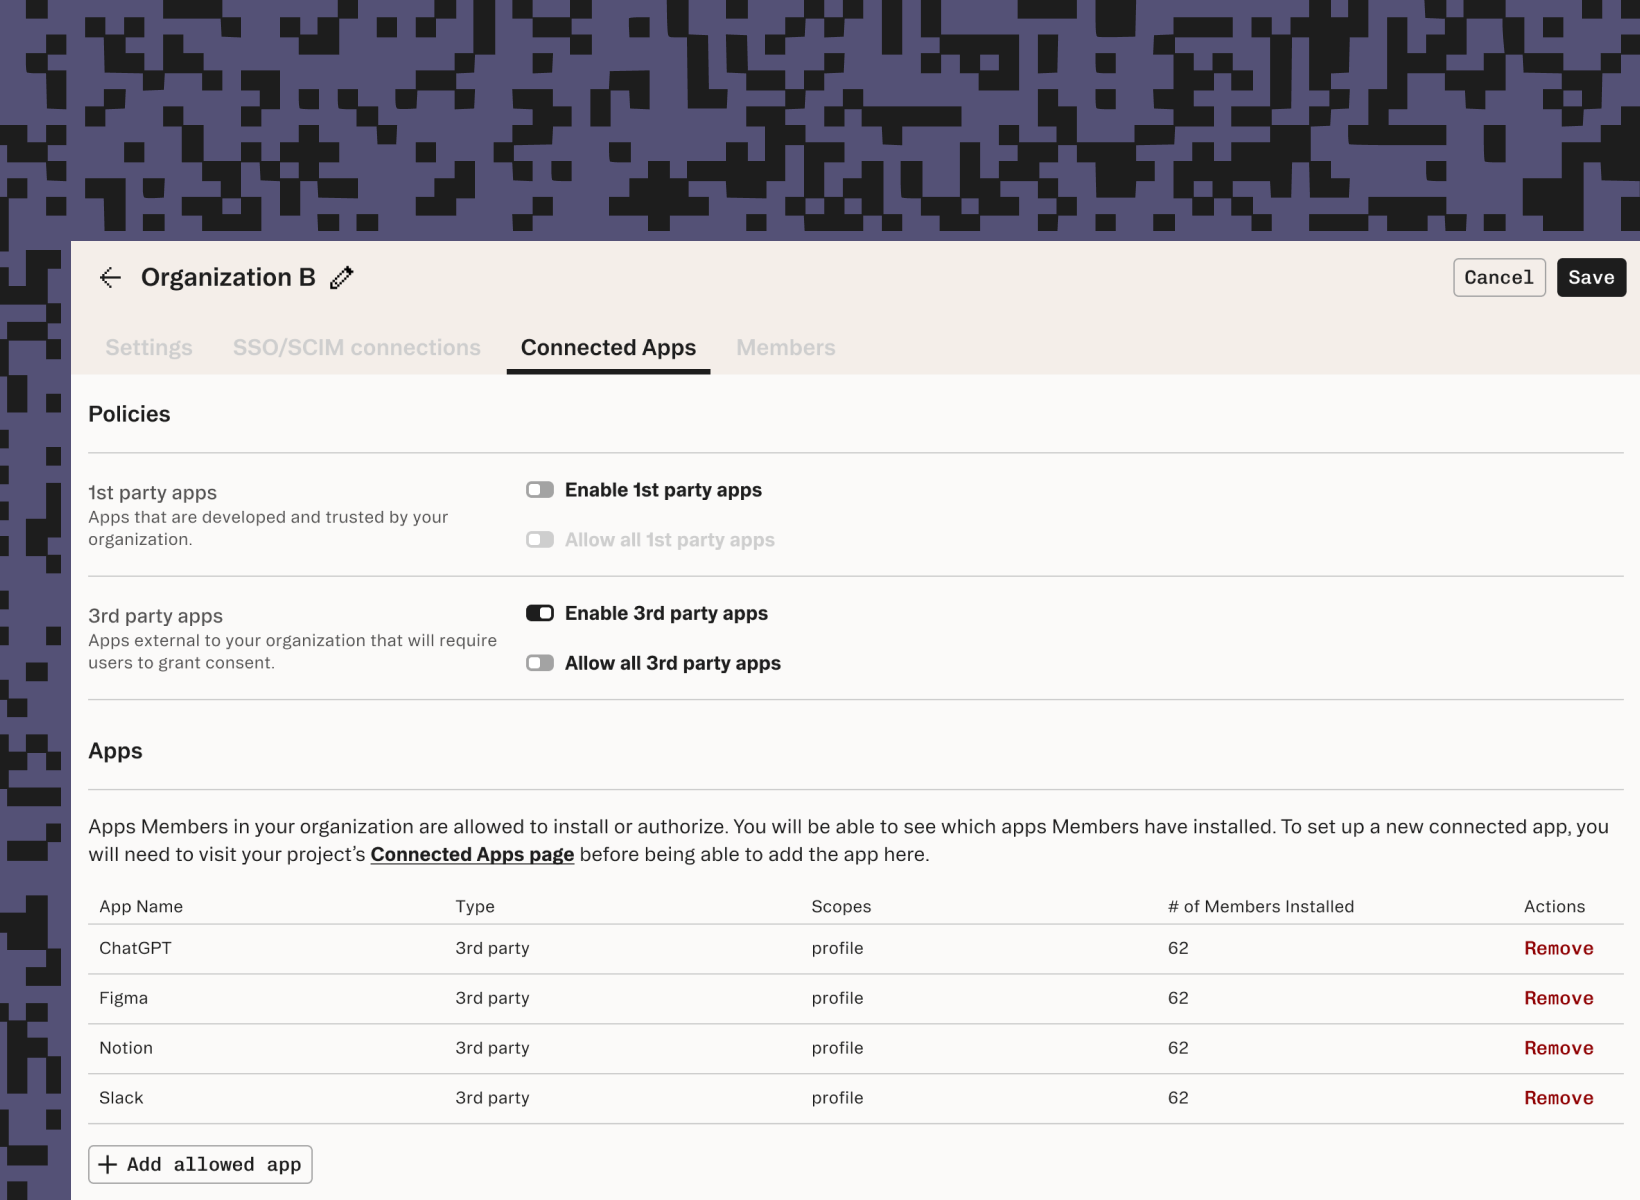
We hope this guide helps you implement signing for Web Bot Auth. If you’re implementing Web Bot Auth as a bot or agent operator and have any questions, email us at isagent@stytch.com. You might also want to give scoped user permissions to agents - check out our authorization offering, Connected Apps.
Authentication & Authorization
Fraud & Risk Prevention
© 2020-2026 Stytch. All rights reserved.