Create a new Google OAuth client
Create a Google Cloud account and project
Navigate to the Google Cloud Console and create a Google Cloud account and a new project if you have not already done so. For more information, see Create a Google Cloud account and project.
Configure your OAuth consent screen
Navigate to the OAuth consent screen and configure your OAuth consent screen.
Create OAuth Client ID
Go to the Google Credentials page for your application. Click on CREATE CREDENTIALS and then select OAuth Client ID.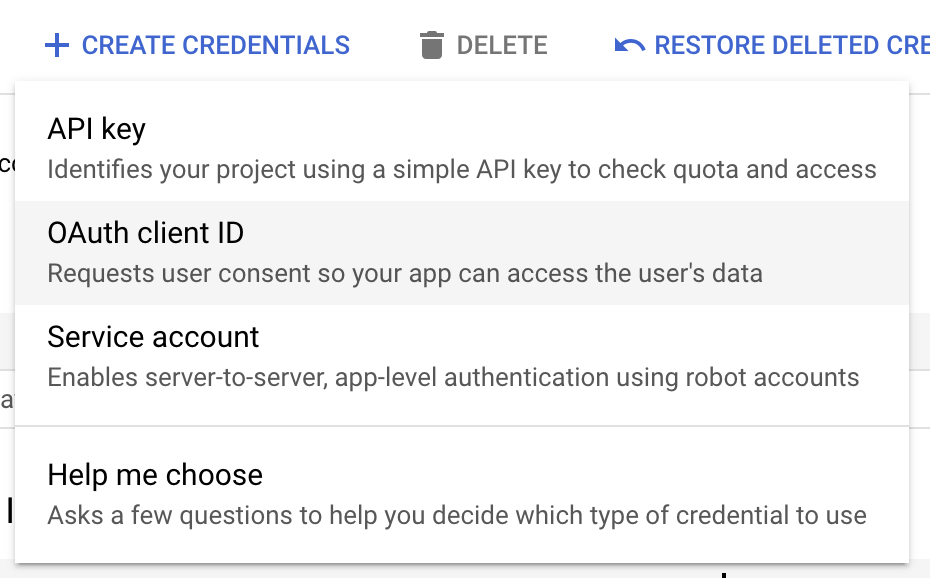
Select application type
Select Web Application as the application type (regardless of if it is a mobile or non-web application) and enter a name for your OAuth client.
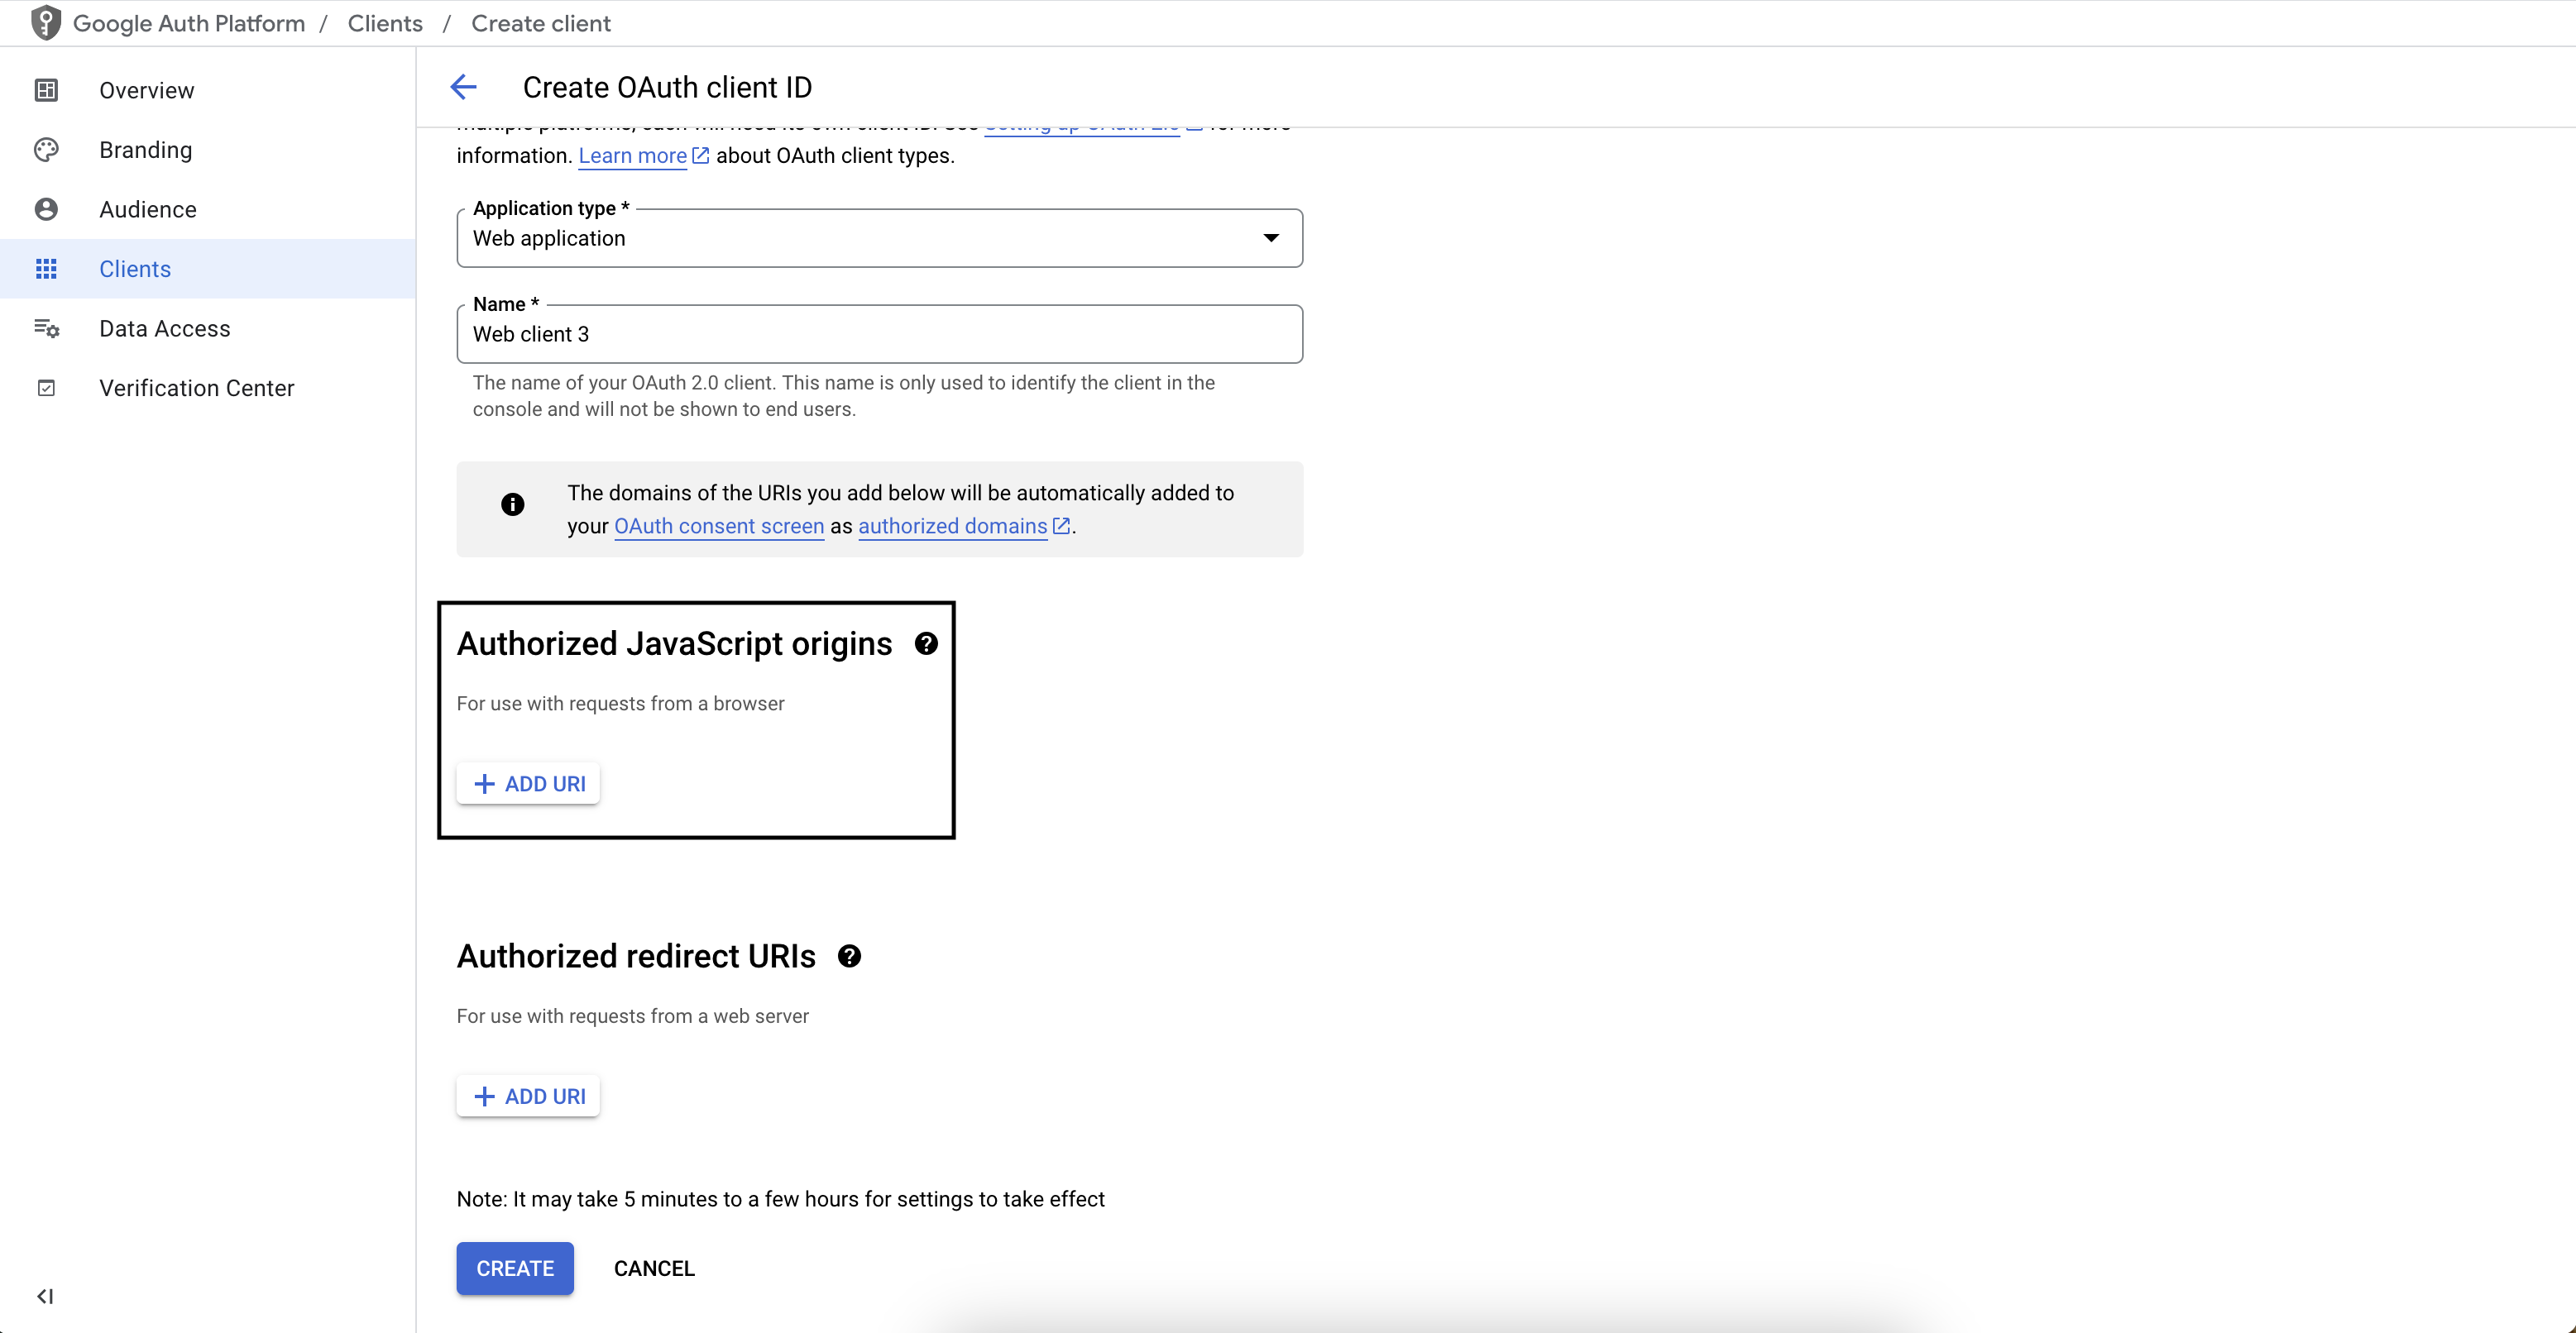
Configure the Authorized redirect URI
Copy the Stytch redirect URI from the Dashboard and paste it into the Authorized redirect URIs section.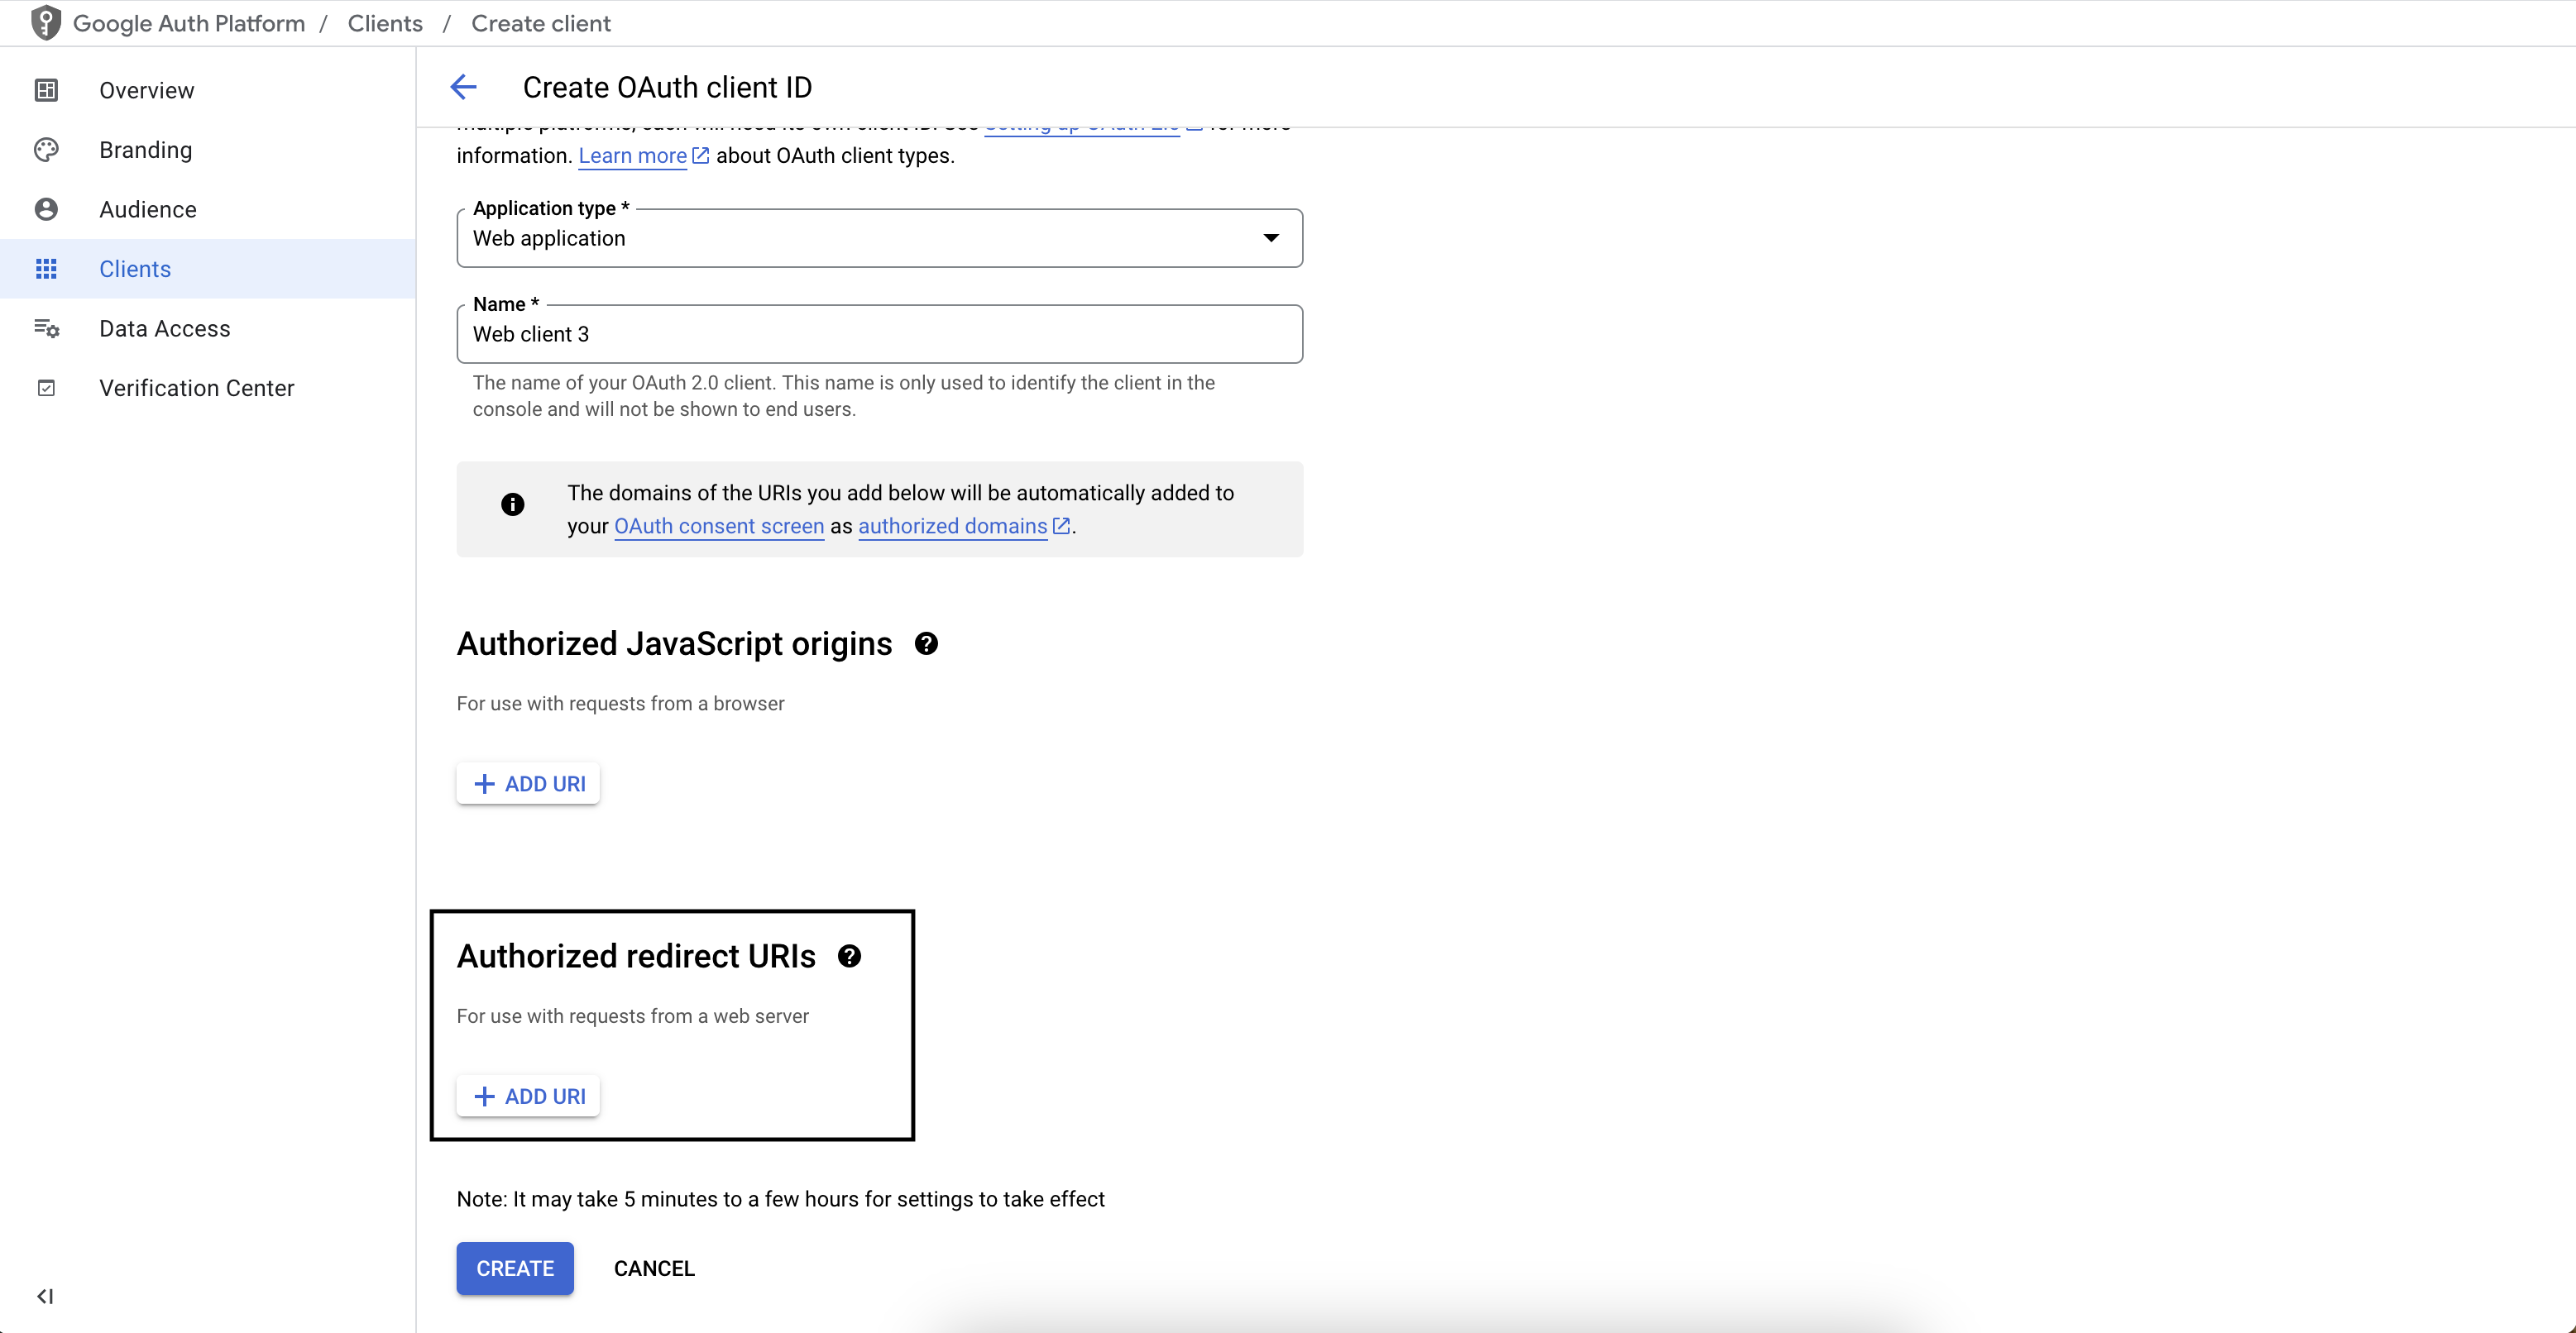
Configure your Google OAuth client in Stytch
Navigate to Google Credentials page
Go to the Google Credentials page for your application. You should see your OAuth client under the OAuth 2.0 Client IDs section.
Add the Stytch redirect URI
Copy the Stytch redirect URI from the Dashboard and paste it into the Authorized redirect URIs section.