client_ids, client_secrets, and assigned scopes without any data transformations or downtime.
Before you start
In order to complete this guide, you’ll need the following:- A Stytch project. If you don’t have one already, in the Dashboard, click on your existing project name in the top left corner of the Dashboard, click Create Project, and then select Consumer Authentication.
- The
project_idandsecretfor the Test environment you would like to use. These values can be accessed from the API keys section of the Stytch Dashboard. You’ll need to pass these values into theAuthorizationrequest header for most Stytch API calls.
Importing M2M clients
Access your existing client
First, access your existing client wherever it is stored. For this guide, we’ll use Auth0 as an example.On Auth0 and under Applications, select an already created M2M client.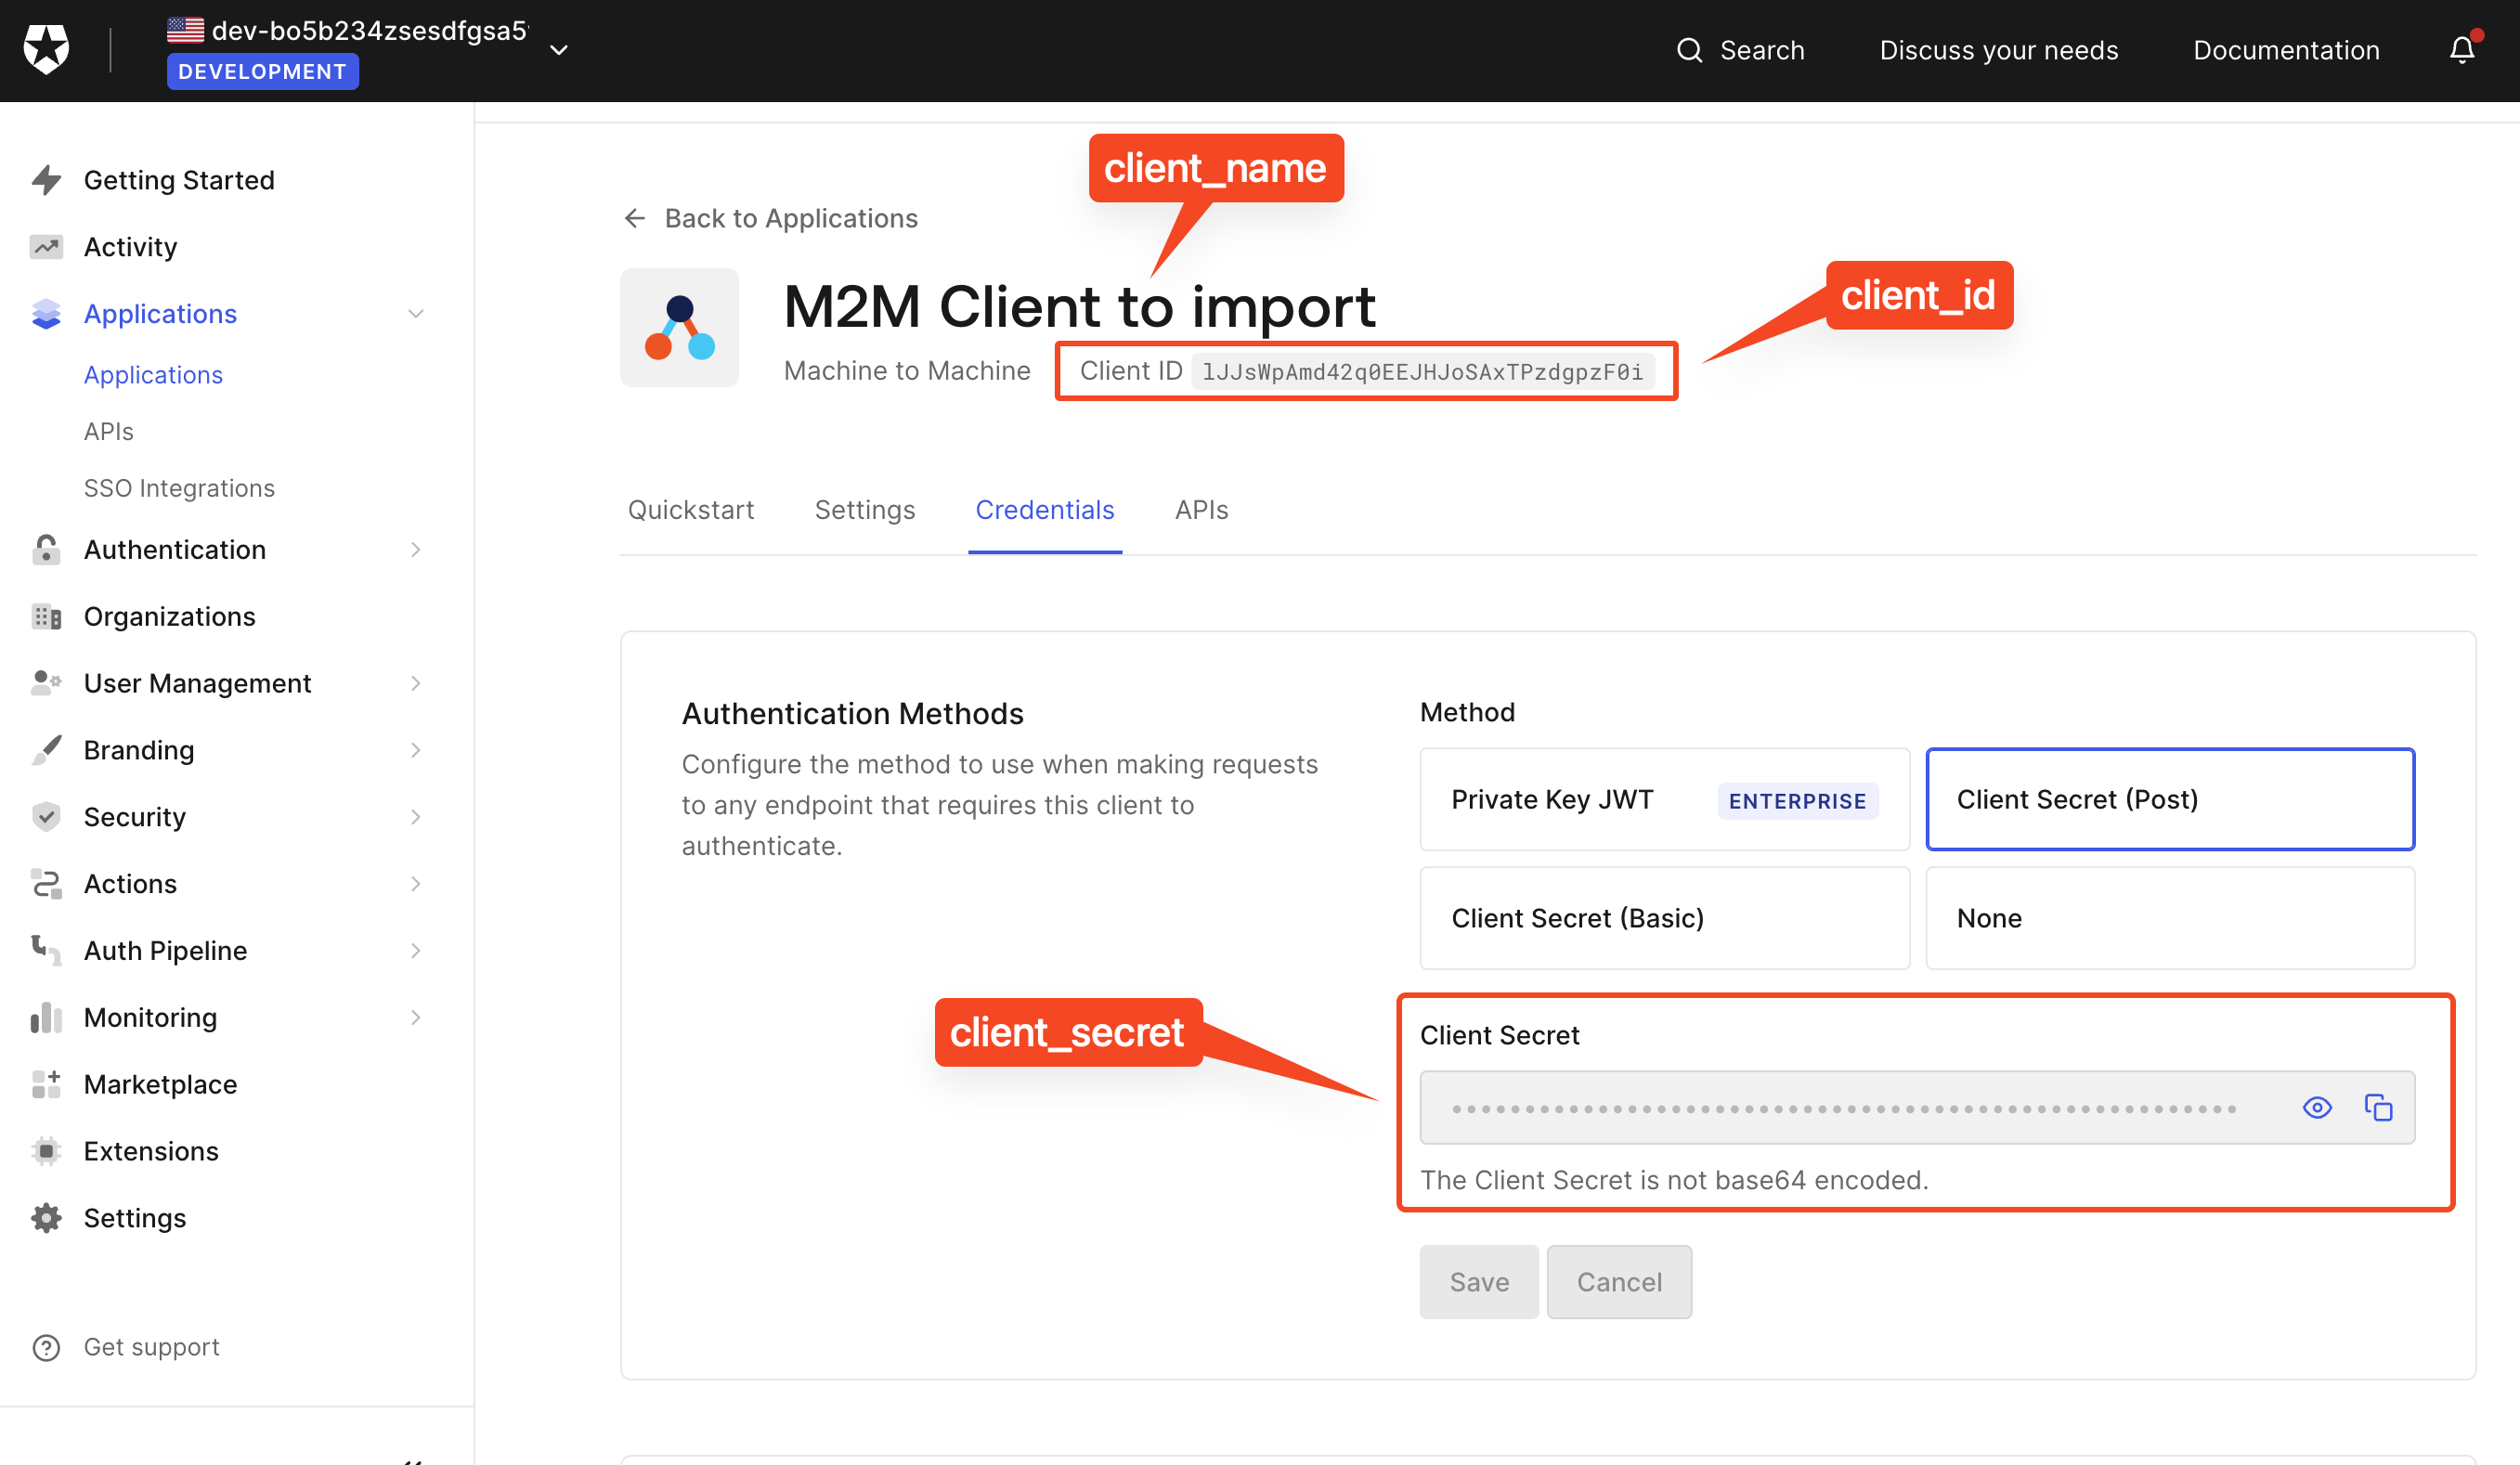
client_idclient_secret
Import the client via API or the Dashboard UI
In this guide, you’ll use the Dashboard UI to do the import.In the Dashboard, navigate to M2M Clients and then click the Import button. A popup modal will appear prompting you to enter the client ID and secret.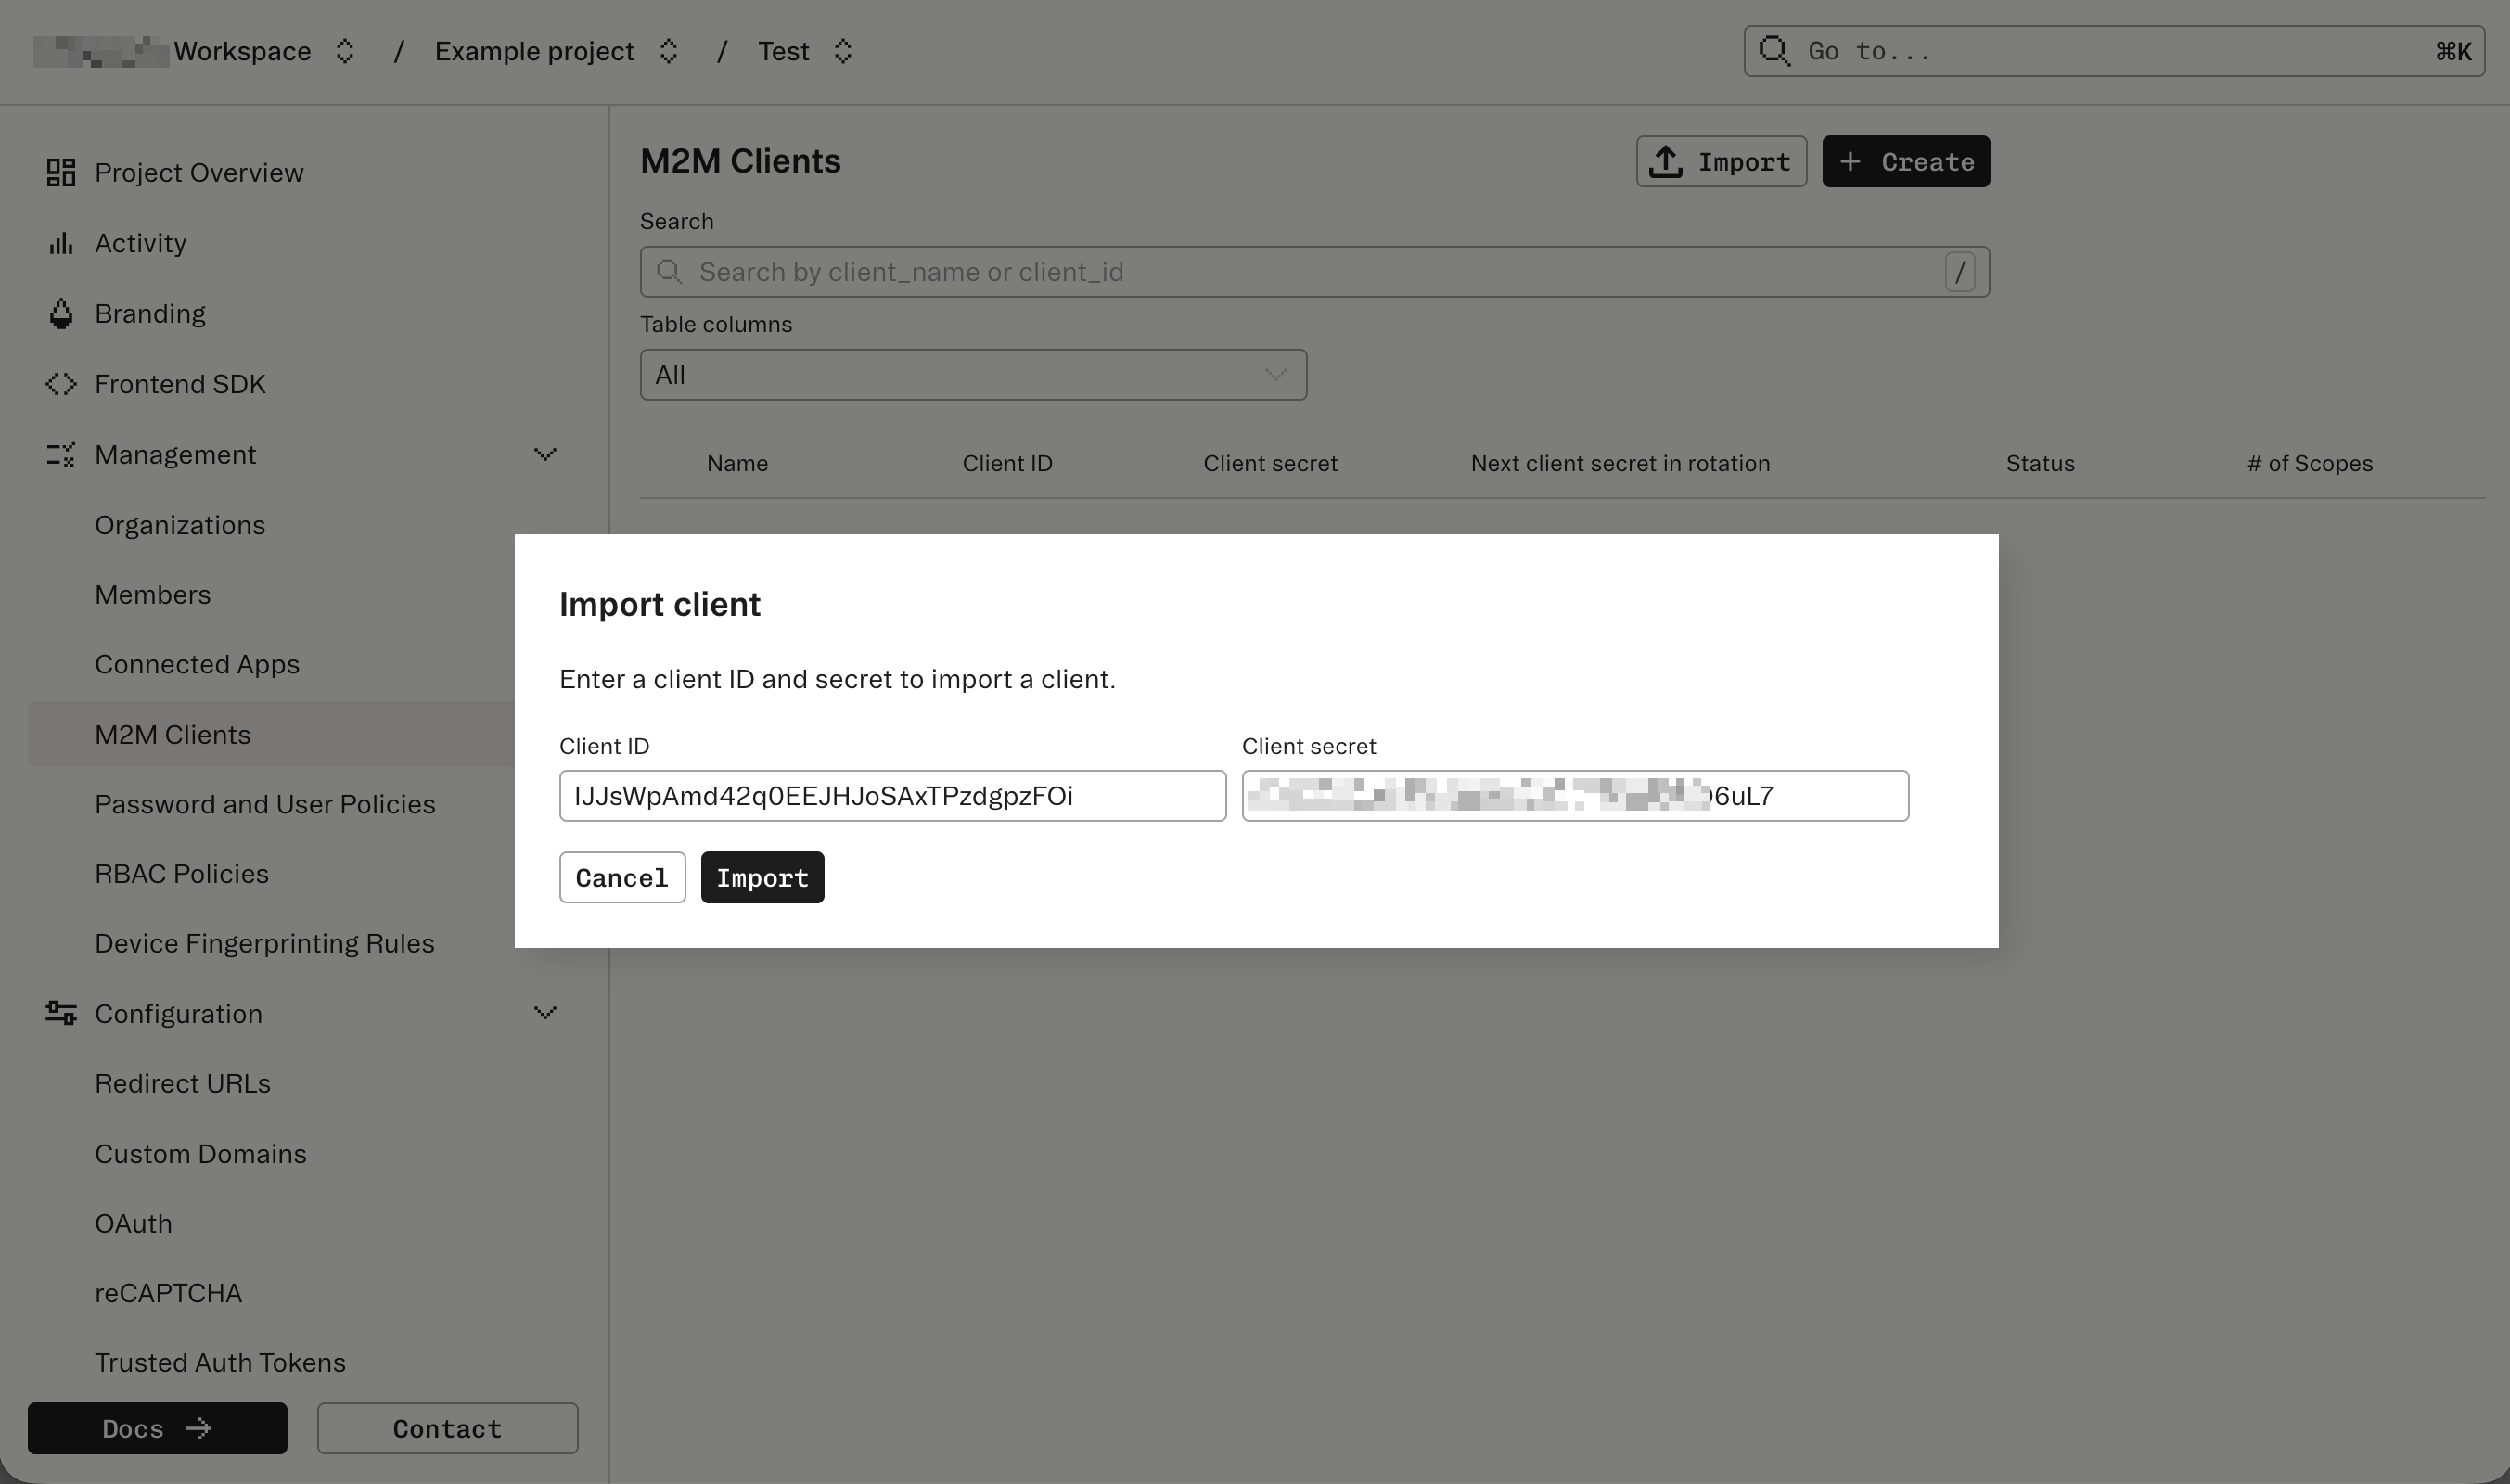
Add any additional metadata
After the import, you can update the M2M Client with additional metadata like 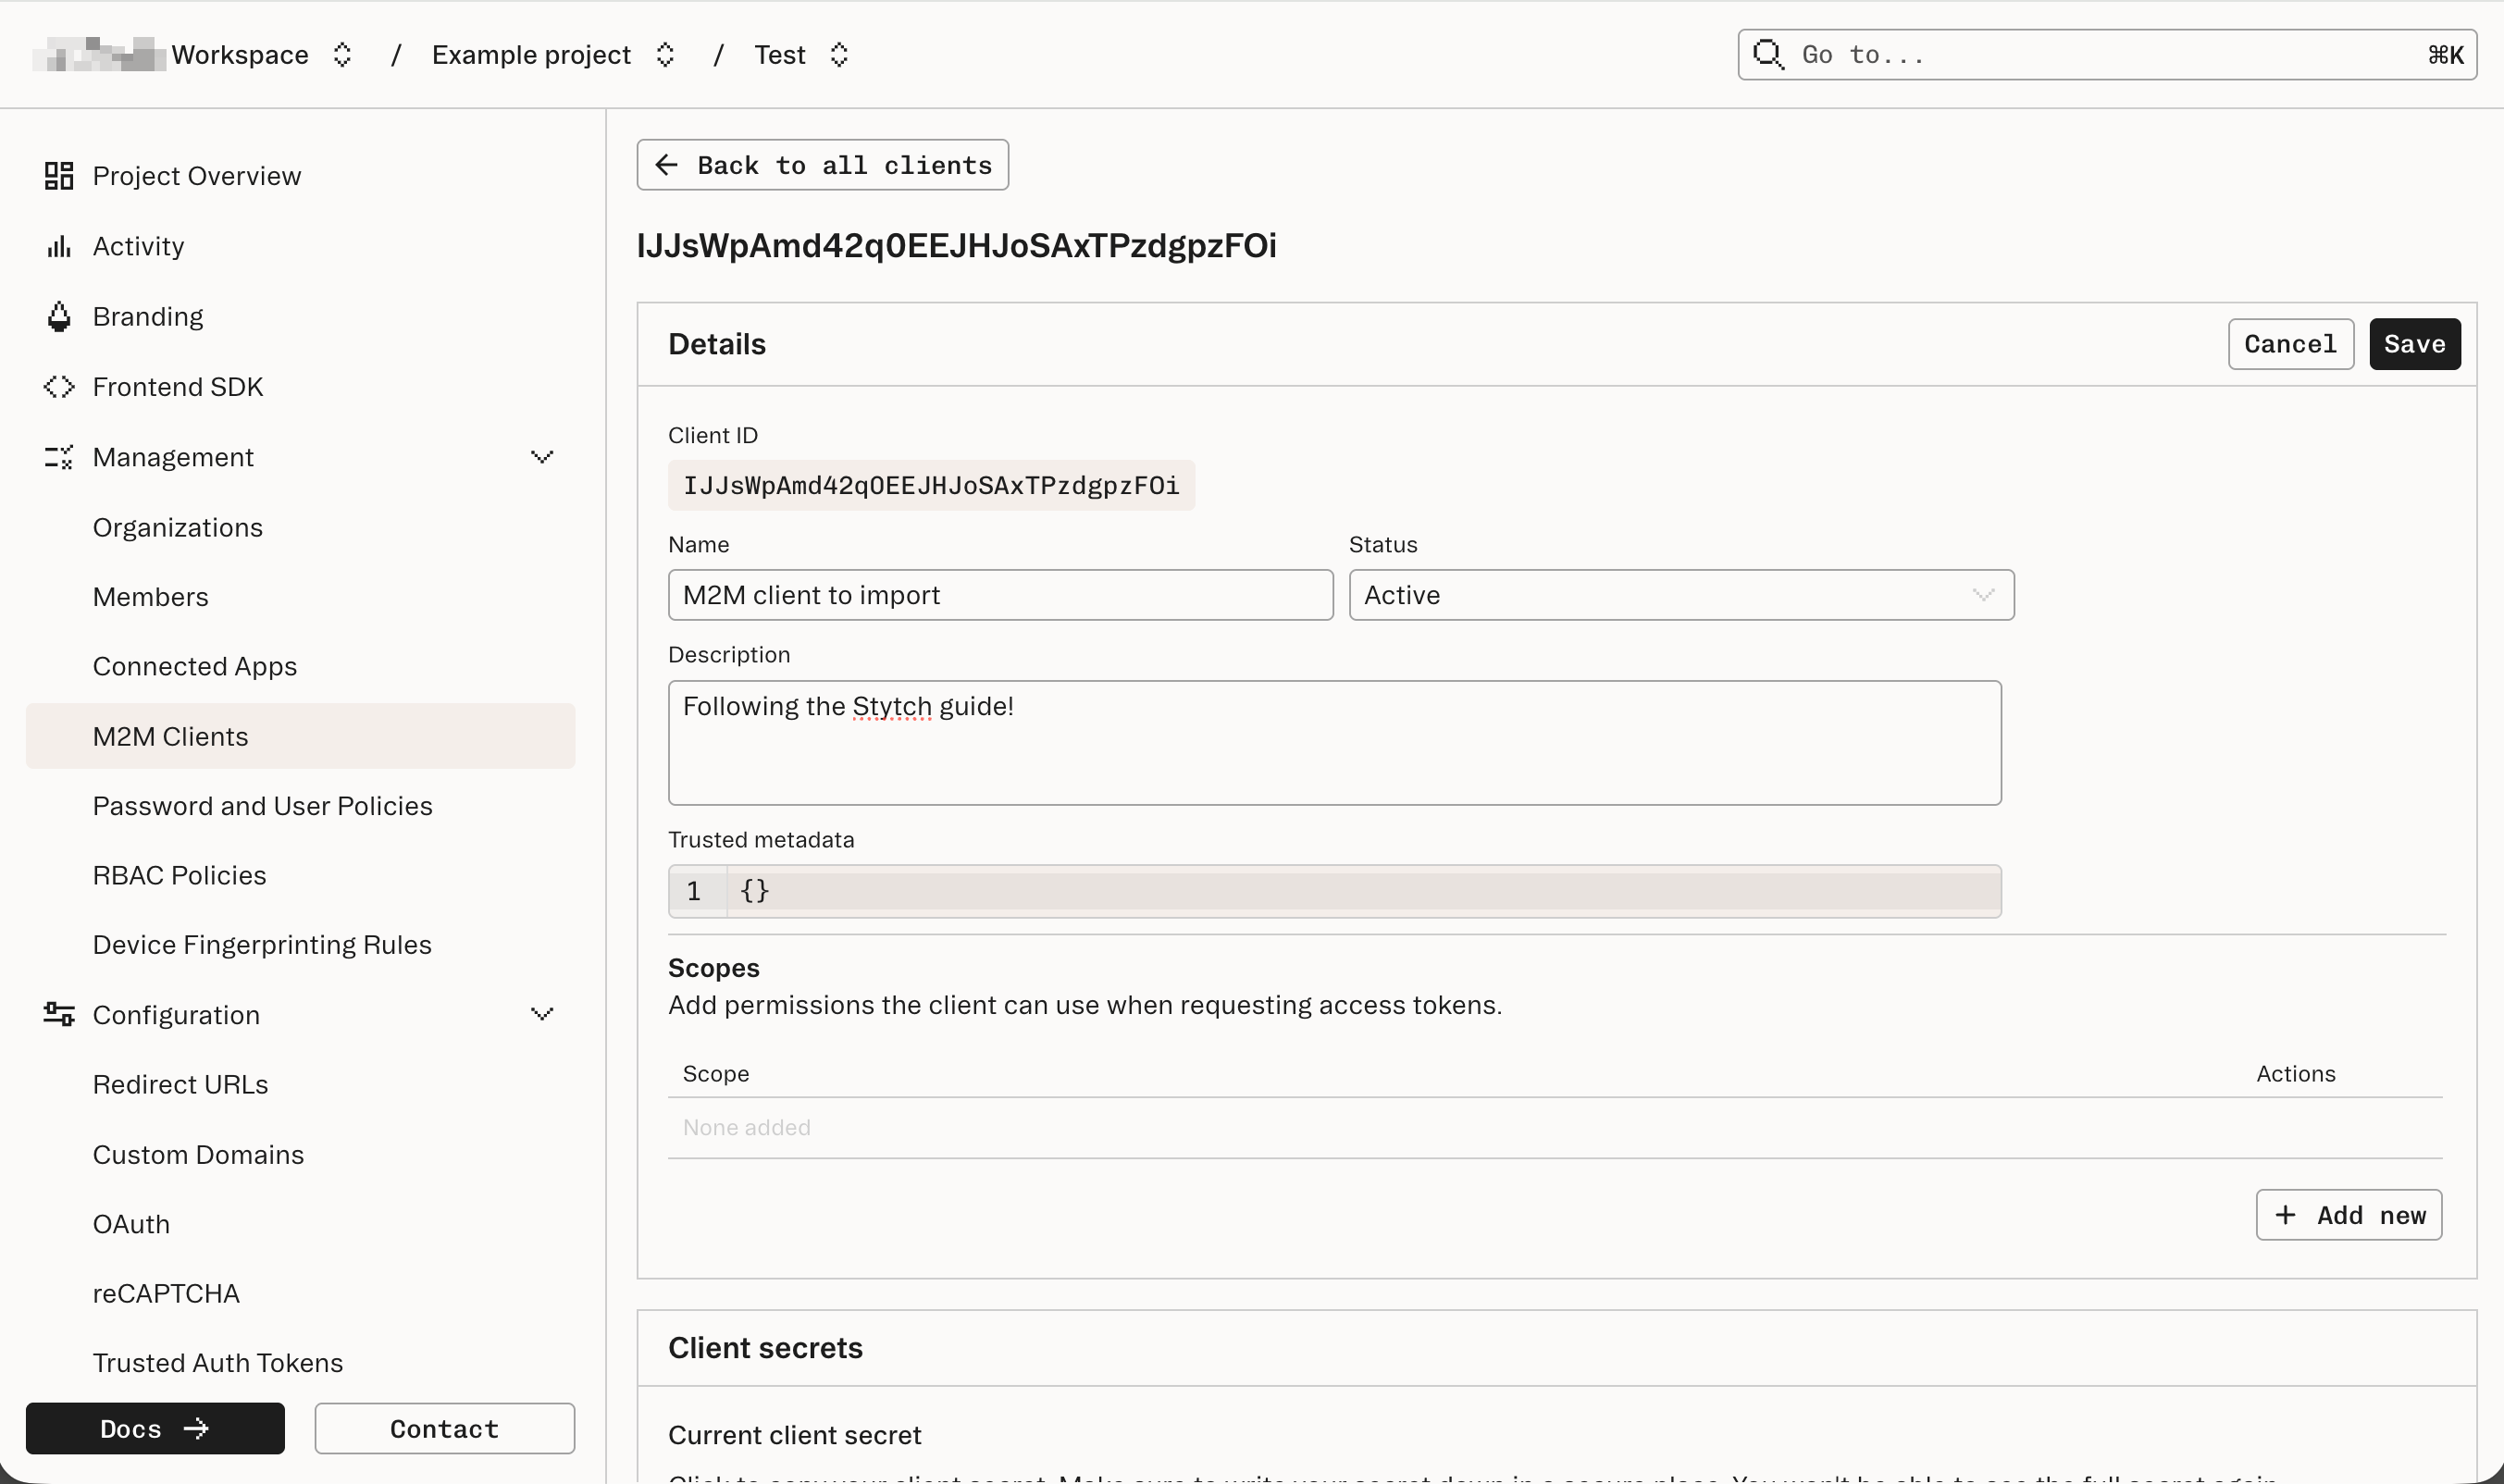
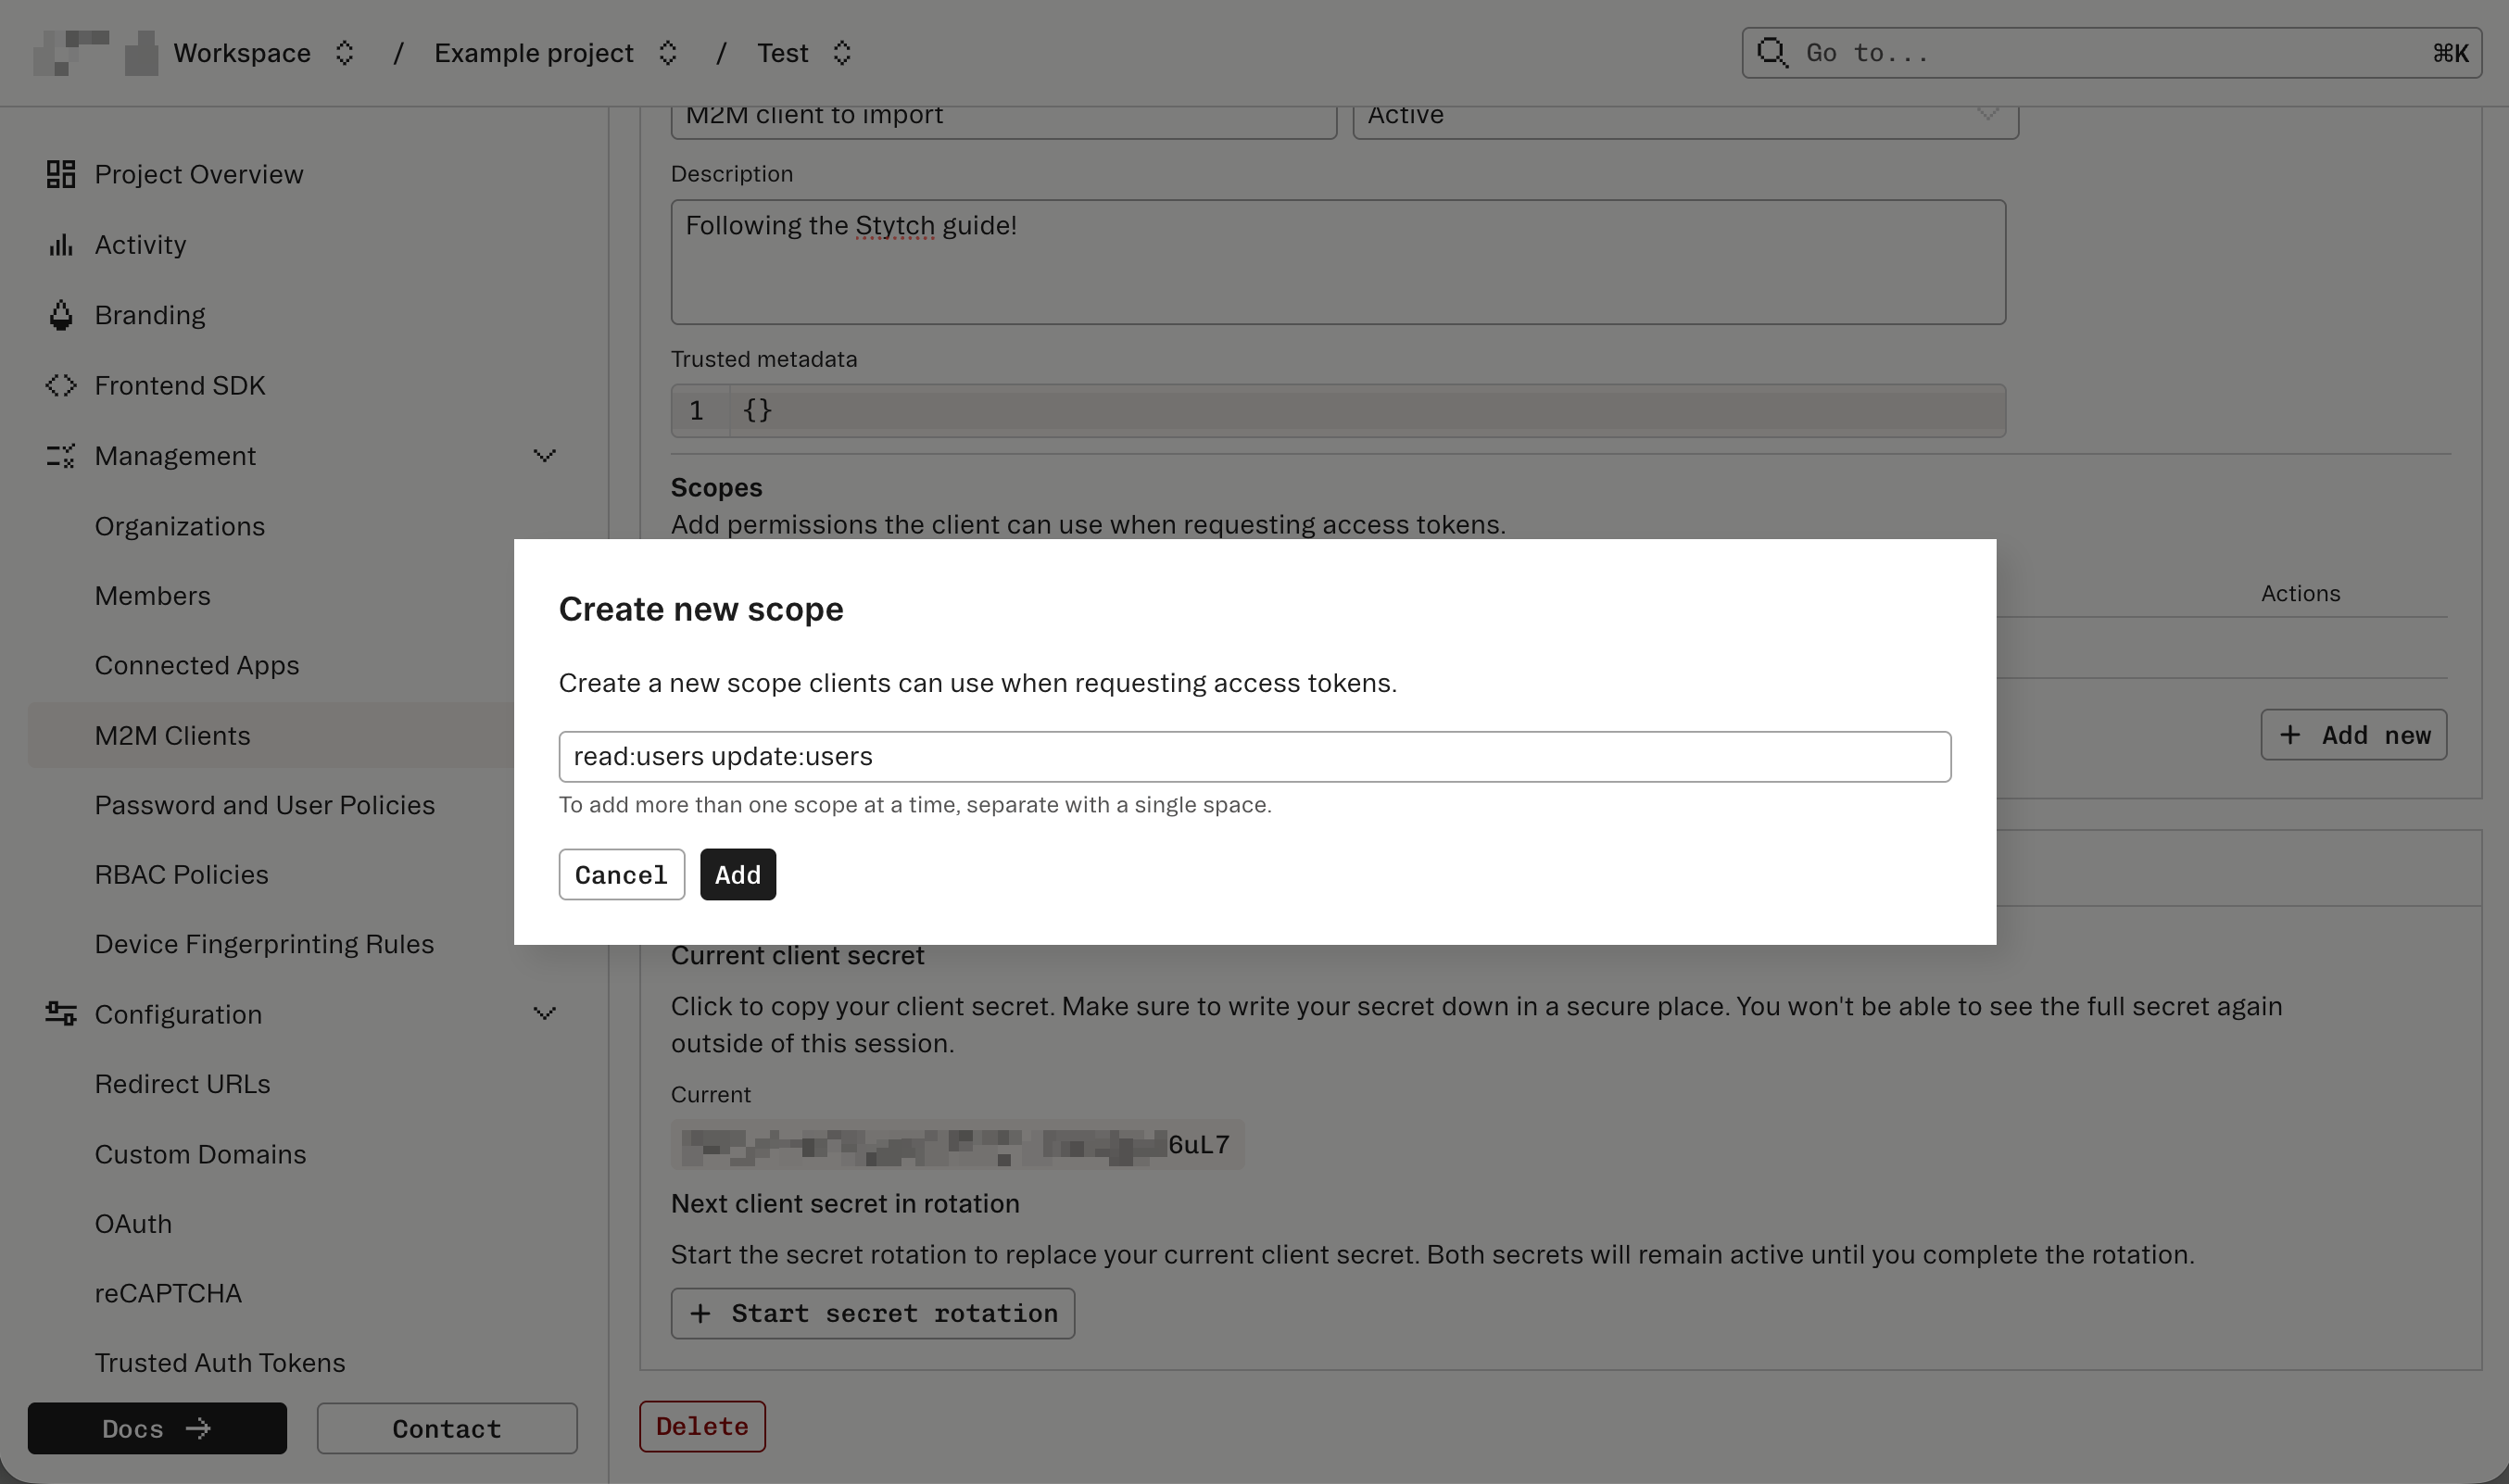
client_name and client_description.Validate the access token's payload
To confirm a successful import, issue an access token for the M2M Client and decode the JWT.The access token’s payload and standard claims should show the following data:
- The
issandsubmatch or contain yourproject_id. - The
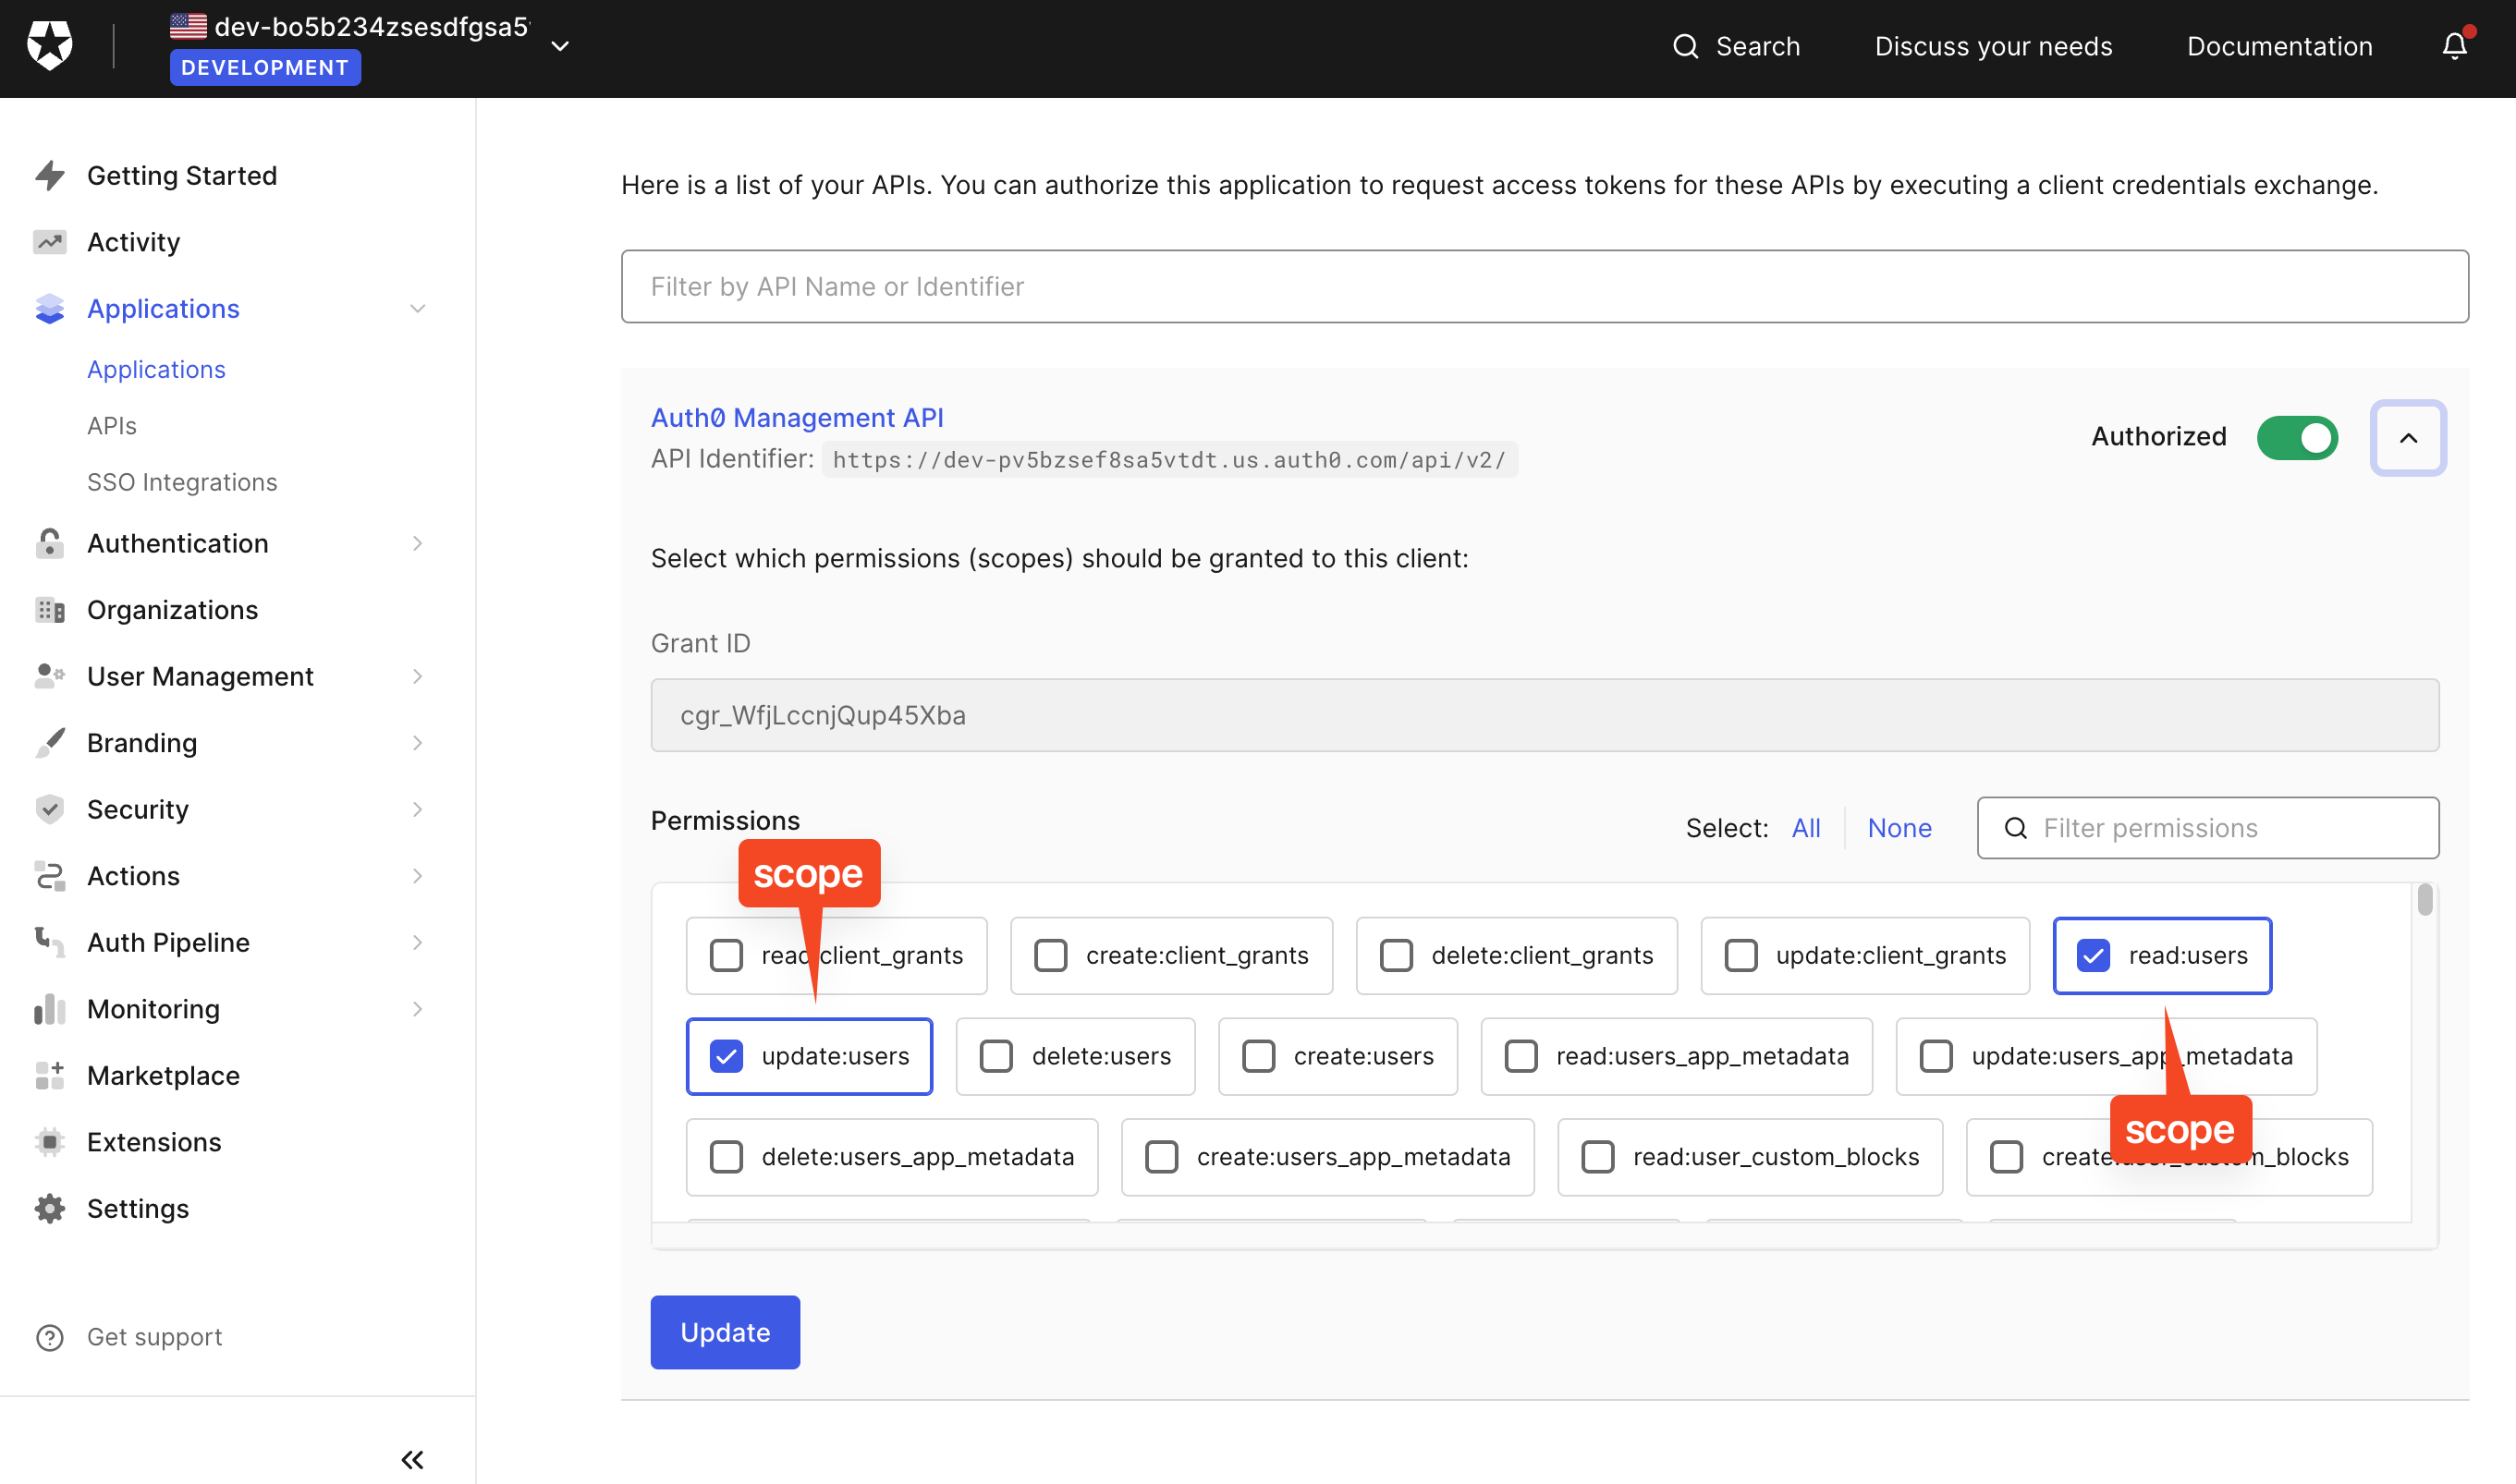
scopematches the scopes you entered in Step 3. - The
submatches theclient_idyou imported from Steps 1 and 2.