Before you start
In order to complete this guide, you’ll need the following:- A Stytch Consumer Authentication project. If you don’t have one already, in the Dashboard, click on your projects in the top nav, click Create Project, and then select Consumer Authentication.
- The public token for the Test environment you would like to use. These values can be accessed from the Project ID & API keys section of the Project Overview, or from the “Copy Public API Key” in the command bar (⌘-K / Ctrl-K). You’ll need to pass the public token into the initialized SDK client.
- The SDK enabled. In the Dashboard, navigate to the Frontend SDK page. Then click Enable SDK in Test.
- WebAuthn enabled in the SDK settings under Authentication products.
- A web app that serves HTML pages.
Passkeys require a primary factor
In order to ensure account recovery, Passkeys can only be used for login and not signup. Stytch Users are required to have a verified email or phone from primary auth factors like Magic Links, OTP, and OAuth before they can register a Passkey with Stytch’s API. Additionally, Passkey registration requires the User to have authenticated with at least two factors if possible. Please refer to the MFA SDK resource for more details.1
Install the frontend SDK
Stytch provides frontend SDK options for vanilla JavaScript, React, and Next.js. The essential steps to set up Passkeys are the same regardless of which SDK implementation you decide to use.In this guide, we’ll use the vanilla JavaScript SDK.Install the frontend SDK locally via npm or yarn.
2
Create a login.html page and initialize the Stytch Client
The next step is to create a login page with two elements:
- A
<script>that initializes the Stytch Client. You’ll need to pass in your Project’s public token. - A DOM element for the login UI component.
3
Configure and mount the Login component
After the initializing the Stytch Client, create a config object with the necessary auth settings. Refer to the UI Config SDK reference for all available options and style customizations.Since Passkeys cannot be used for signup, include One-Time Passcodes as an auth factor in the config object. Then mount the Login component by calling the stytch.mountLogin() method and passing in an object that has the config object and the DOM element id from Step 2.
4
Add callbacks to redirect to the home.html page
With the login form working, create a callbacks object that redirects the user upon successful authentication to a logged-in location (like a home page, dashboard, or account page). You can wire these functions to trigger on the The 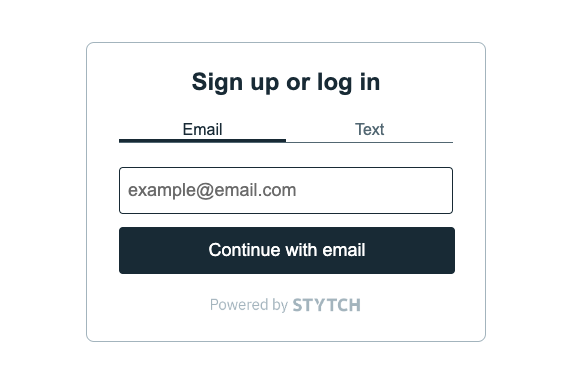
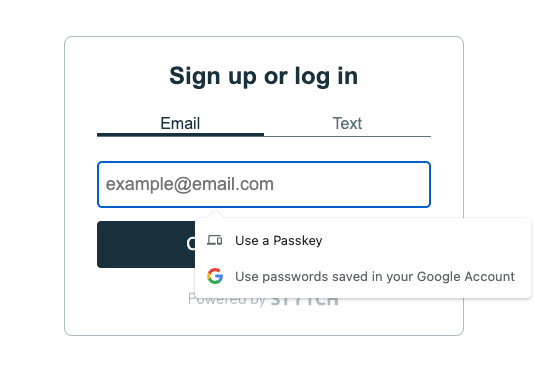
PASSKEY_AUTHENTICATE and OTP_AUTHENTICATE events.Refer to the UI callbacks SDK reference for a full list of events you can use for asynchronous operations.Once defined, pass the callbacks object into stytch.mountLogin() method.login.html page should render a Login component UI. The email input field should trigger an autofill behavior for Passkey credentials when clicked on. Please make sure you’re using a supported browser.5
Create a home.html page and mount the Passkey Registration component
With the The 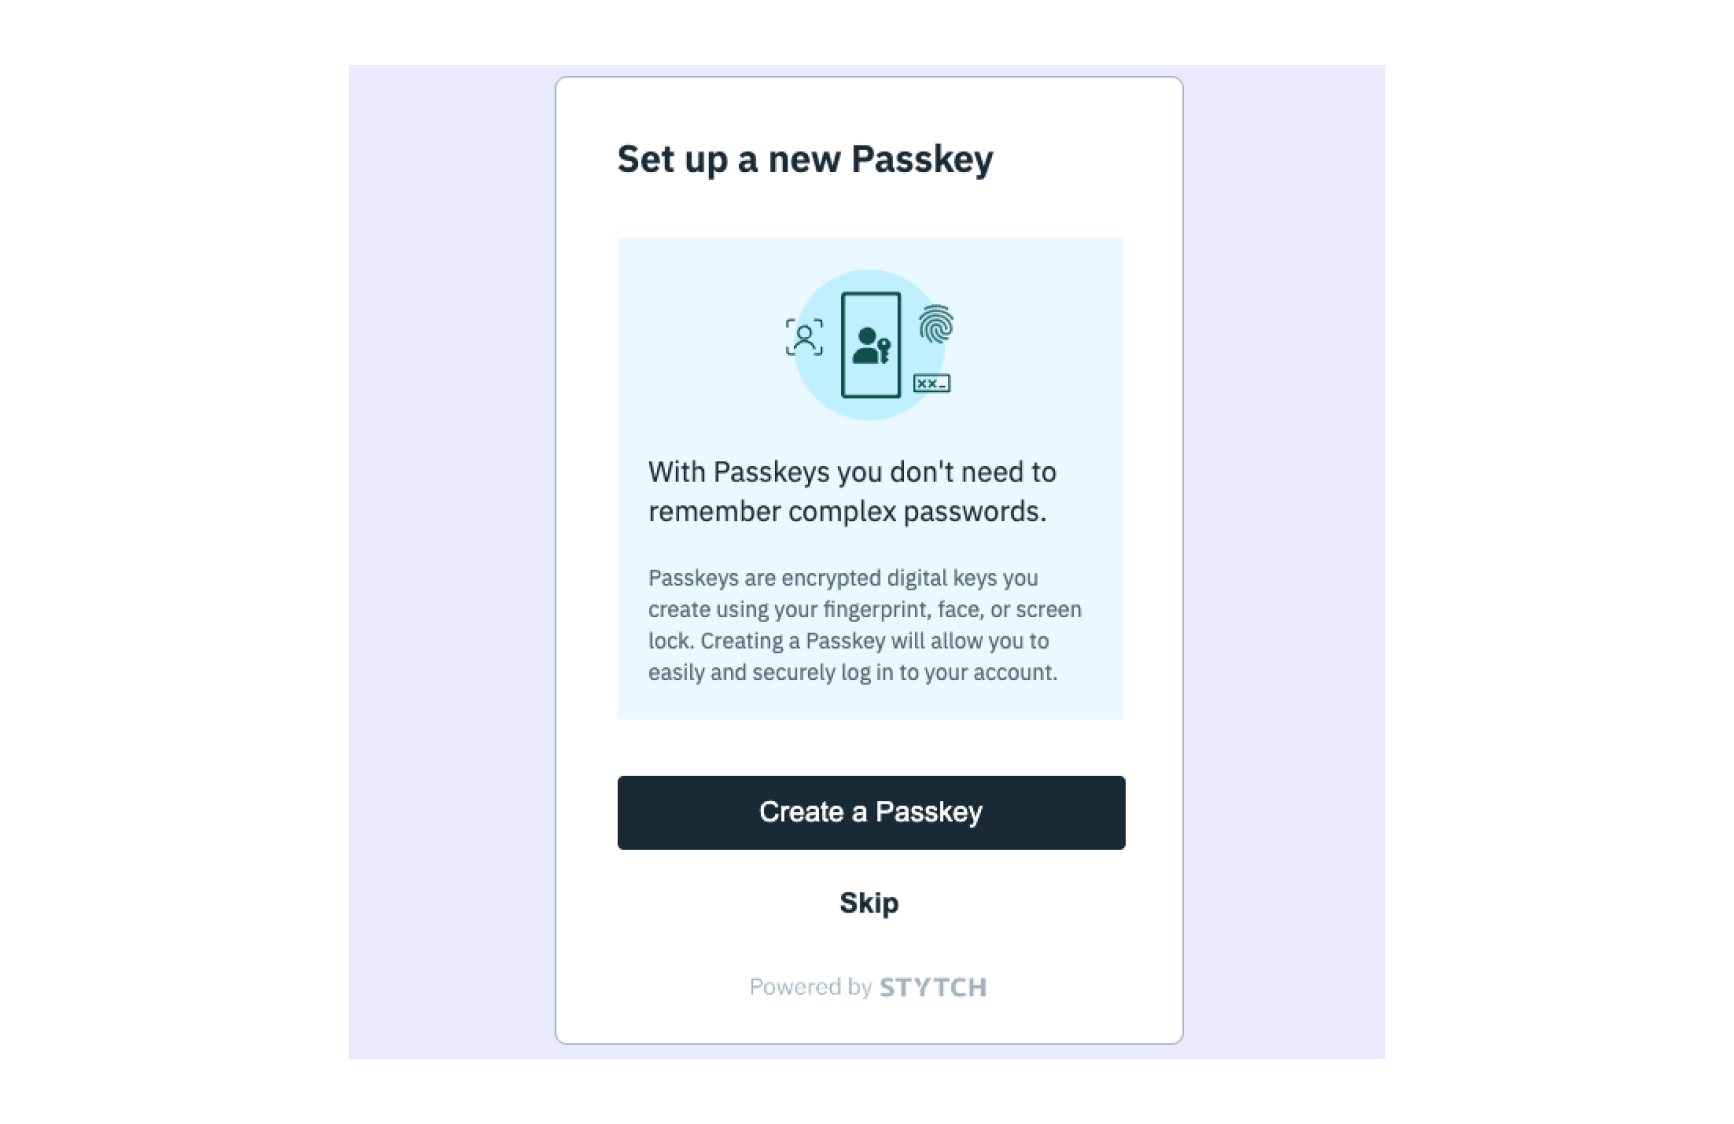
login.html page redirecting to home.html upon successful authentication, the next step is to build a page where users can register Passkeys after signing up.Create a home.html page that initializes the Stytch Client and mounts the Passkey Registration component. The Passkey Registration component accepts all the same props as the Stytch Login component from Steps 3 and 4:- config object.
- target DOM element id.
- callbacks object.
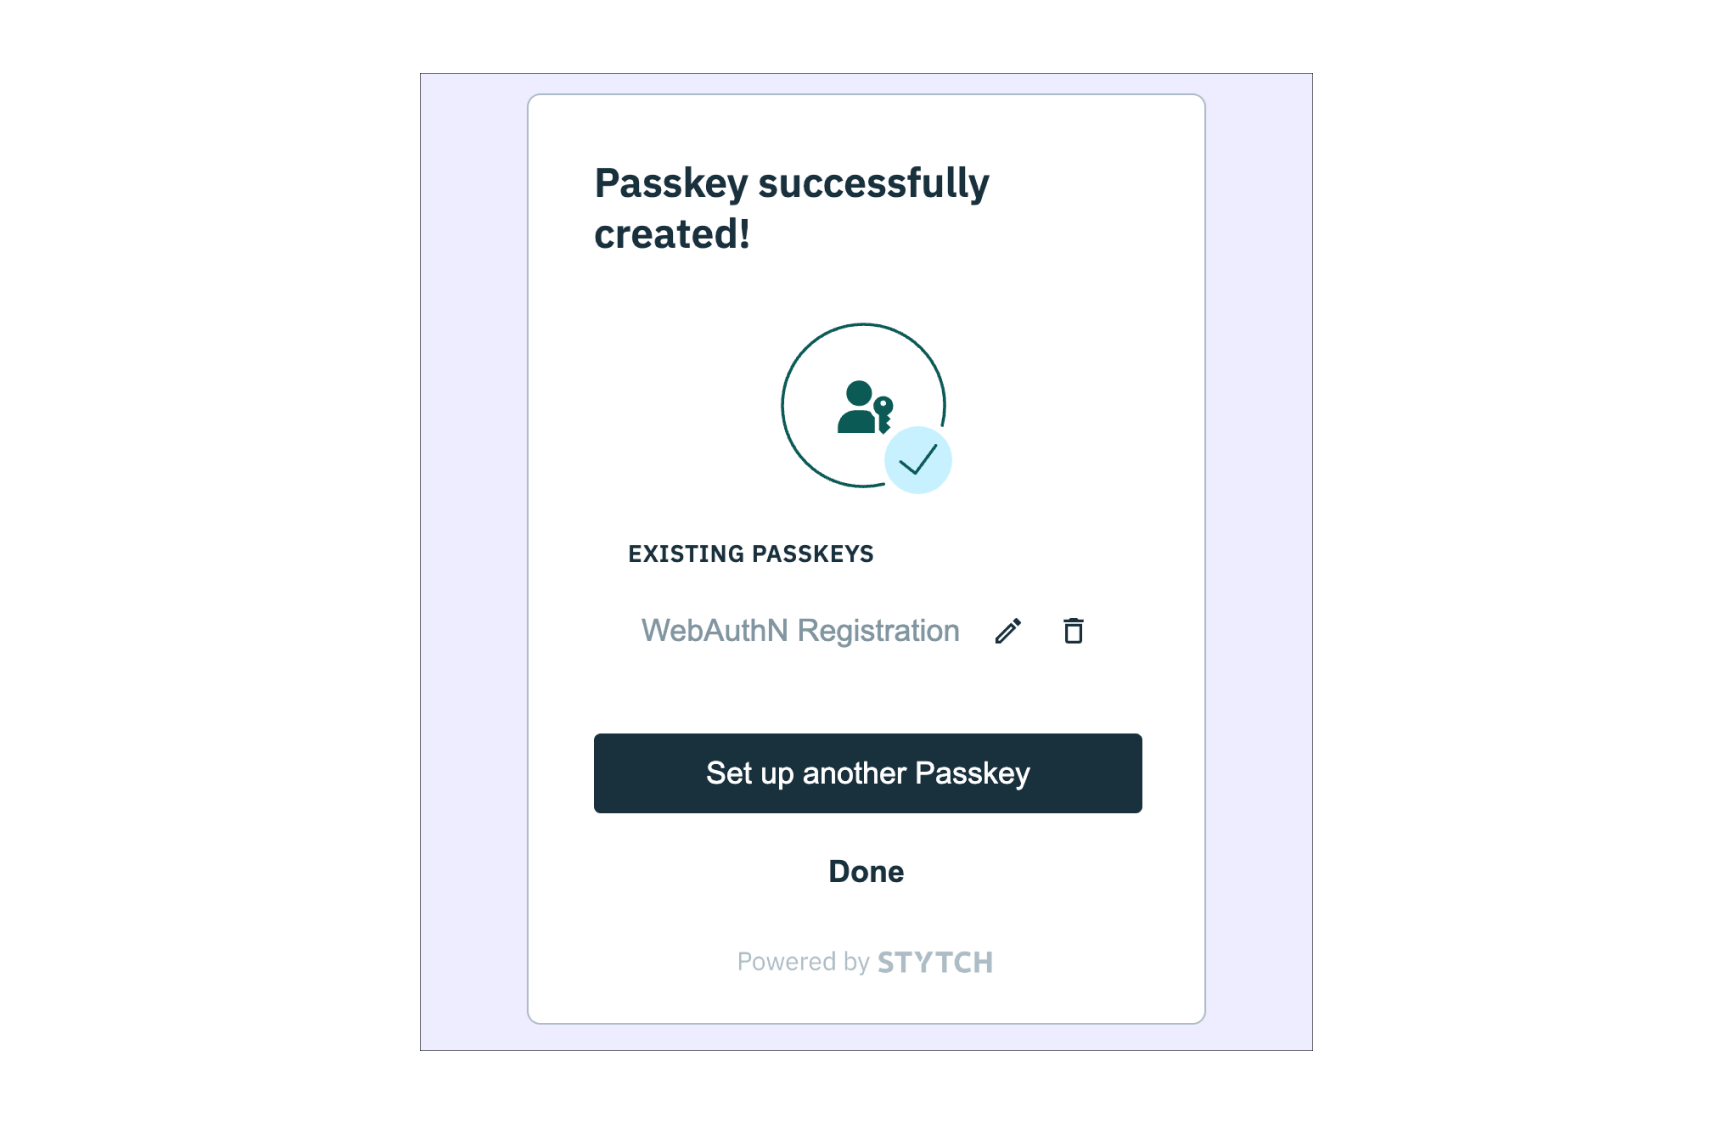
stytch.session.revoke() method.The home.html page should have the following structure:home.html page should render a Passkey Registration component with this UI:6
Sign up with Email OTP
At this point, the 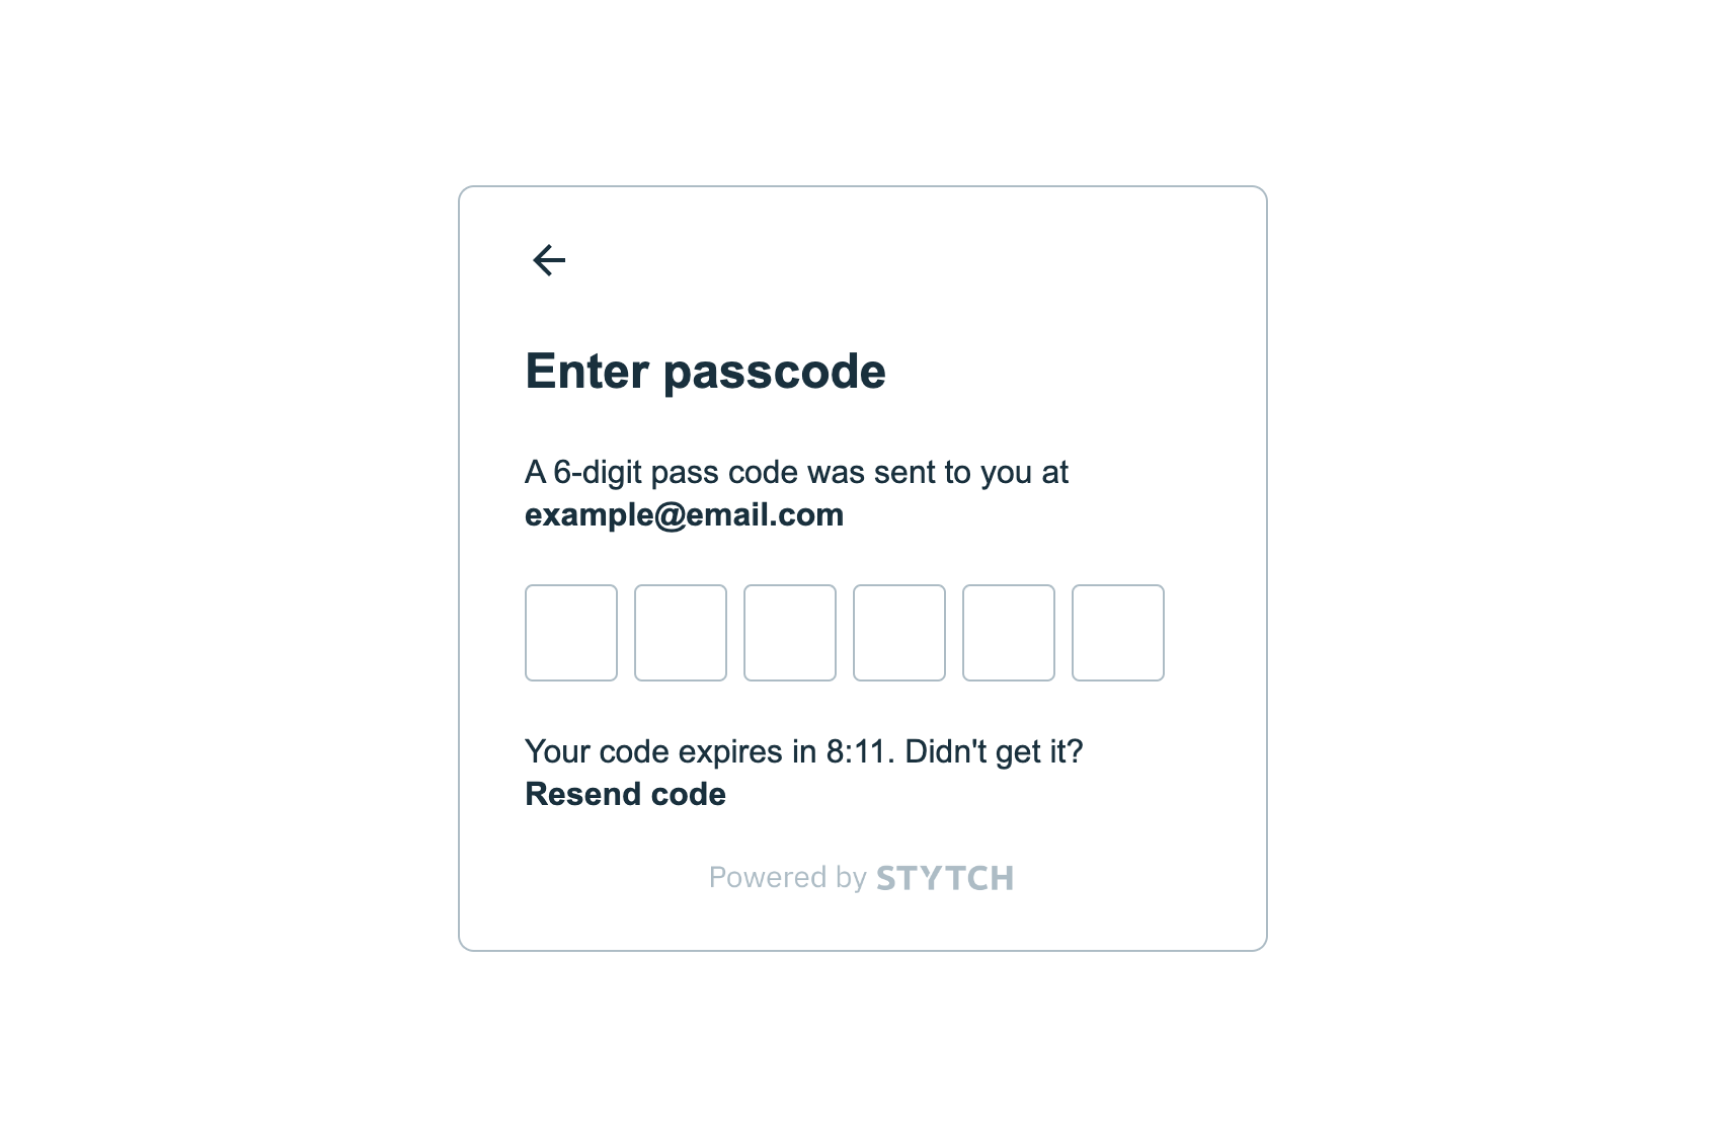
login.html and home.html should have fully functional Login and Passkey Registration components. Now we can test the end-to-end flow for signing up and logging in to the application with Passkeys.First, start on the login.html page and enter an email address to sign up with an Email OTP. You should receive an email with an OTP code. Complete the authentication flow and you should be redirected to home.html after receiving a 200 network response with a Session.7
Register a Passkey
On the 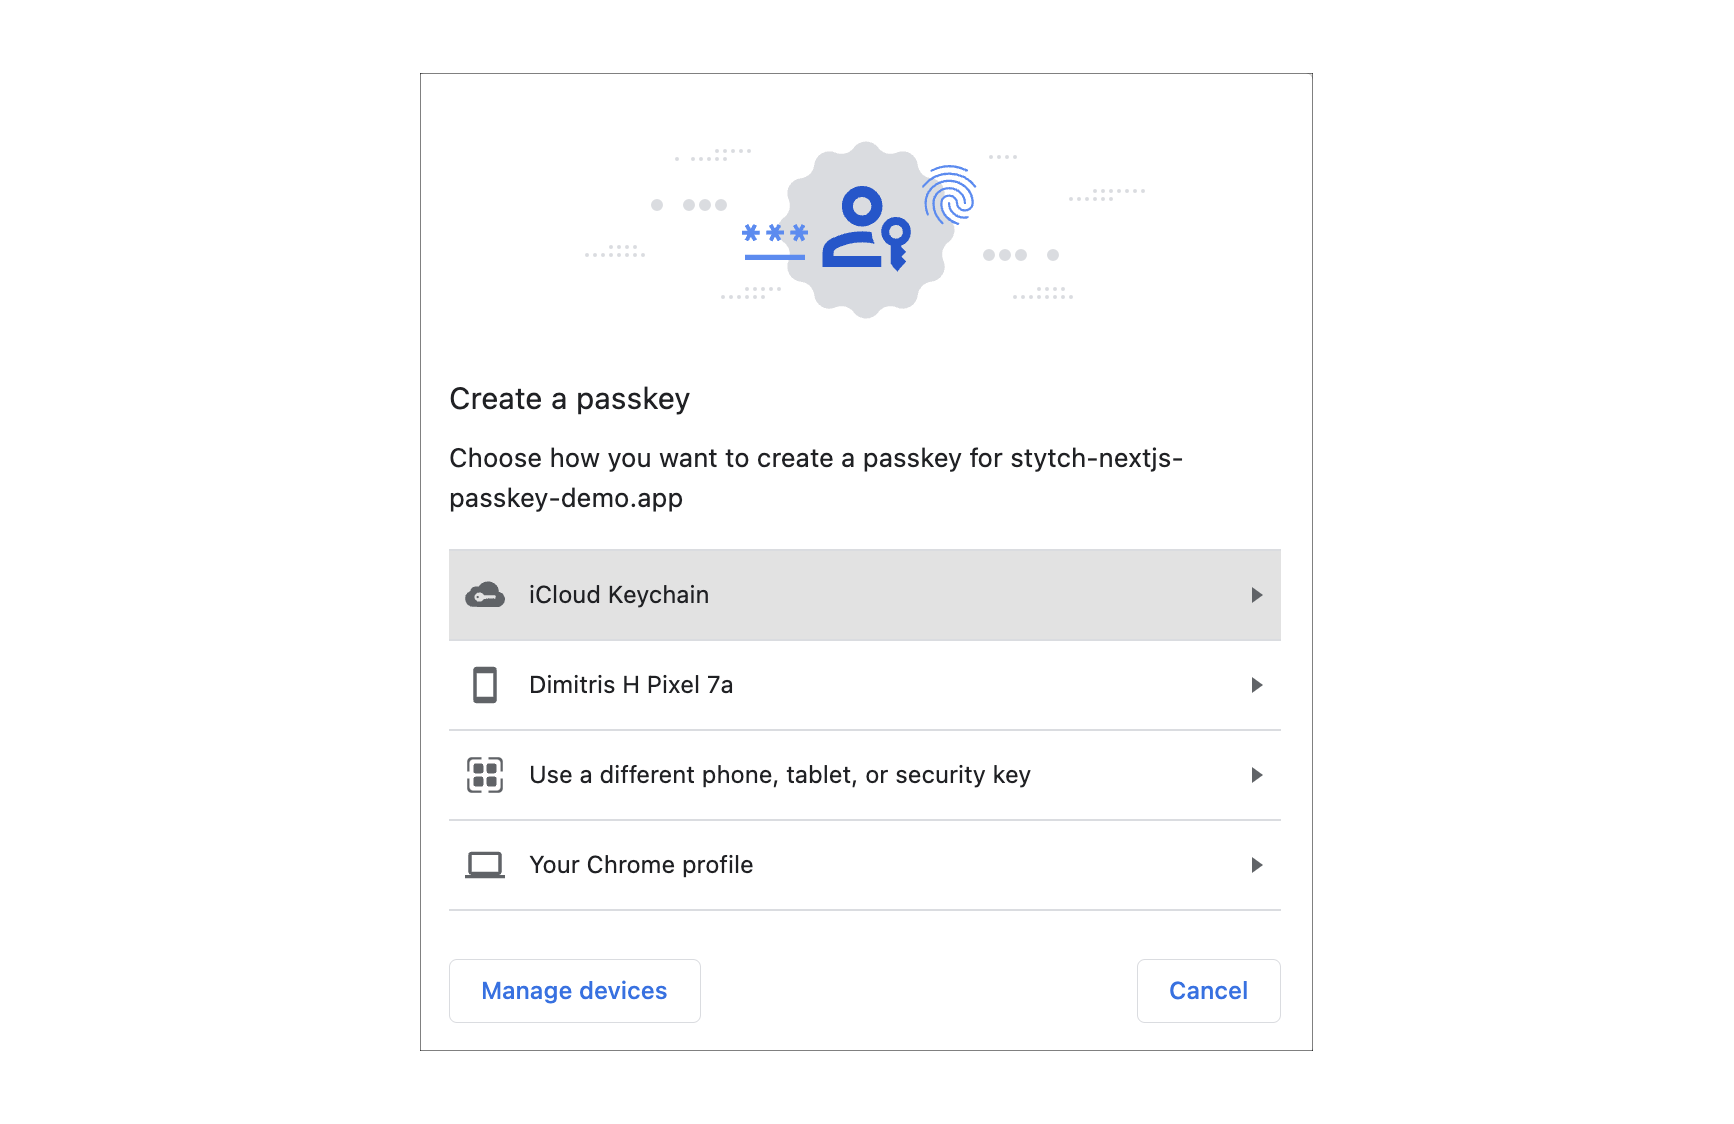
home.html page, click Create a Passkey on the Passkey Registration component. A browser dialog will appear with a prompt to create a Passkey with multiple options for storage such as:- Mobile devices
- Tablets
- Laptops
- Security hardware like Yubikeys
- iCloud
- Chrome password manager
- Windows Hello
- 1Paswsword
8
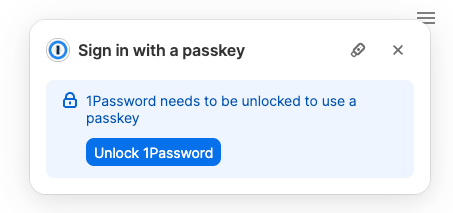
Authenticate with your Passkey
Your User record should have a verified email from signing up with OTP in Step 6 and a registered Passkey / WebAuthn factor from Step 7.Log out of the
home.html page and revoke the session with the logout() function created in Step 5.The final step is to log back in by clicking the email input field which should trigger the autofill and Passkeys browser dialog.Select the same Passkey you created in Step 7 which will successfully authenticate into the application.