Custom email templates
As part of Stytch's Full email customization and Stytch brand removal add-on, you can set up your own email templates for any authentication flows that involve sending an email to the user. You can fully customize the subject line, email body HTML, and sender details of the templates.
Setting up custom email templates
Complete the following steps to set up and use a custom email template in your Stytch requests.
1Enable the Full email customization and Stytch brand removal add-on
Our Full email customization and Stytch brand removal add-on is required in order to use custom email templates. You can enable this add-on in the Optional Add-Ons section of the Billing page in the Stytch Dashboard.

2Set up a custom email domain
Next, you'll need to set up a custom email domain that you can use to send your Stytch emails from. You can set up a custom email domain by following the setup steps in the Custom email domains section of the Custom Domains tab in the Stytch Dashboard.
Note that in order to protect our domain reputation, it is not possible to send custom email templates from the default Stytch sender domains. Check out this section of our Custom domains guide for additional information.
3Create a new custom email template
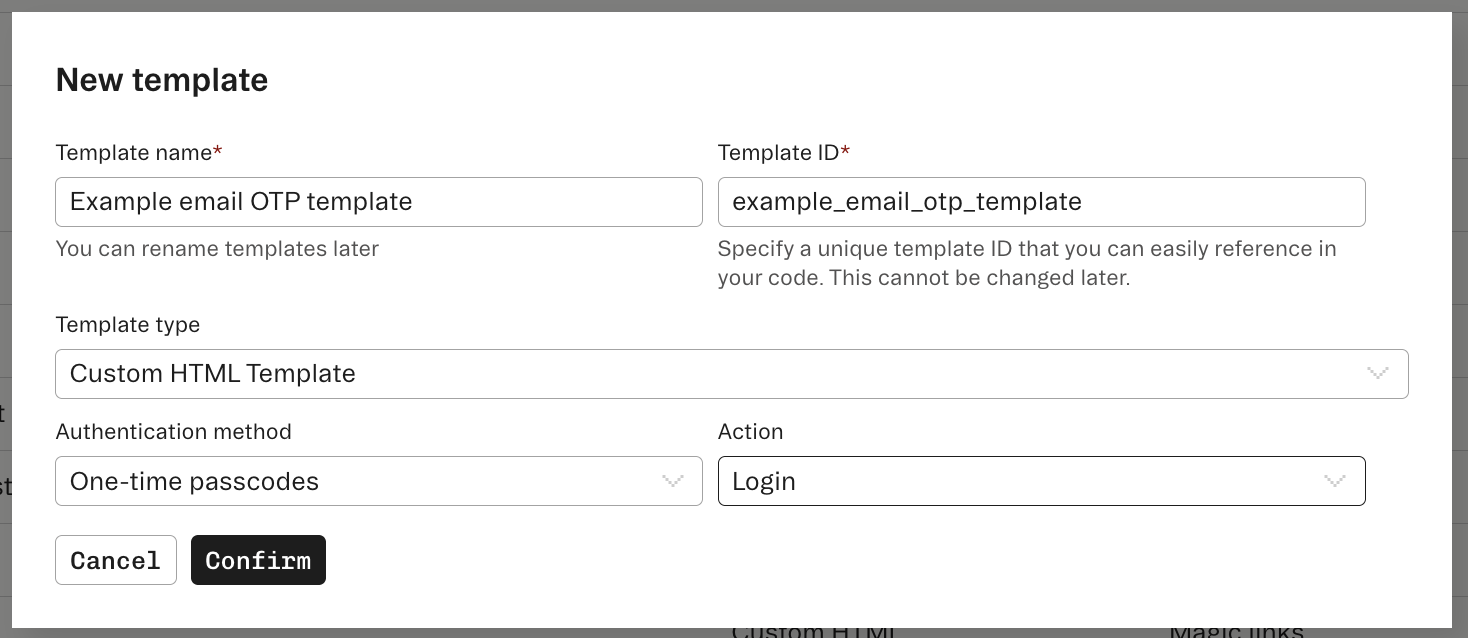
Now that your custom email domain is set up, you can create a custom email template by navigating to the Branding tab in the Stytch Dashboard and clicking Create new template.
In the Template type dropdown, select Custom HTML template.

You can now use the email template editor to edit the email subject line, the email body HTML, and the sender information such as the sender address, sender display name, and the reply-to address.
You can also insert variables such as the magic_link_url, otp_code, user_email, etc. into your template. Note that the available variables depend on the email template type and specific authentication flow, and not all variables are available in all contexts.
Alternatively, you can use our Programmatic Workspace Actions endpoints or our Terraform provider to create and manage your custom email templates.
4Use your custom email template in Stytch requests
Once you've finished creating your custom email template, you can instruct Stytch to use it by specifying its template_id in your authentication requests. Stytch endpoints that trigger an email include parameters like login_template_id, signup_template_id, and reset_password_template_id where you can specify the template_id of your custom email template.
Here's an example Send Discovery Email OTP cURL request that specifies a custom email template via the login_template_id parameter:
curl --request POST \
  --url https://test.stytch.com/v1/b2b/otps/email/discovery/send \
  -u 'PROJECT_ID:SECRET' \
  -H 'Content-Type: application/json' \
  -d '{
    "email_address": "email@example.com",
    "login_template_id": "yourCustomEmailTemplateId"
  }'
and the equivalent request made with our frontend JavaScript SDK:
stytchClient.otps.email.discovery.send({
  email_address: 'email@example.com',
  login_template_id: 'yourCustomEmailTemplateId'
});
You can also set a custom email template as the default template for its specific template type. When an email template is set as the default, we'll send that template to the user if you don't specify a template_id in your request.