To begin the login flow, the Connected App will make a request to an Authorization URL in your Stytch-powered application. This page will need to implement a mechanism which assists carrying out the flow — it can be something as simple as a backend endpoint which handles the calls, or as complex as a dedicated frontend component. The entry point should parse out some URL parameters to supply to the Stytch OAuth Authorization flow, which you can see here. This page will need to initiate a call to start OAuth authorization, which will return information about which scopes the user should be prompted to consent to. The result of this call should be used to prompt a user for consent. Once the user confirms, the authorization flow can be finalized by calling the submit OAuth authorize endpoint. Upon a successful submission Stytch will respond with a
redirect_uri and a code for the Connected App to complete the flow on its backend.
For this flow to succeed, the user must be identified, provided via either the
member_id + organization_id, session_jwt, or session_id. Prior to executing the authorization call, you’ll want to check for a valid session and redirect to the login page with a return_to parameter if the user is not authenticated.Prerequisites
In order to complete this guide, you’ll need:- A Stytch project. If you don’t have one already, or would like to create a new one, in the Dashboard, click on your existing project name in the top left corner of the Dashboard, click Create Project, and then select B2B Authentication or Consumer Authentication.
- An application using either the Stytch frontend SDKs or the Stytch backend APIs. If you are using the Stytch SDKs, ensure you are using an up-to-date version, e.g. v13.19.0+ for the Python SDK and v12.31.0+ for the Node SDK.
- A Relying Party app (the Connected App) that wishes to receive user information from your application.
Integration steps
Implement an Entry Point
Initiate a call to start OAuth authorization.
Render consent page
If consent is required, we need to render a page informing what scopes are requested. Otherwise, skip ahead to Step 3.
Complete authorization request
Once the authorization request is submitted, authorization is complete.
Configure Stytch for the component
Enter the URL where the component is mounted into the Authorization URL field in the Connected Apps section of the Stytch Dashboard.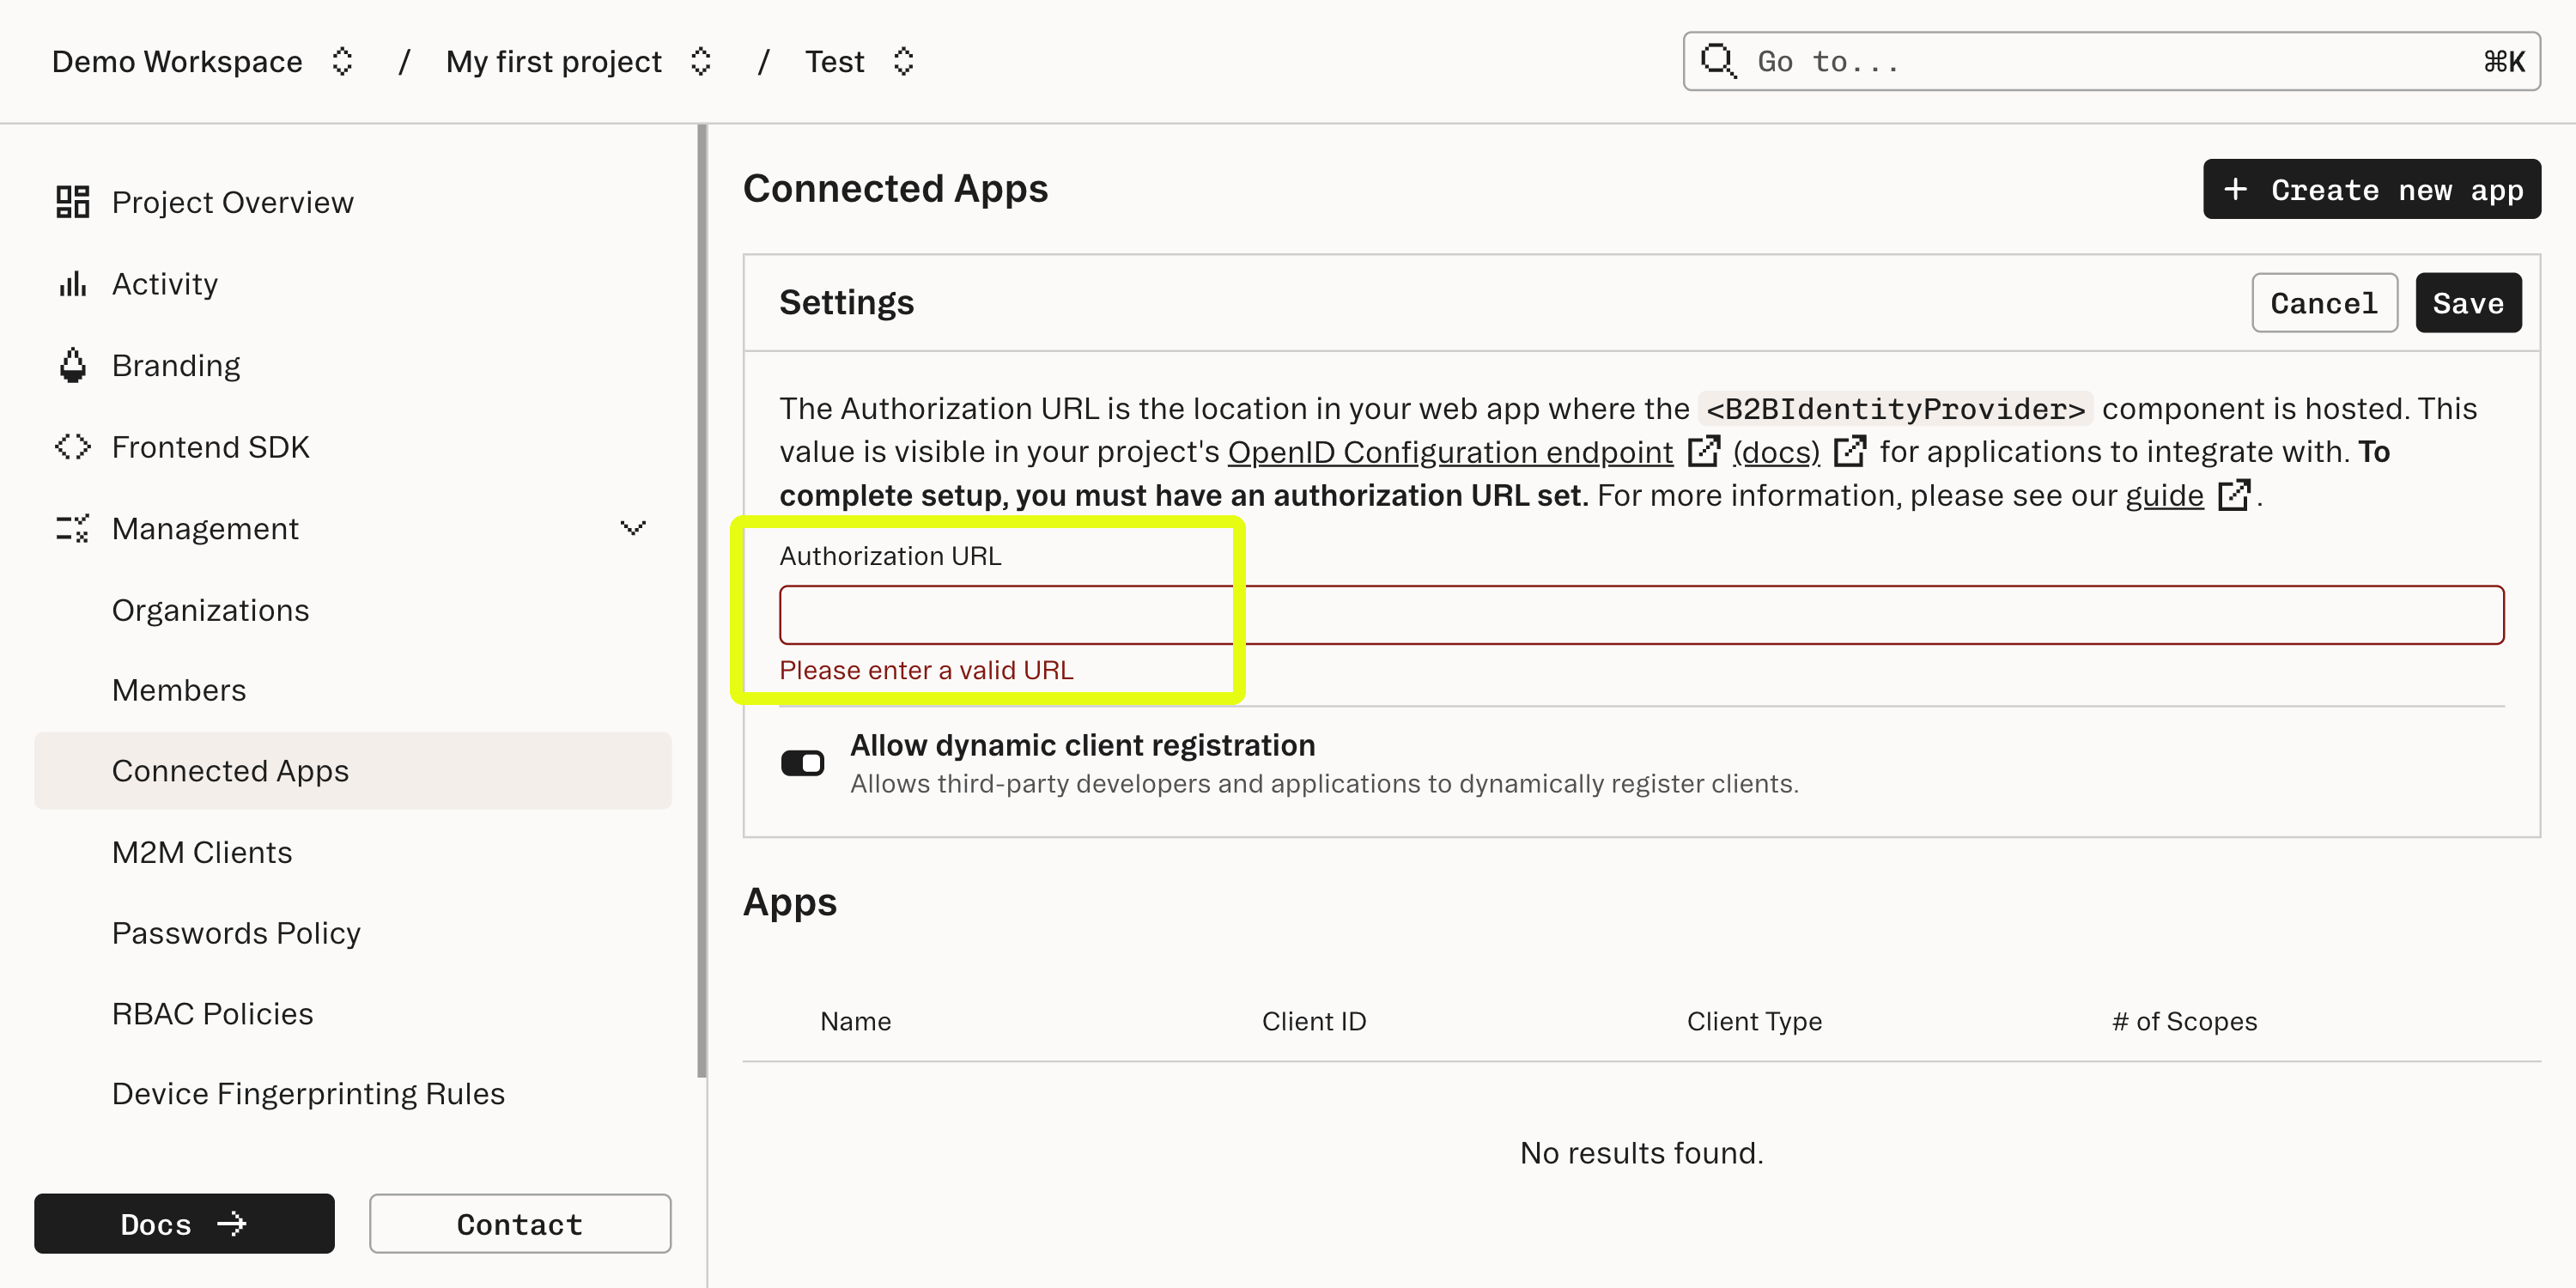
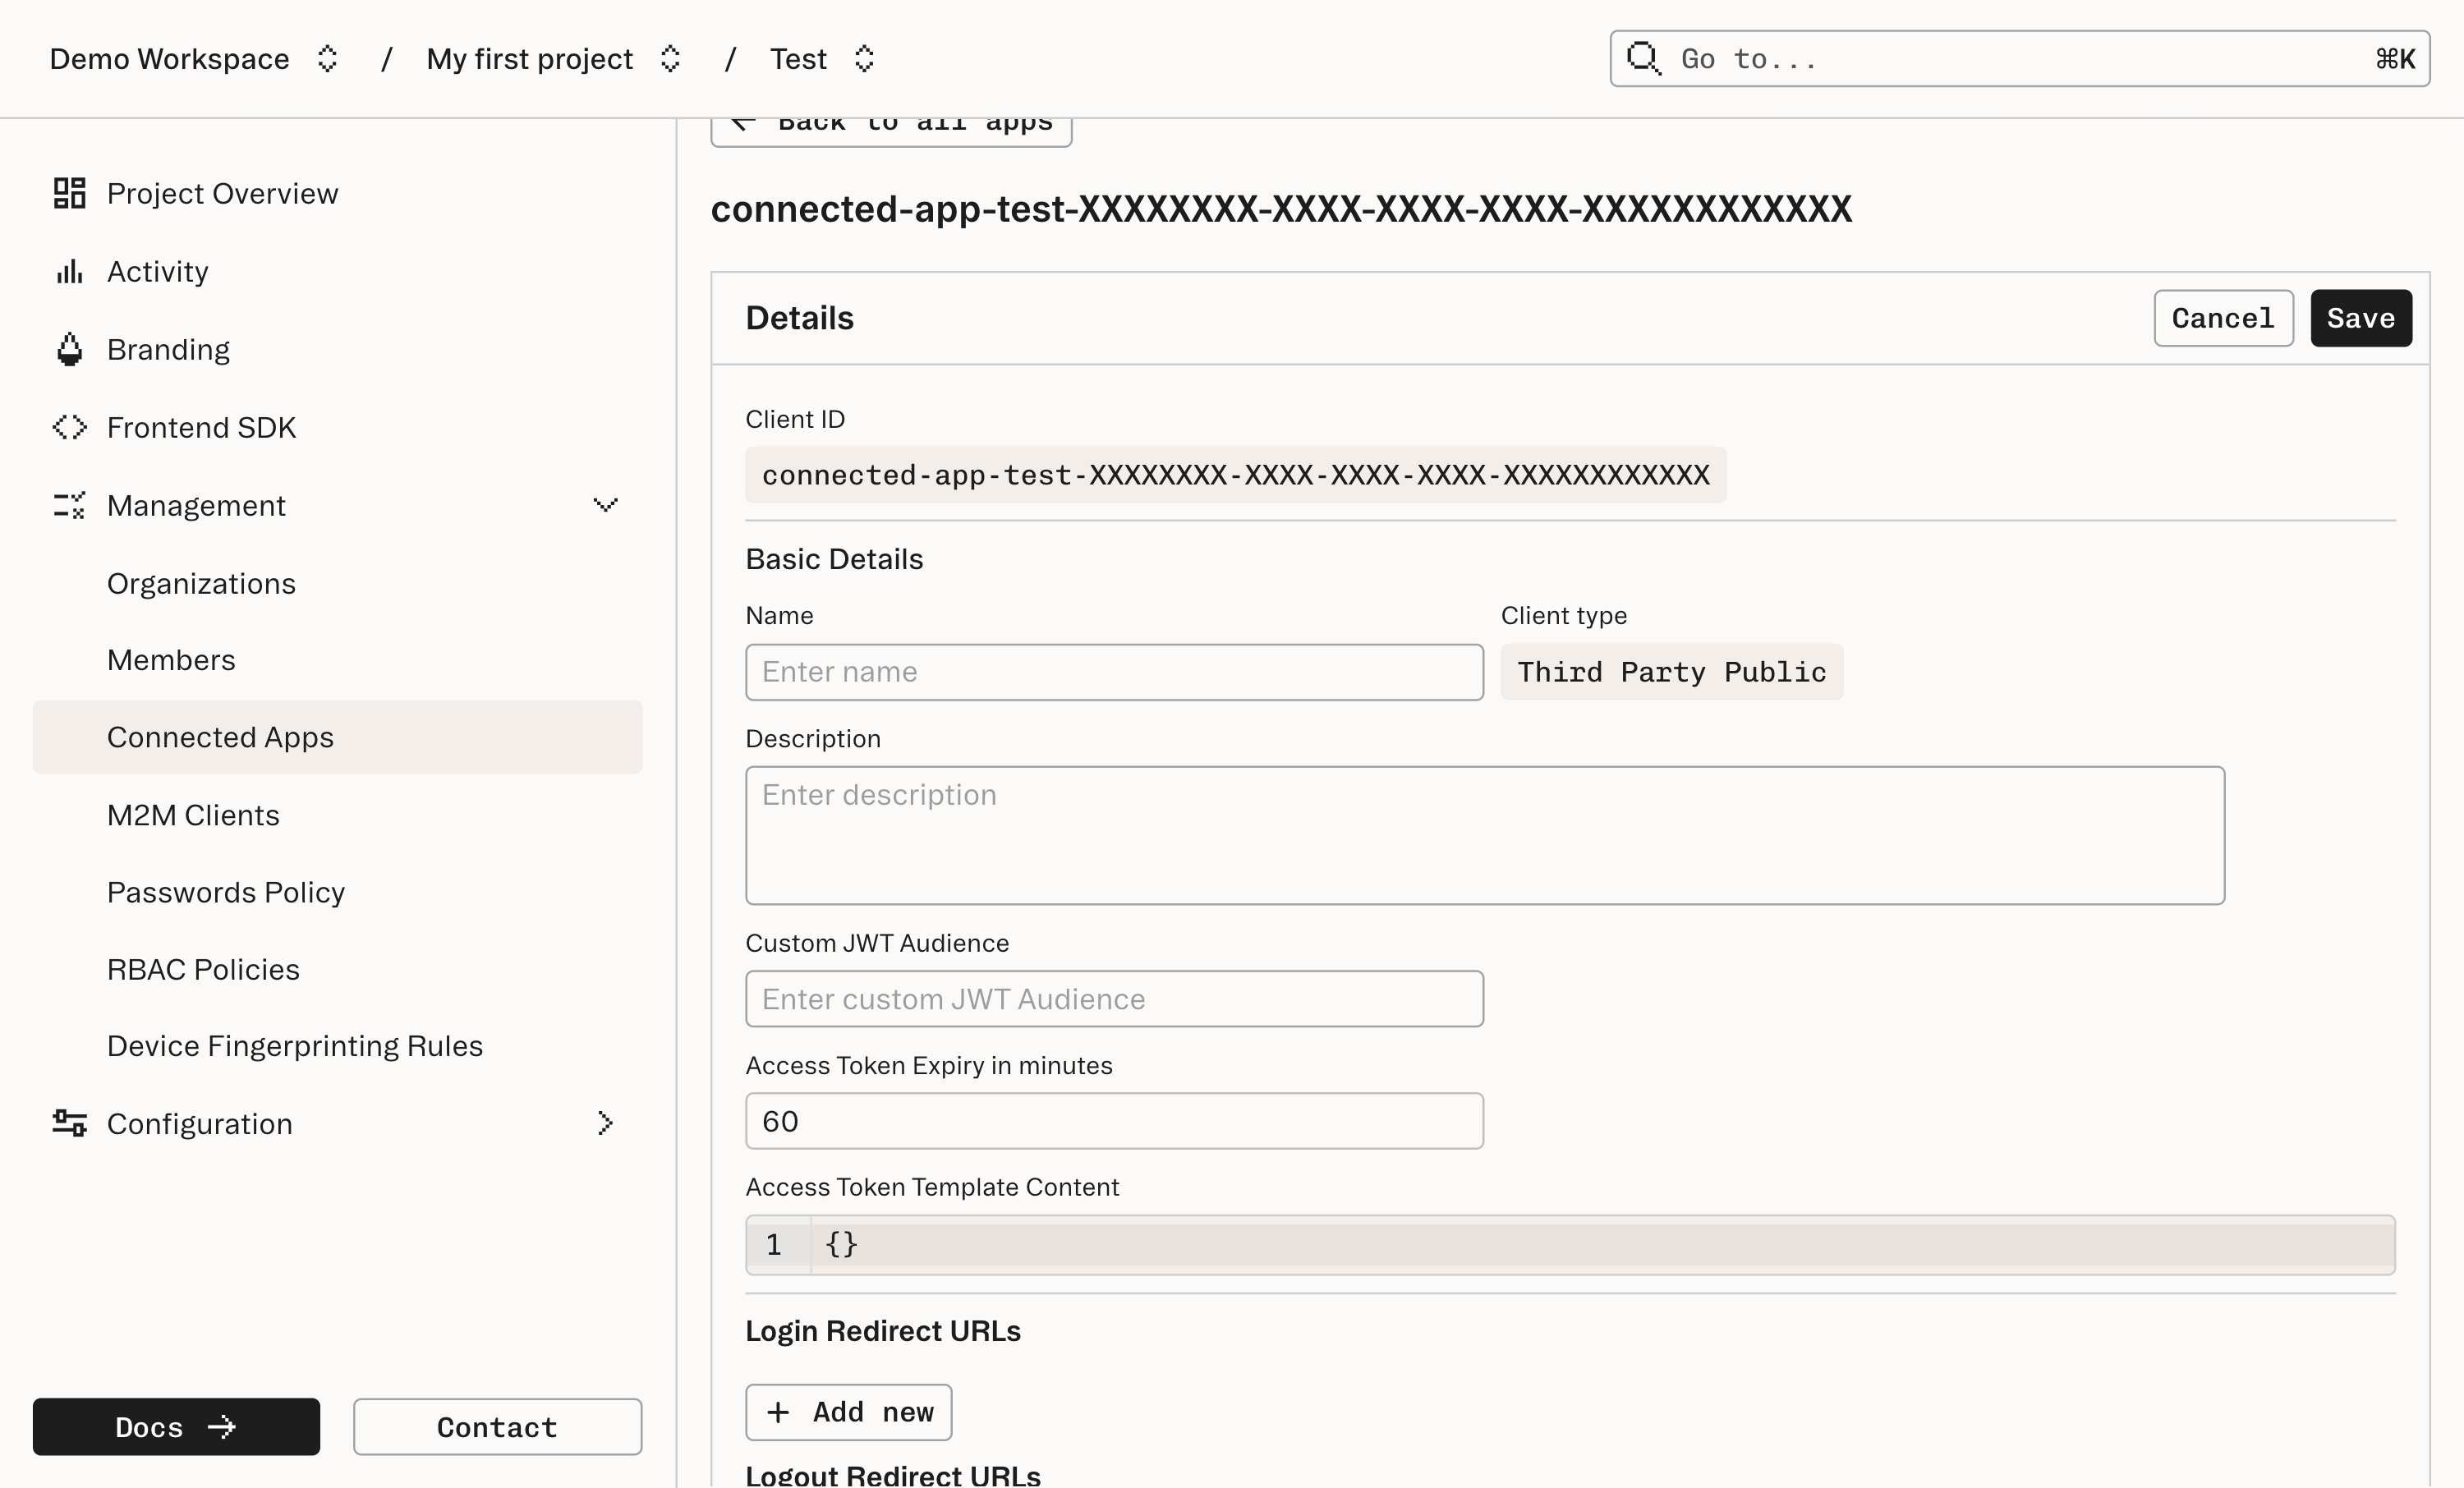
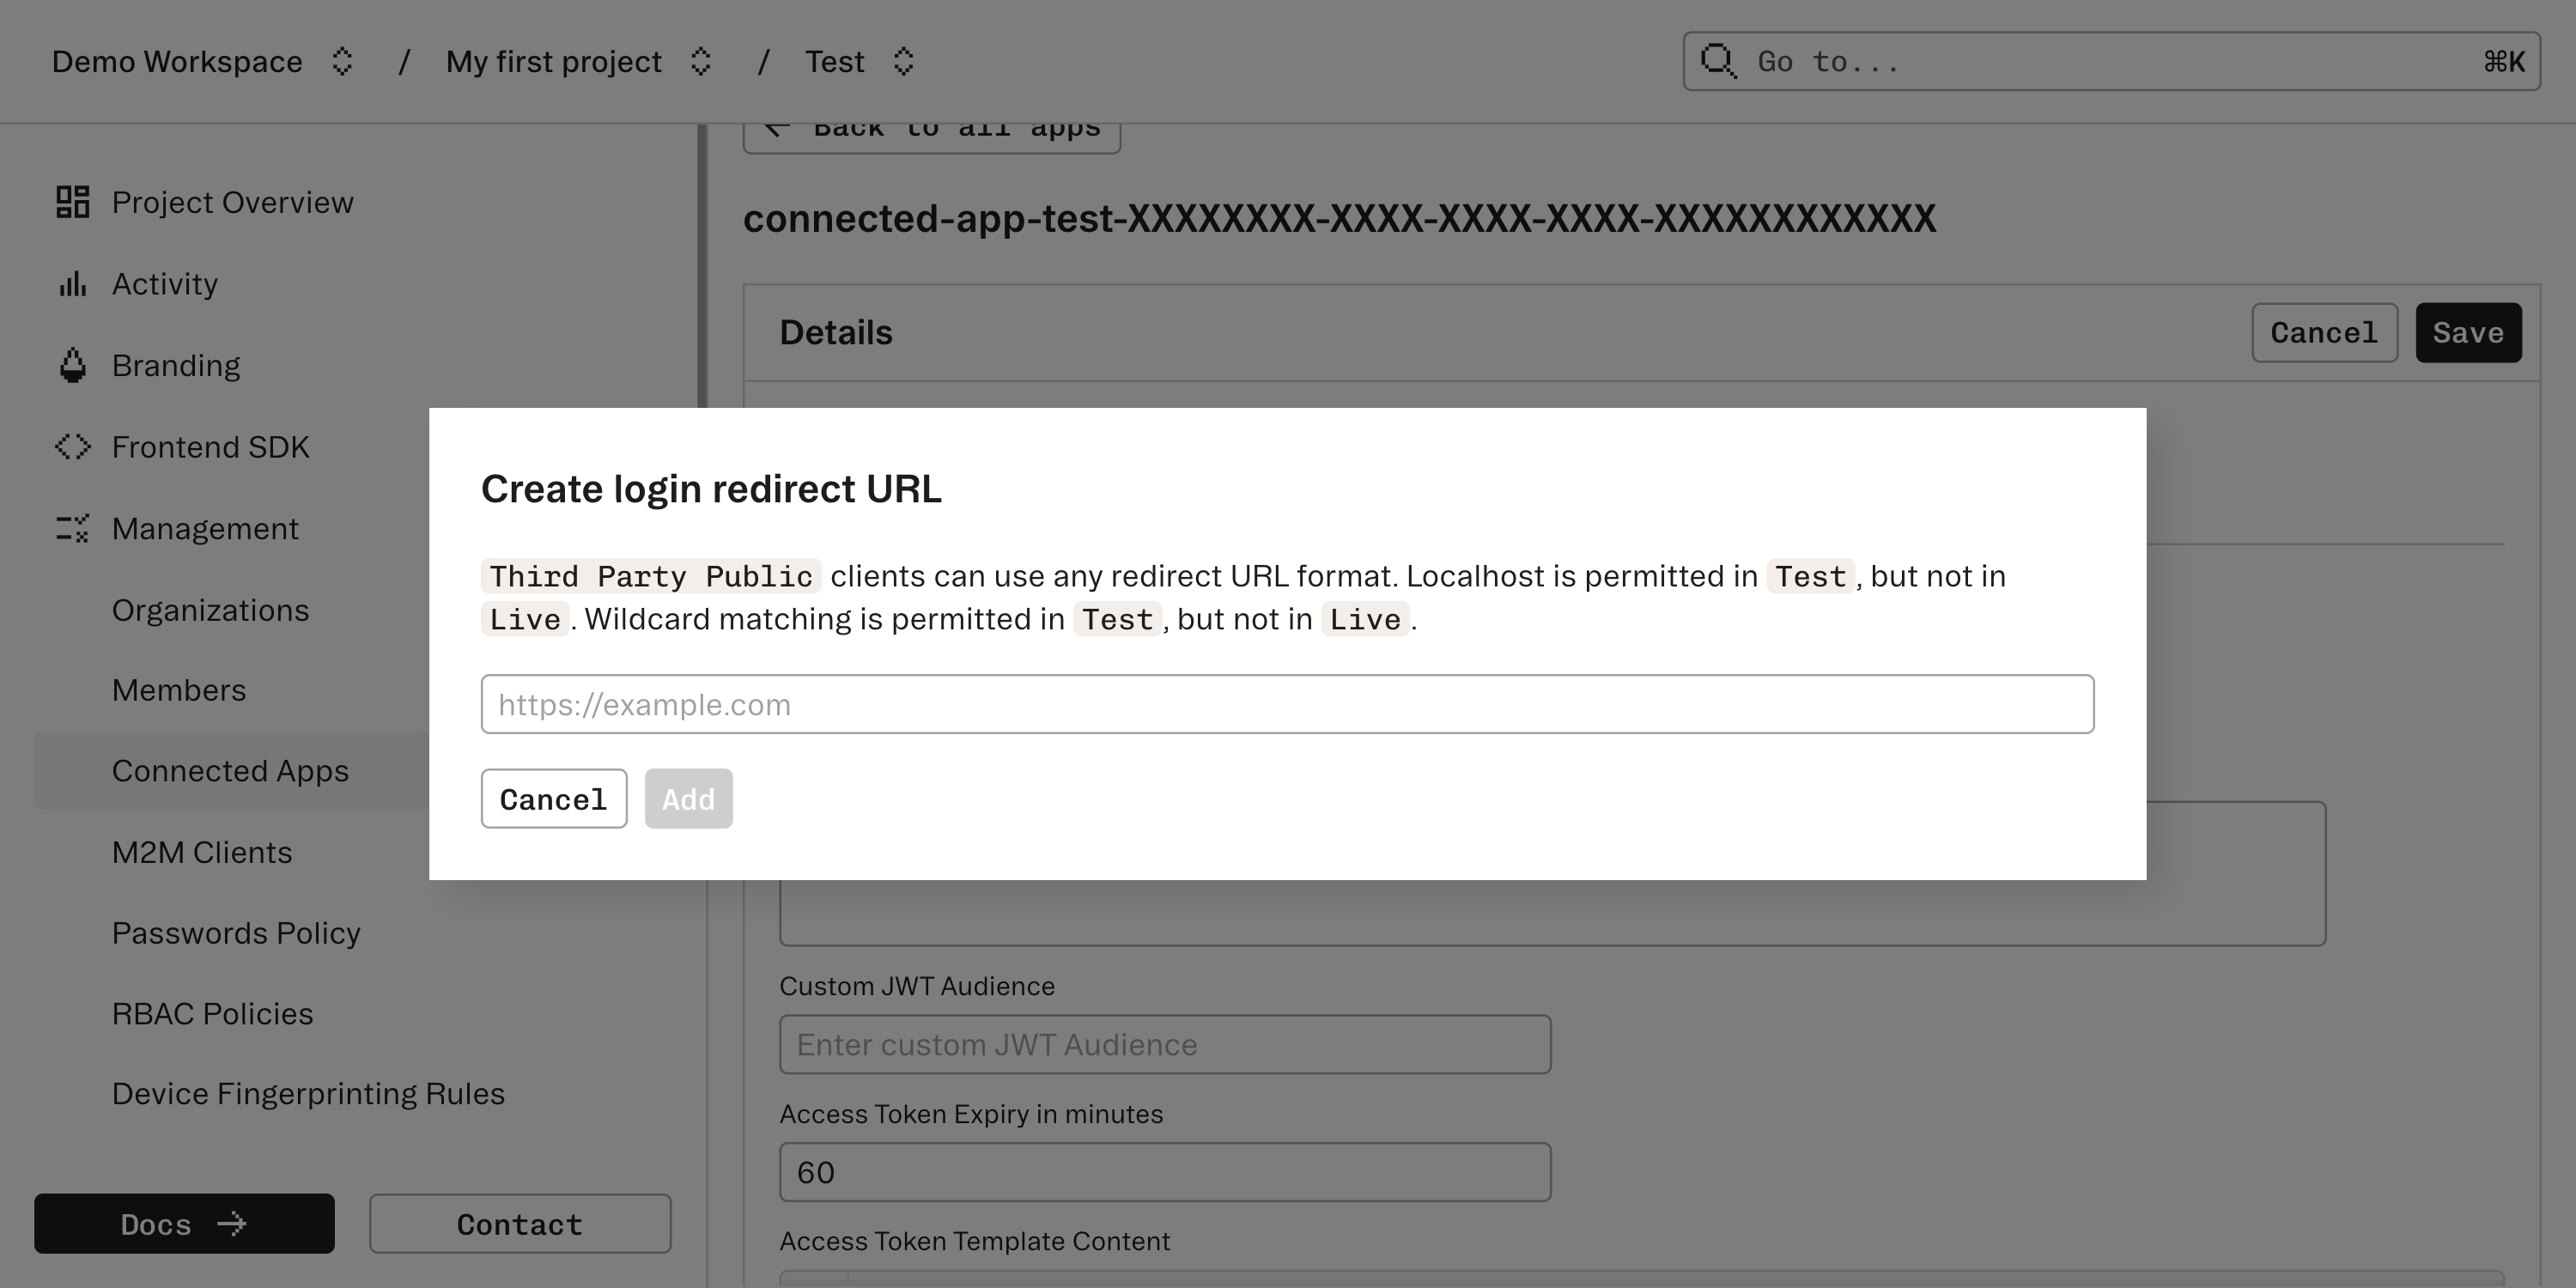
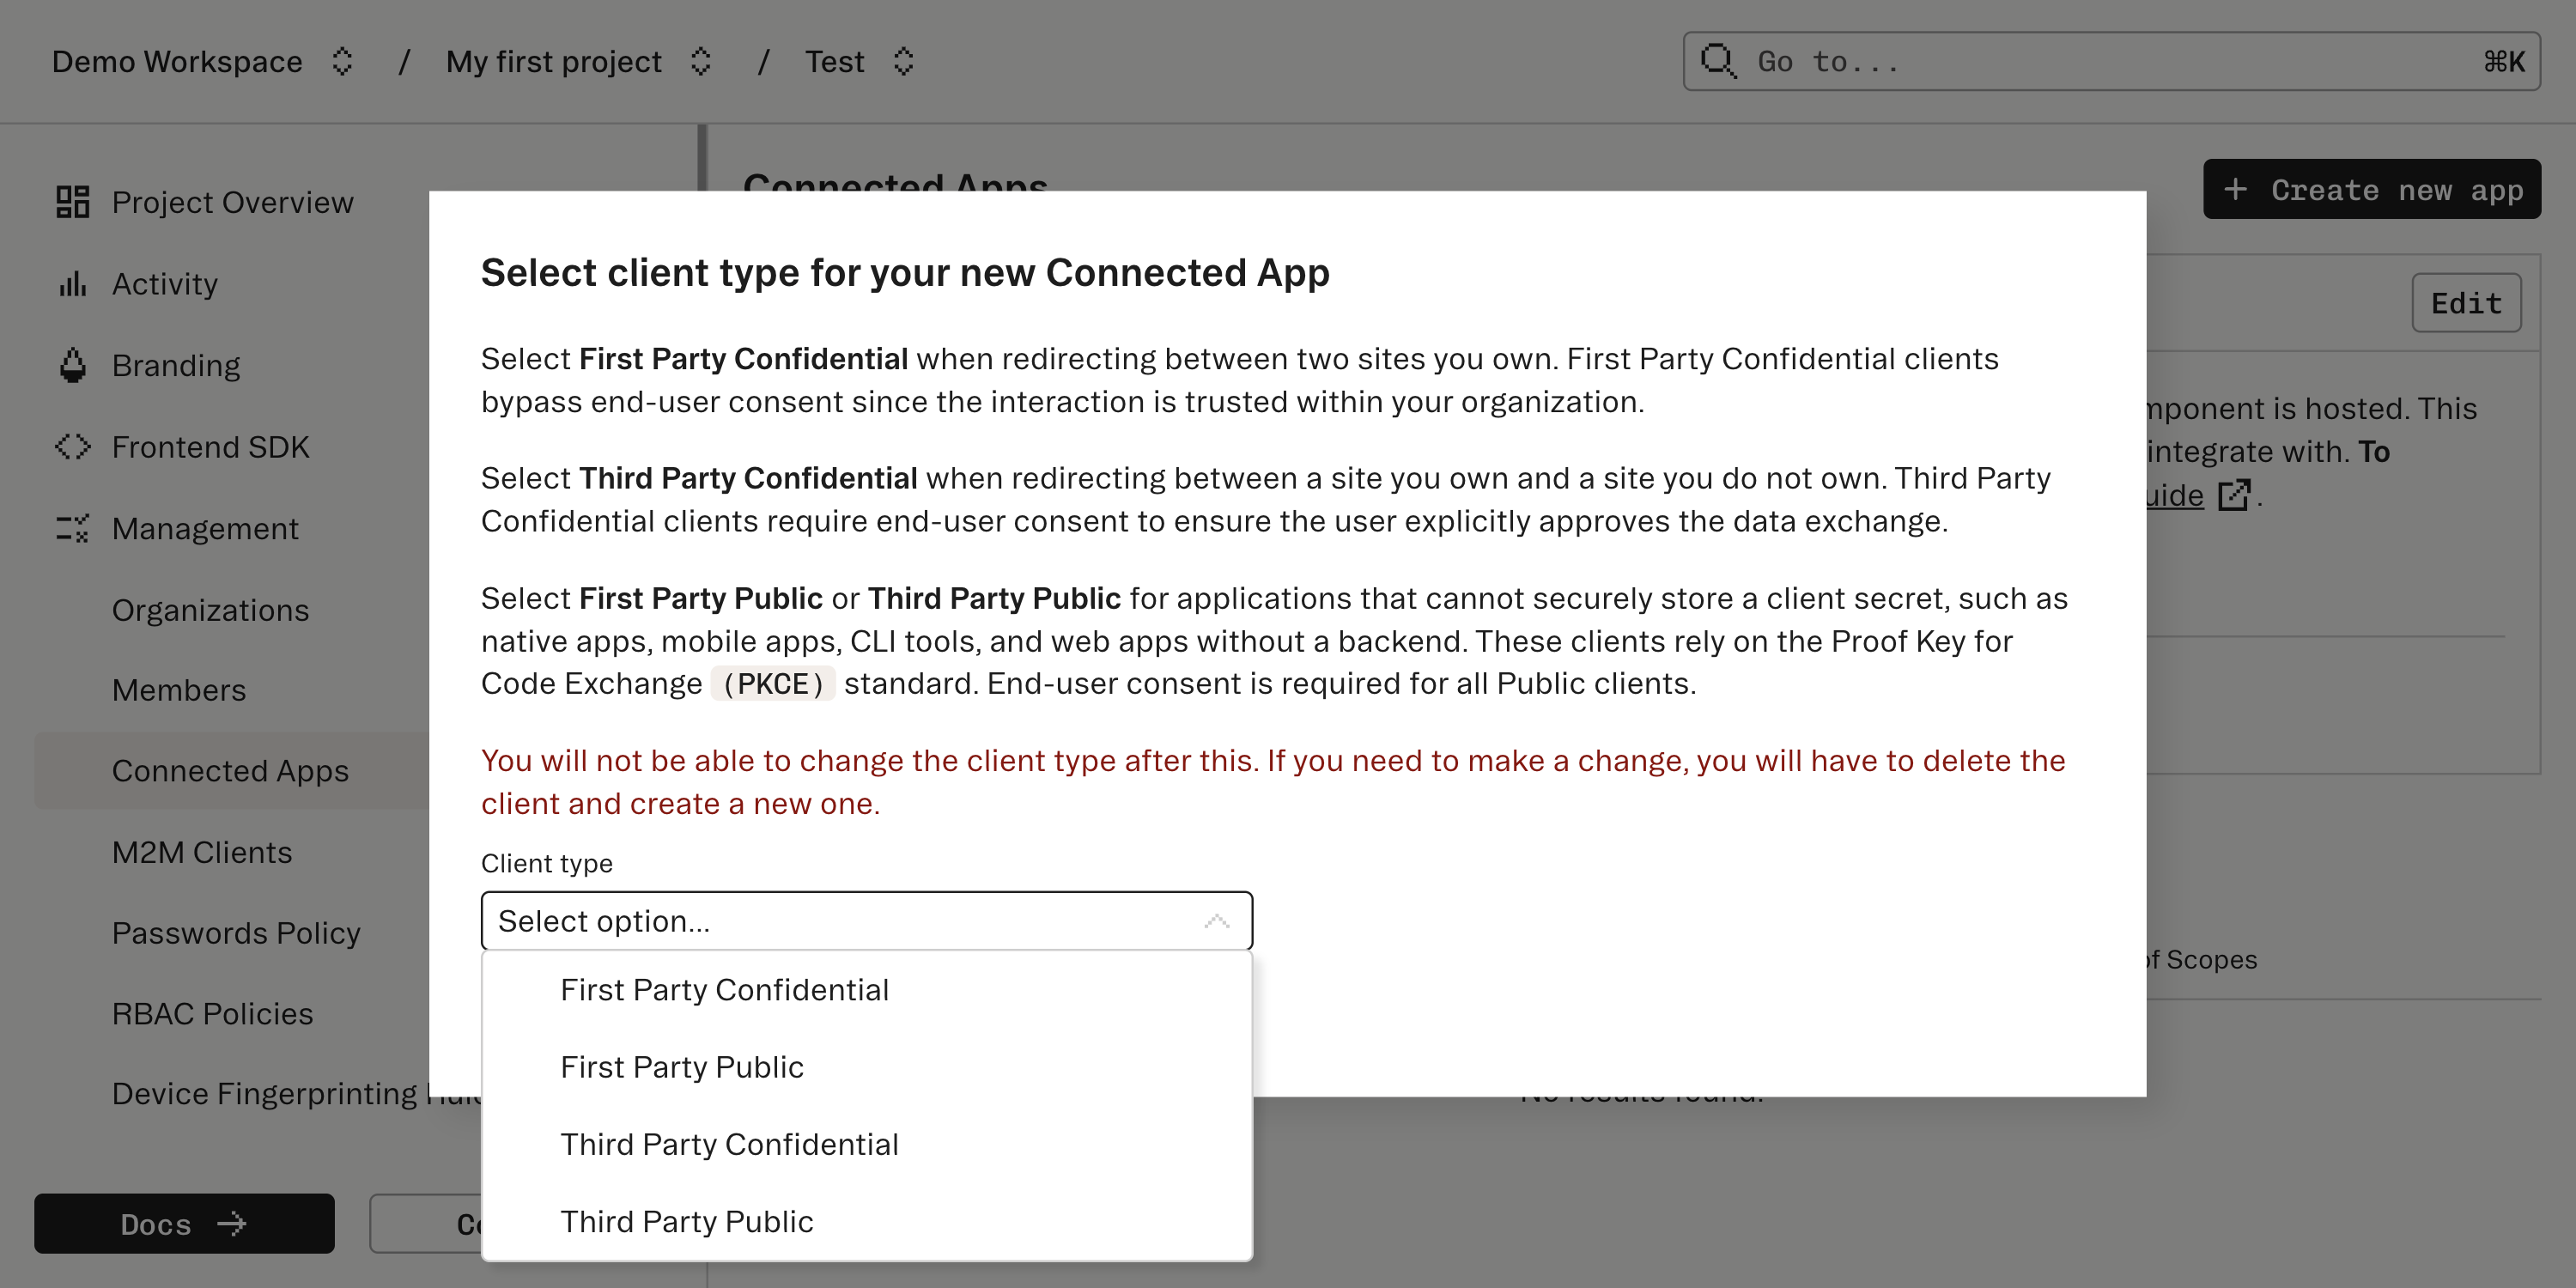
Create a new Connected App in the dashboard
After Stytch handles verification of the user and the application’s ability to access the user’s information, Stytch will issue a redirect. To set this up, each Connected App is also configured in the Connected Apps section of the Dashboard.
Create a new Connected App and specify what type of user consent and OIDC flow the Connected App should expect. Stytch supports connecting a few types of client apps which vary based on how much user consent is appropriate and specifics of the OIDC flow.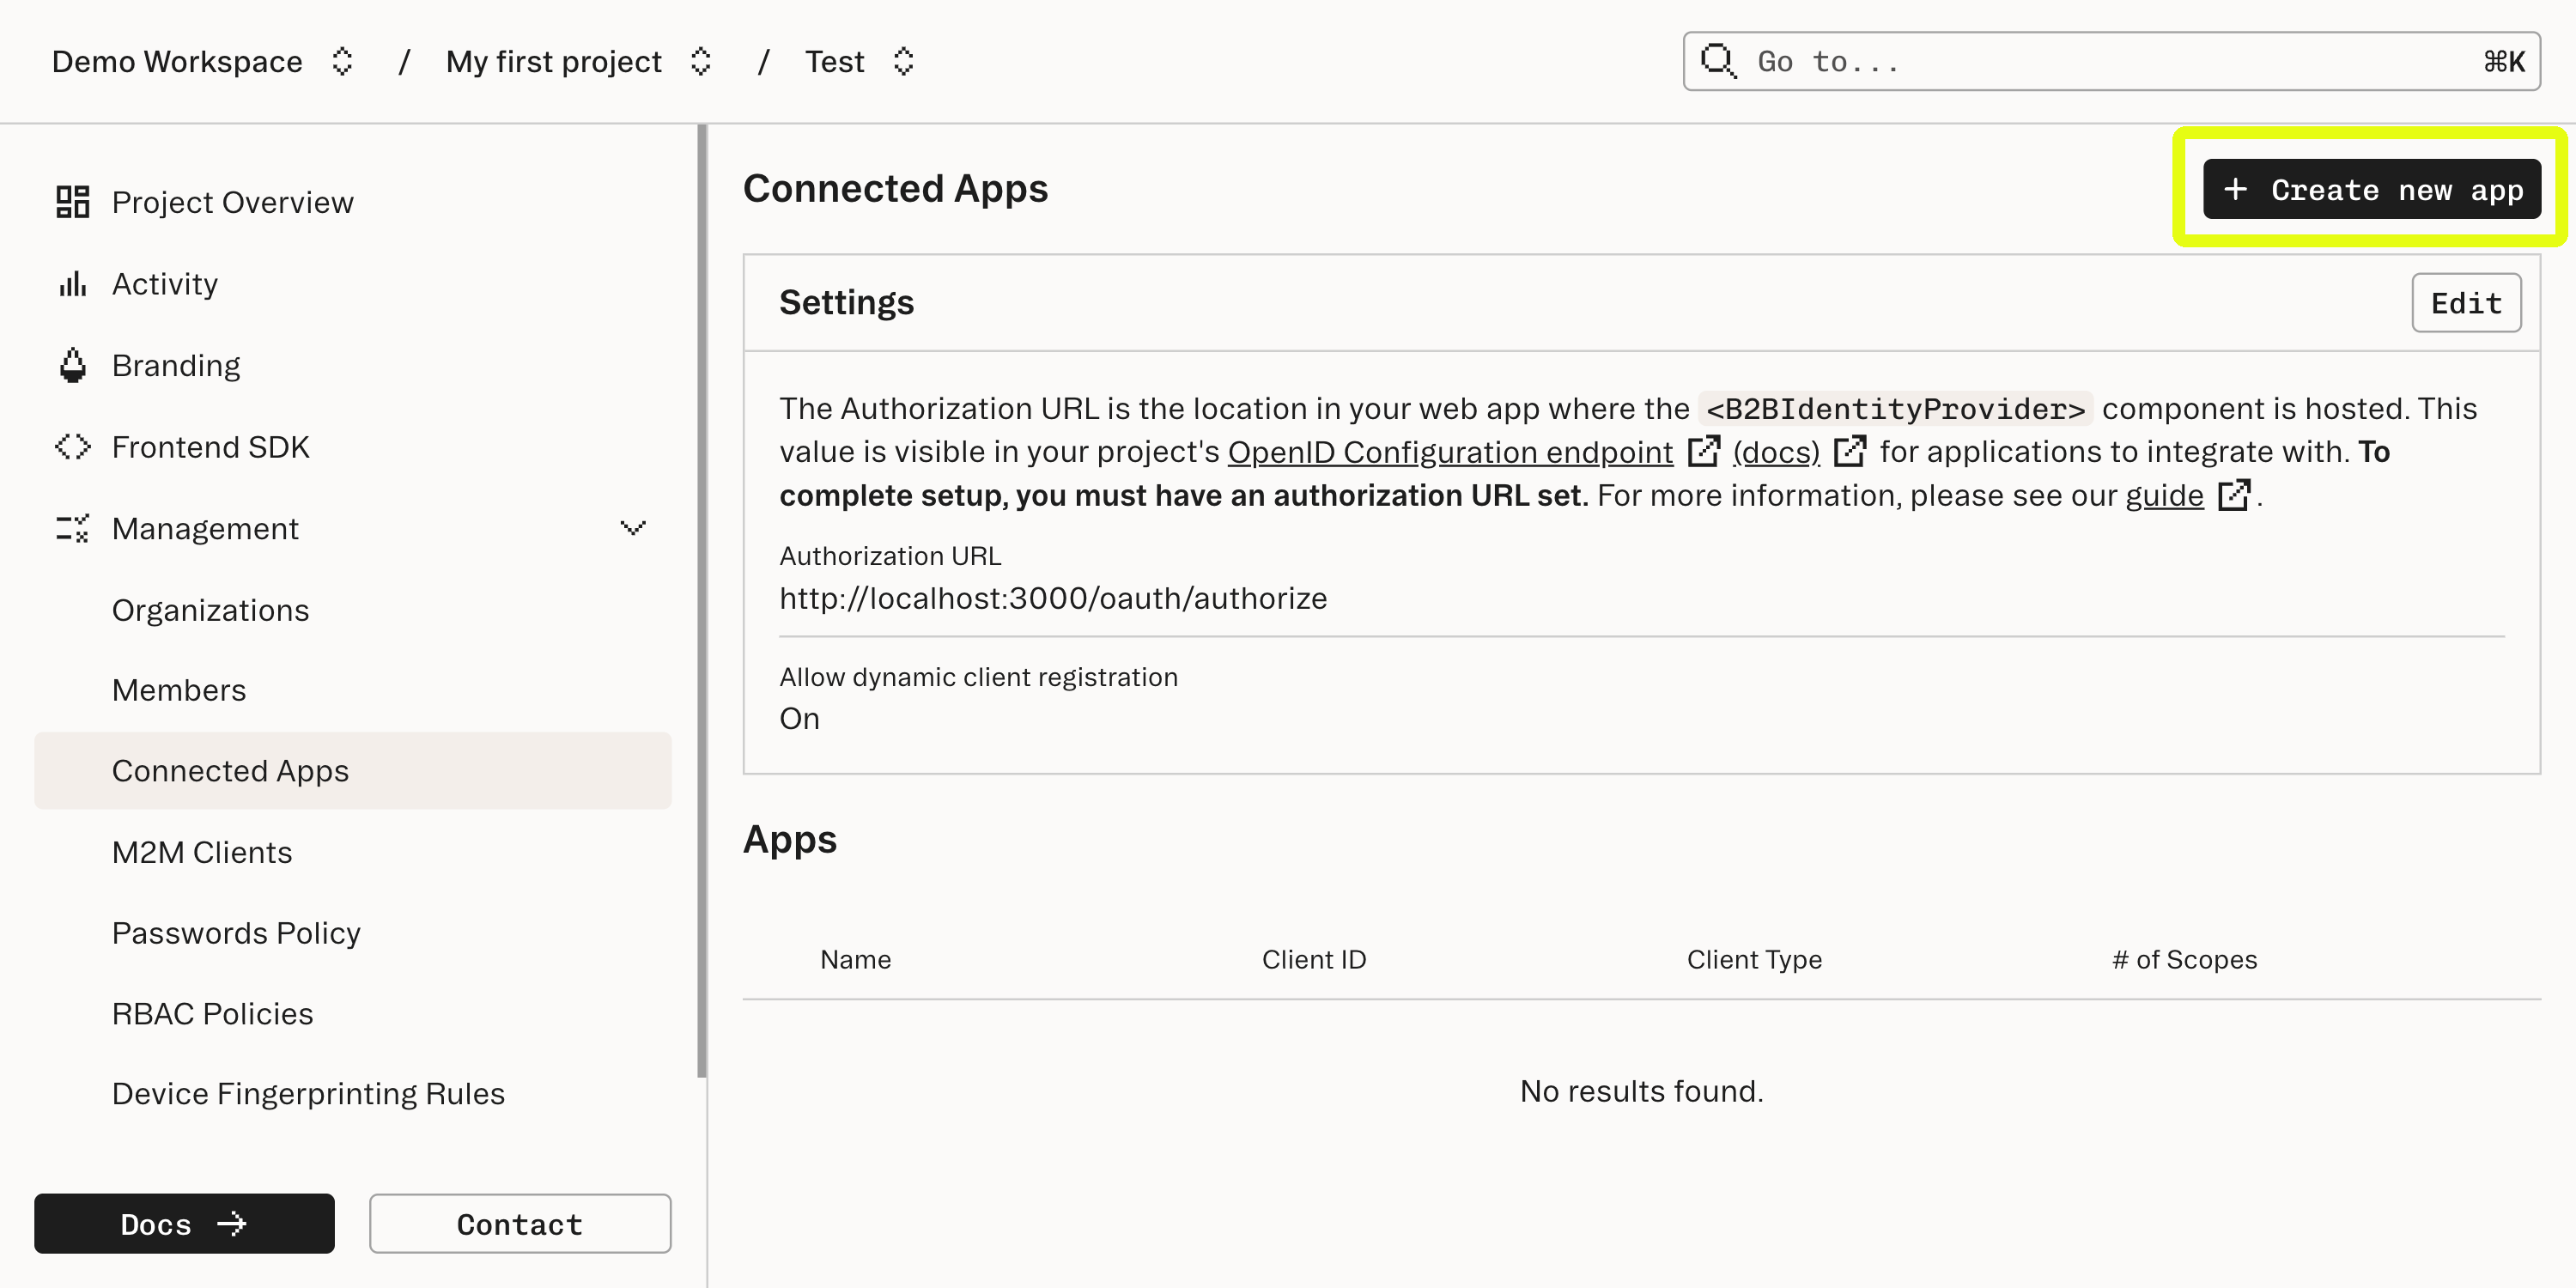
How does the redirect work?
How does the redirect work?
This redirect is intended to go to a callback URL which should be supplied by the Connected App. The redirect will pass an authorization
code - a short-lived credential that the Connected App will use to complete the authorization flow.Configure the Connected App
Continue to configure the Connected App. Make sure to take a note of the “Client ID” and the “Client secret” (for confidential apps); these will be needed by the Connecting App to complete the Authorization Code Flow.