access_token or id_token with an email claim can be used here with the help of Trusted Auth Tokens.
When used in this manner, Stytch will be responsible for all OAuth client management, user consent, and token issuance. Your existing authentication system will remain in control of the user’s login experience and account information.
Demo Apps
Follow along with our demo apps to learn how Stytch can be used to add MCP-compliant OAuth flows to an existing identity provider that doesn’t support OAuth. Check out our Firebase Demo App for multi-tenant auth. For consumer authentication, check out our Supabase Demo App.Integrating with an Existing Auth System
Learn how to add Stytch Connected Apps to any Auth system, including Supabase, Firebase, AWS Cognito, or Auth0.Create a Trusted Auth Token Profile
Create a Trusted Auth Token Profile to configure Stytch to accept JWTs issued by your existing Identity Provider. The Trusted Auth Token Profile tells Stytch how to validate these JWTs, and how to map claims like the user’s role information to constructs in the Stytch platform.Keep track of the
profile_id created from this step.Add the Stytch Javascript SDK
Install the Javascript SDK to access the Stytch UI component used to handle the OAuth consent flow. The OAuthAuthorize component shown below wraps either the B2BIdentityProvider React component for multi-tenant auth or the IdentityProvider React component for consumer auth. This component will take in a JWT issued by your existing authentication system matching the profile you created above.
The styling and copy of the IdentityProvider UI component can be customized to match your existing application. See available options in the B2BIdentityProvider or IdentityProvider API reference.
Handle unauthenticated users
The OAuth Authorization page takes in numerous arguments from OAuth clients in the form of query parameters. If the user is not logged in, your application should redirect them to your existing login implementation. After login, your application should redirect the user back to the exact same URL - preserving the OAuth query parameters for Stytch to handle.Your existing auth and routing libraries likely have first-class functionality to do this already - consult their documentation for details.
Implement the OAuth Authorization page
Define a new page in your application for handling OAuth Authorization. Most commonly, this page lives at
${yourDomain}/oauth/authorize. OAuth clients will redirect the user to this page to kick off an OAuth login flow.This page should retrieve the JWT from your existing authentication system and pass it in to the OAuthAuthorizeComponent we defined earlier.Configure the Authorization URL in the Stytch dashboard
In the Connected Apps section of the Stytch Dashboard, set the Authorization URL to the URL of the page where OAuthAuthorizeComponent is mounted. This will allow Stytch to broadcast the URL to clients using your project’s OpenID Connect Endpoint.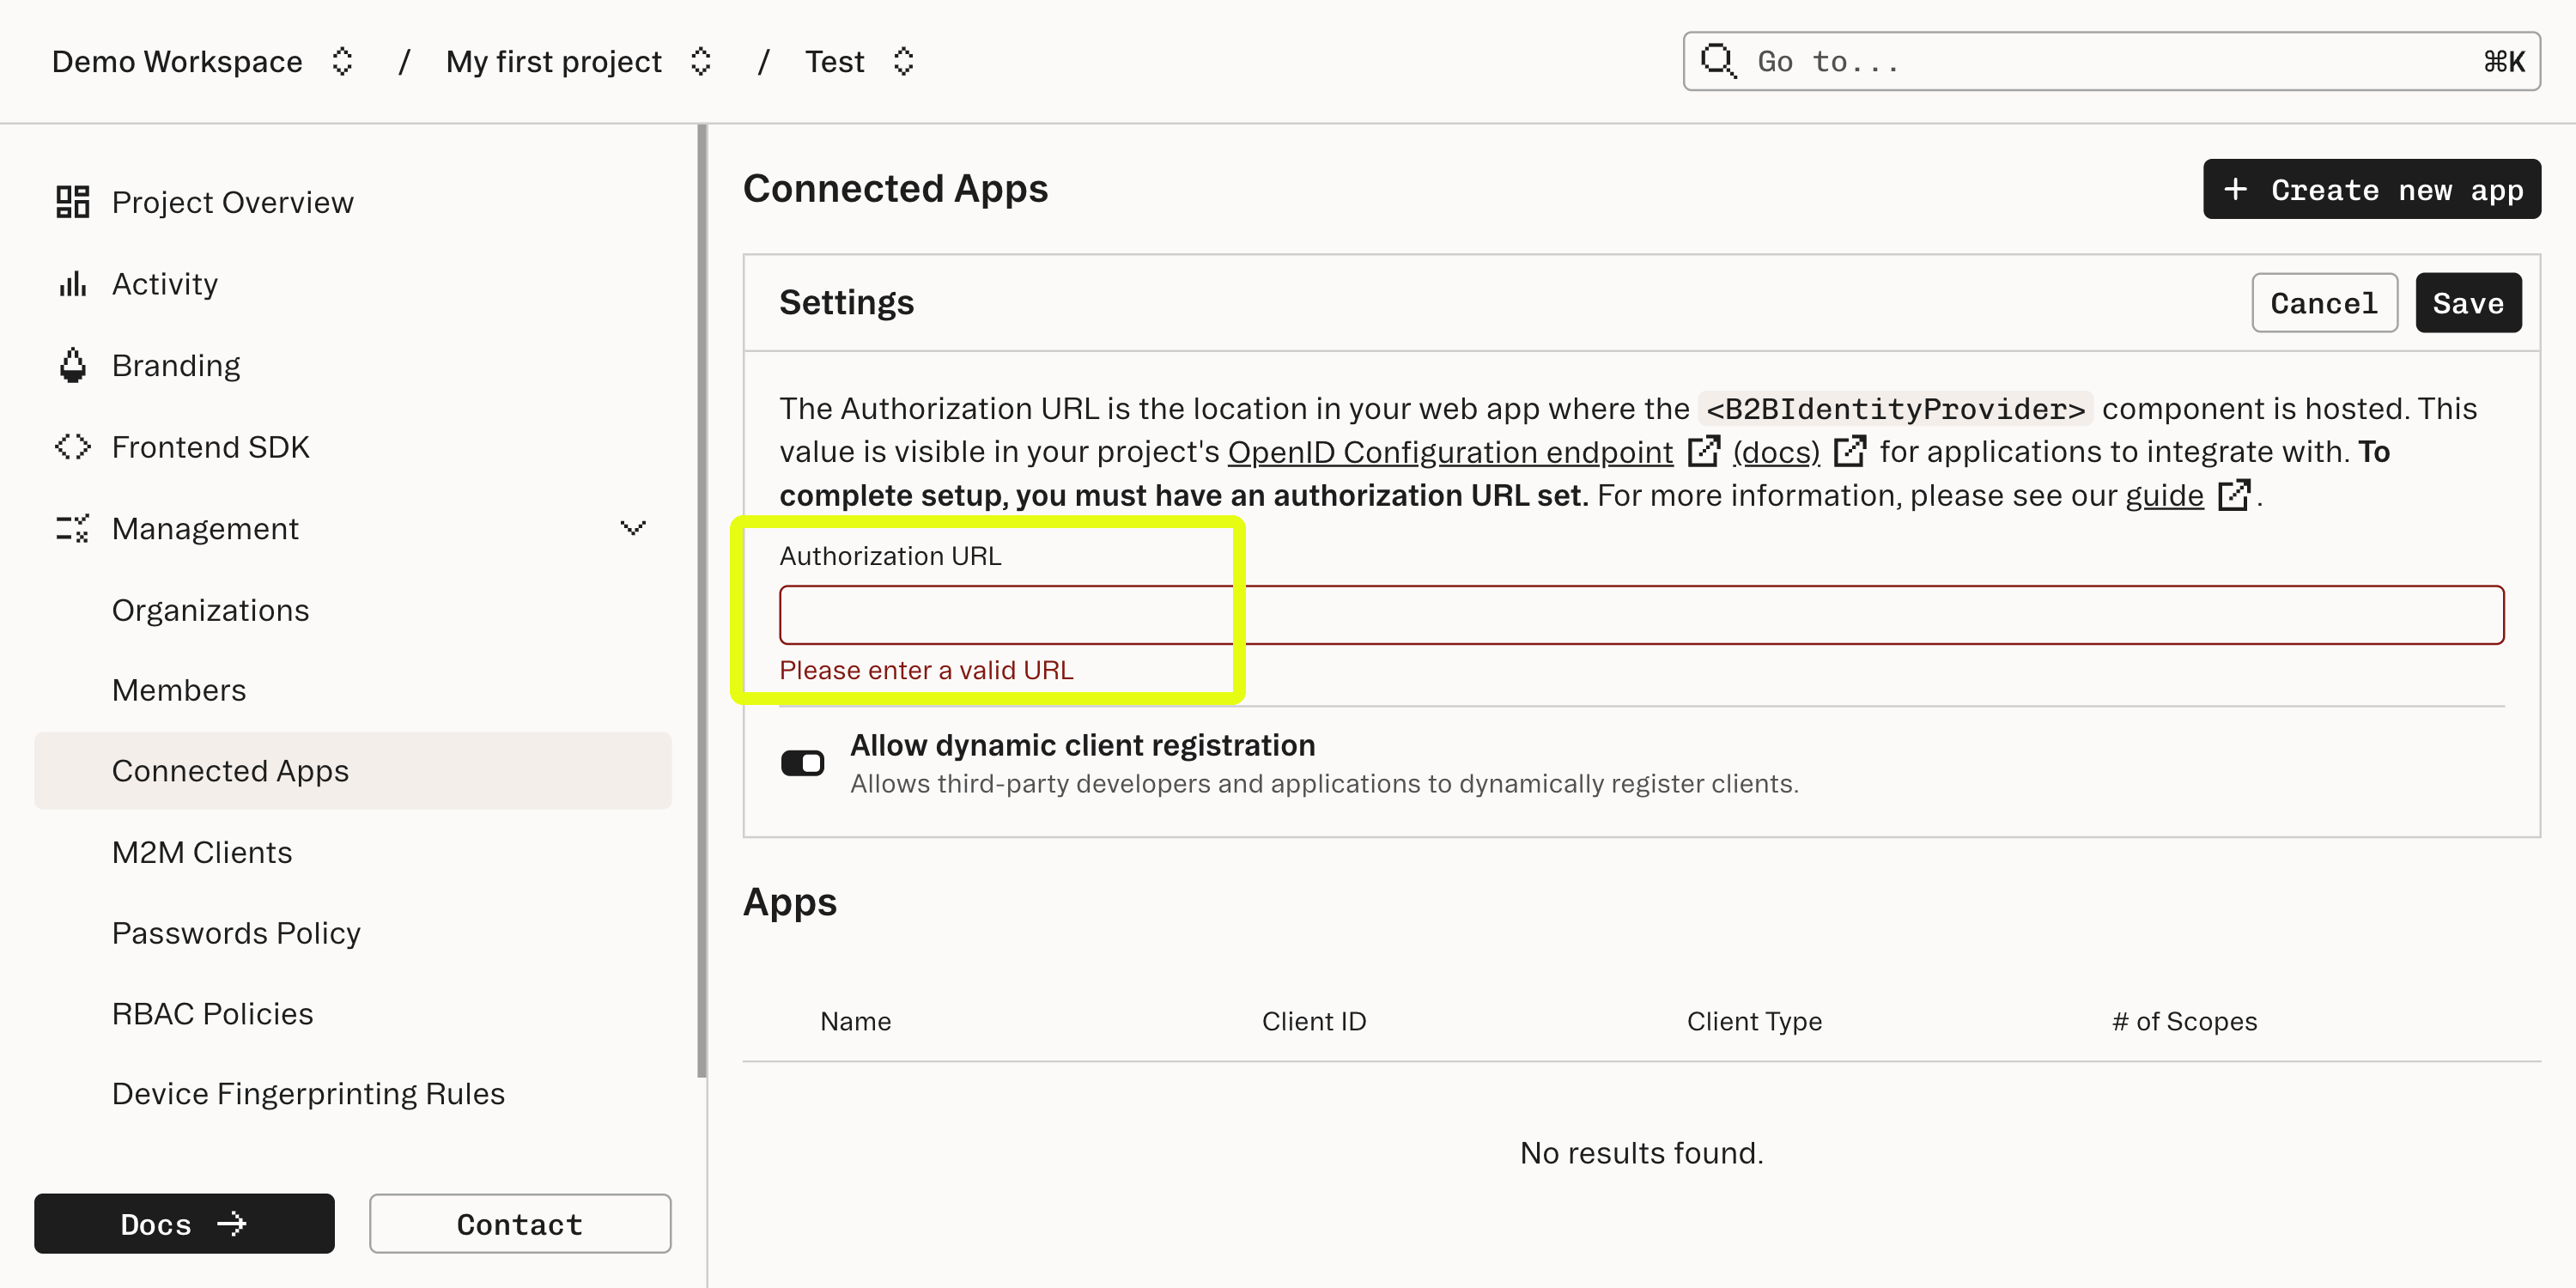
Validate Stytch-issued OAuth access tokens
After completion of an OAuth flow, the OAuth client will be granted a Stytch-issued Access Token (for B2B, for Consumer), and optionally an ID Token (for B2B, for Consumer). The OAuth client can now use this access token to invoke API endpoints hosted by your application. Use the Stytch Backend SDKs - or any JWT-compatible library - to validate the access token within your existing codebase. Refer to the Authenticate Access Token API docs (for B2B, for Consumer) for a complete reference.
What’s next
Your application is now an OAuth 2.1 / OIDC Compliant identity provider!- Read about OAuth for MCP for B2B and for Consumer
- Learn more about OAuth Scopes in the Stytch platform